Removal and Installation Procedures
TDS 420A, TDS 430A & TDS 460A Service Manual
6- 61
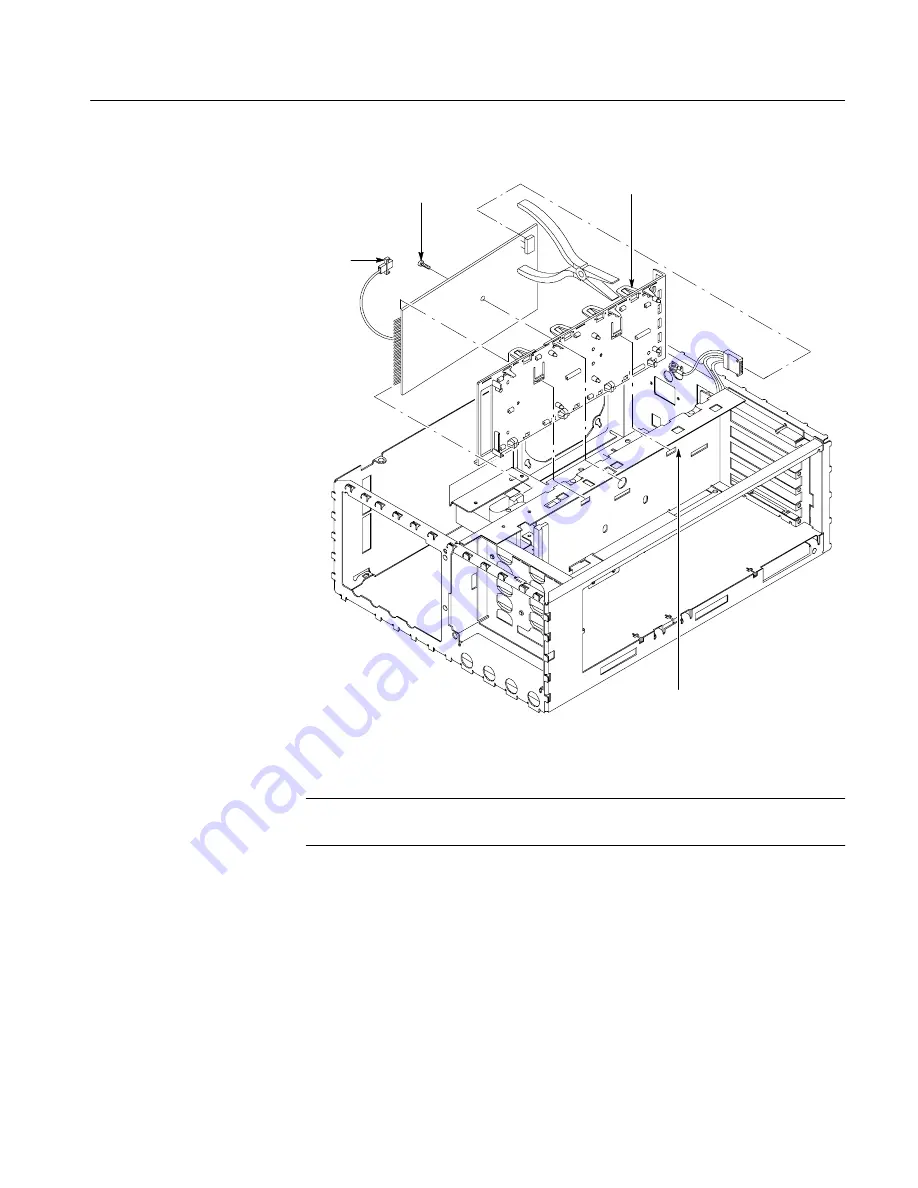
To Aux
Power
Supply
Mounting
Screw (1)
Use pliers to release
board latches.
Press release latches in
while pulling up on mount.
Figure 6- 24: A25 Low voltage power supply removal, B010100 - B079999
STOP
. DO NOT do step 5 unless servicing a broken power supply mount or
removing that mount for cleaning.
5.
Remove the power-supply mount:
a.
Place the digitizing oscilloscope so its left side is down with its top
facing you.
b.
Depress the two retainer locks and slide the power-supply mount
towards the top of the digitizing oscilloscope to unlock from the chassis.
Summary of Contents for TDS 420A
Page 16: ...Service Safety Summary xii TDS 420A TDS 430A TDS 460A Service Manual ...
Page 36: ...Nominal Traits 1 14 TDS 420A TDS 430A TDS 460A Service Manual ...
Page 44: ...Warranted Characteristics 1 22 TDS 420A TDS 430A TDS 460A Service Manual ...
Page 54: ...Installation 2 6 TDS 420A TDS 430A TDS 460A Service Manual ...
Page 64: ...Operating Information 2 16 TDS 420A TDS 430A TDS 460A Service Manual ...
Page 72: ...Performance Verification Procedures 4 4 TDS 420A TDS 430A TDS 460A Service Manual ...
Page 160: ...Maintenance 6 8 TDS 420A TDS 430A TDS 460A Service Manual ...
Page 226: ...Removal and Installation Procedures 6 74 TDS 420A TDS 430A TDS 460A Service Manual ...
Page 260: ...Options and Accessories 7 6 TDS 420A TDS 430A TDS 460A Service Manual ...
Page 262: ...Electrical Parts List 8 2 TDS 420A TDS 430A TDS 460A Service Manual ...
Page 272: ...Diagrams 9 10 TDS 420A TDS 430A TDS 460A Service Manual ...


