HDCVI Standalone DVR User’s Manual
201
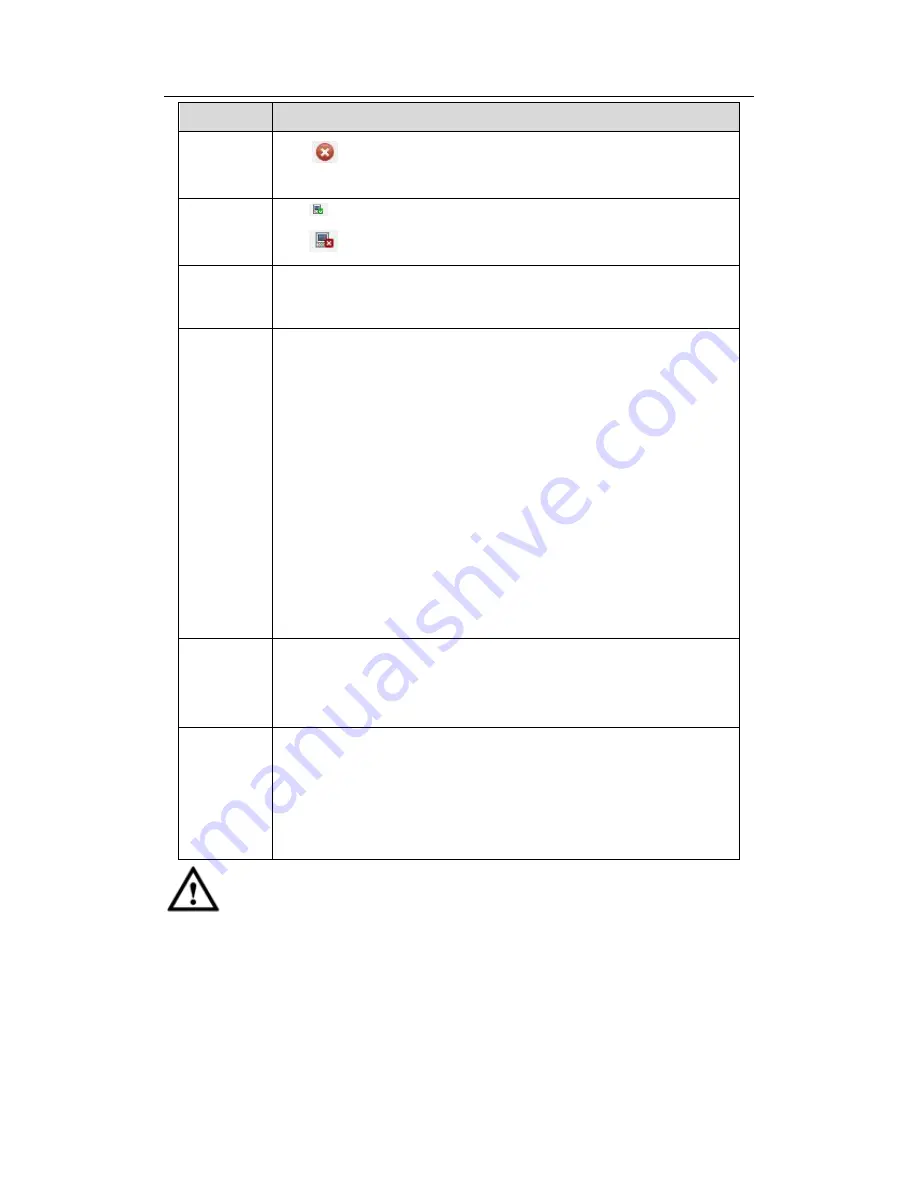
Parameter Function
Delete
Click
, you can delete the remote connection of the corresponding
channel.
Connection
status
: Connection succeeded.
: Connection failed.
Delete
Select a device in the Added device list and then click Delete button,
system can disconnect the device and remove it from the Added
device list.
Manual
Add
Click it, the interface is shown as in Figure 5-17. Here you can add
network camera manually.
You can select a channel from the dropdown list (Here only shows
disconnection channel.)
Note:
System supports manufactures such as Panasonic, Sony,
Dynacolor, Samsung, AXIS, Arecont, Dahua and Onvif standard
protocol.
If you do not input IP address here. System uses default IP
192.168.0.0 and system does not connect to this IP.
Can not add two devices at the same time. Click OK button here,
system only connect to the corresponding device of current
channel.
Export
Click it, system can export the added device list to your local PC.
The export file is .CVS file. The information includes IP address, port,
remote channel number, manufacturer, user name, password and
etc.
Import
Click it, you can import the setup file to the device.
If the imported IP has conflicted with current added device, system
pops up a dialogue box to remind you. You have two options:
OK: Click OK button, system uses the imported setup to overlay
current one.
Cancel: Click Cancel button, system adds the new IP setup.
Important
You can edit the exported .CVS file.
Do not change the file format; otherwise it
may result in import failure.
Does not support customized protocol import and export.
The import and export device shall have the same language format.
5.8.1.2 Conditions
Here you can view device property information. The setups become valid immediately
Summary of Contents for TRIDVR-EL8
Page 117: ...HDCVI Standalone DVR User s Manual 136 Figure 4 100 Figure 4 101...
Page 118: ...HDCVI Standalone DVR User s Manual 137 Figure 4 102 Figure 4 103...
Page 125: ...HDCVI Standalone DVR User s Manual 144 Figure 4 109 Figure 4 110...
Page 126: ...HDCVI Standalone DVR User s Manual 145 Figure 4 111 Figure 4 112...
Page 127: ...HDCVI Standalone DVR User s Manual 146 Figure 4 113 Figure 4 114...
Page 137: ...HDCVI Standalone DVR User s Manual 156 Figure 4 130 Figure 4 131...
Page 157: ...HDCVI Standalone DVR User s Manual 176 Figure 4 157 Figure 4 158...
Page 160: ...HDCVI Standalone DVR User s Manual 179 Figure 4 161 Figure 4 162 4 11 5 6 ATM POS...
Page 206: ...HDCVI Standalone DVR User s Manual 225 Figure 5 56 Figure 5 57...
Page 212: ...HDCVI Standalone DVR User s Manual 231 Figure 5 65 Figure 5 66...
Page 217: ...HDCVI Standalone DVR User s Manual 236 Figure 5 74 Figure 5 75 Figure 5 76...
Page 219: ...HDCVI Standalone DVR User s Manual 238 Figure 5 77 Figure 5 78...