S
er
vic
e R
epo
rt i
n t
he e
ve
nt o
f a c
la
im u
nd
er wa
rr
an
ty
If, c
ontrar
y to e
xpec
ta
tions, y
ou enc
ount
er a problem with y
our eq
uipment
, despit
e the ultra-modern manuf
ac
turing and
const
ant q
uality checking
, w
e would ask y
ou to first c
ont
ac
t our t
echnic
al hotline on +49 (0) 3925 9220 1806 (normal
char
ges wil
l apply f
or o
verseas c
al
ls). If w
e c
annot solv
e the problem in this manner
, w
e would ask y
ou to c
ont
ac
t y
our
dealer or supplier
. If y
ou do so
, please c
omplet
e the f
ol
lowing Ser
vic
e R
epor
t be
for
ehand.
The serial and it
em numbers ar
e
loc
ated on the back o
f the bo
x or
dir
ec
tly on the eq
uipment
.
It
em
number
:
Serial No
.:
Please not
e tha
t a r
epair under warranty c
an only be c
arried out q
uickly and smoothly if this Ser
vic
e R
epor
t is c
omplet
ed
in f
ul
l, and submitt
ed with a proo
f o
f pur
chase (deliv
er
y not
e, in
voic
e, til
l r
ec
eipt et
c), the de
fec
tiv
e eq
uipment in the
original packa
ging
, including al
l ac
cessories (e.g
. net
wor
k c
able, r
emot
e c
ontrol) and a pr
ecise description o
f the problem.
The Ser
vic
e R
epor
t wil
l be r
et
urned to y
ou along with the r
epair
ed devic
e with an appropria
te c
omment f
rom our ser
vic
e
wor
kshop
.
Post
code:
C
ity
/
town:
Surname:
Str
eet:
Telephone:
optional
First name:
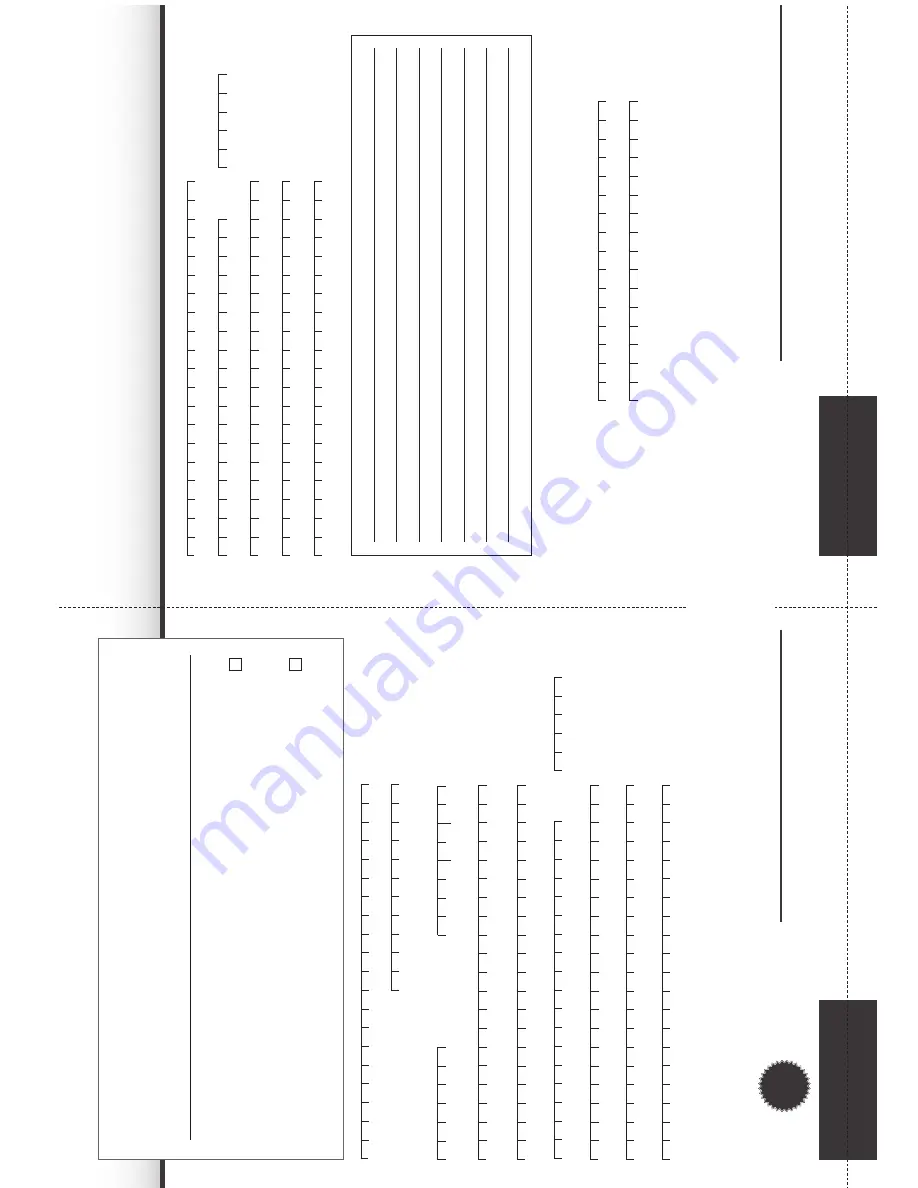
Service Report
registrati
on card
Service Re
port
D
es
cr
ip
tio
n o
f f
au
lt
Note
(please cut here)
✂
Please brie
fly e
xplain the problem with y
our eq
uipment
Te
ch
niS
at r
eg
is
tr
at
io
n c
ar
d
3
-y
ear
w
ar
ran
ty
By
submitting
a
ful
ly
complet
ed
and
signed
TechniSa
t r
egistra
tion
card,
your
two-y
ear
legal
warranty
claim
is
con
ver
ted
into
a
thr
ee-y
ear
warranty
. Henc
e
you
ar
e
released
from
your
legal
obliga
tion
to
pro
ve
tha
t
the
it
em
was
fa
ulty
, for
a
period
of
thr
ee
years
from
the
pur
chase
of
your
eq
uipment
(based
on
the
bil
ling
da
te).
In
the
ev
ent
of
a
claim
under
warranty
, y
ou
wil
l
rec
eiv
e - a
t T
echniSa
t's discr
etion - a f
ree r
epair to y
our eq
uipment or an as
-new eq
uivalent r
eplac
ement devic
e.
D
ate o
f pur
chase:
TechniSa
t
Dealer No
.:
to be c
omplete
d b
y the dealer
, wher
e r
egistr
ation
is carrie
d out in the dealership
(for an
y questions)
D
ate, Signa
tur
e
Note
By
signing
her
e
you
declar
e
your
consent
for
TechniSa
t
D
igit
al
G
mbH
to
use
your
addr
ess
for
its
own
communic
ations
by
post
or
and
giv
e
permission
to
cont
ac
t
you.
Your
da
ta
wil
l not
be
for
warded
to
third
par
ties.
You
can
rescind
your
consent
at
an
y
time
by
writing
to
TechniSa
t
D
igit
al
G
mbH,
TechniP
ar
k,
D-54550
D
aun
/
Vul
kaneif
el,
German
y
(f
or
the
att
ention
of
the
D
ata
Prot
ec
tion
Offic
er)
or
by
emailing
da
ta_prot
ec
tion@t
echnis
at.de
.
The
tw
o-
year
leg
al
w
ar
-
ranty claim c
an only be c
on
ver
ted into a thr
ee-
year w
arranty claim b
y checking the first c
ons
ent bo
x and si
gning this r
egistration c
ar
d.
Important: Tick to register
Warranty
3
Yea
r
Surname:
Str
eet:
Telephone:
optional
Email:
optional
Serial No
.:
Pur
chased a
t:
First name:
Yes
, I w
ant to c
on
ver
t m
y tw
o-
year leg
al w
arranty claim into a thr
ee-
year w
arranty claim and ther
eb
y
cons
ent to the us
e o
f m
y addr
ess b
y
TechniS
at f
or the purpos
es o
f s
ending inf
ormation via post
.
Yes, I want to r
ec
eiv
e c
ommunic
ations via email as w
el
l (optional).
This field must be c
omplet
ed so tha
t ser
vic
e under
w
ar
ran
ty can be pr
ovided!
Post
code:
C
ity
/
town: