


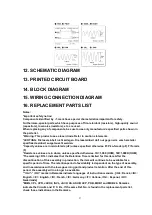


9.2. Notes on replacing FLASH ROMs
The replacement parts include a FLASH ROM with a available memory and the PROGRAM DISKs
which contains the program to be written into the PROGRAM ROM. After replacing the PROGRAM
ROM, always write the program into it from the PROGRAM DISKs includedin the replacement
parts. For details on programming, see “
After replacing the PROGRAM ROM (IC11)
”.
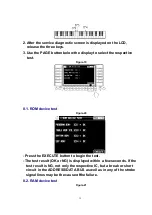
9.3. How to write program into FLASH ROM
9.3.1. After replacing the PROGRAM ROM (IC11)
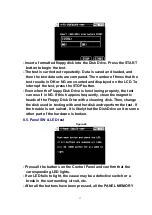
1. Set the PROGRAM DISK A (or No.1) included in the replacement
parts into the Floppy Disk Drive.
2. Hold down the PANEL MEMORY buttons 1 , 2 , 3 and 4 (as shown
in
Figure-32
), and turn on the power switch.
Figure-32
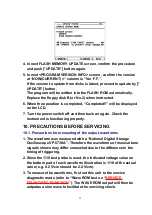
3. Check “UPDATE SYSTEM MENU” screen is displayed on the LCD,
and release the PANEL MEMORY buttons.
Select [*UPDATE*] button under the display.
Figure-33
22
Summary of Contents for SX-PR603/M
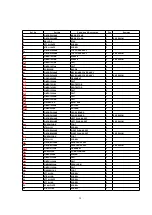
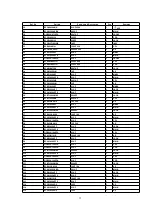
Page 33: ...C15 ECCR1H100D5 10PF 1 AS 33...
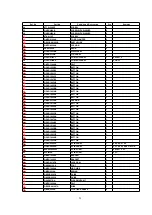
Page 38: ...D12 MA165 DIODE 1 MKB1 38...
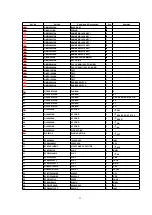
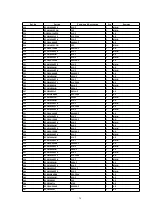
Page 47: ...L8 QLQGT1D600MA COIL 1 AS 47...
Page 50: ...50...
Page 59: ...59...
Page 60: ...60...
Page 61: ...18 PACKAGING 61...