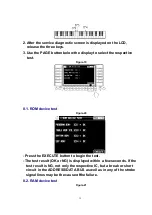
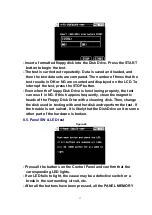


- The operation status of each input action part can be confirmed. If
the part is operating properly, “OK” is shown.
- When a keyboard key is pressed, the corresponding pitch and
velocity are displayed (only as long as the key is depressed).
- The respective statuses for other input action parts are displayed.
(Analog parts are shown as numerical values from 0 to 255, and
switches are shown as ON or OFF.)
- If the display fails to change when the part is operated, or if the
change is abnormal, it may indicate a defective part.
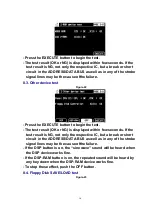
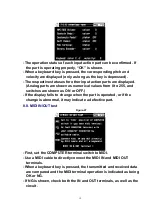
8.8. MIDI IN/OUT test
Figure-27
- First, set the COMPUTER terminal switch to MIDI.
- Use a MIDI cable to directly connect the MIDI IN and MIDI OUT
terminals.
- When a keyboard key is pressed, the transmitted and received data
are compared and the MIDI terminal operation is indicated as being
OK or NG.
- If NG is shown, check both the IN and OUT terminals, as well as the
circuit.
19
Summary of Contents for SX-PR603/M
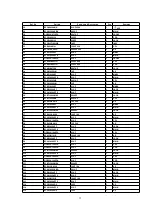
Page 33: ...C15 ECCR1H100D5 10PF 1 AS 33...
Page 38: ...D12 MA165 DIODE 1 MKB1 38...
Page 47: ...L8 QLQGT1D600MA COIL 1 AS 47...
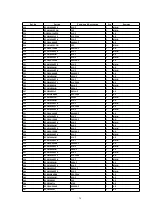
Page 50: ...50...
Page 59: ...59...
Page 60: ...60...
Page 61: ...18 PACKAGING 61...