background image

10

BASICS

Connecting and Setting up the G-Sharp

Setting up the G-Sharp is very easy. It is, however, important to connect and setup the G-Sharp
correctly according to your application. Setting up basically means: connecting, selecting one of the
two routing options, selecting programs and finally setting the EFFECTS MIX and REVERB MIX on
the front panel. Find the setup you are about to create or one that is similar to on the following
pages - and follow the instructions.

Controlling G-Sharp

Preset Recall and Tap Tempo

A MIDI pedal can be used to recall the 99 user-presets and also tap in the Global tempo. Read
more about the Global tempo and the Tap function later in this manual. A MIDI pedal should be
connected to MIDI In and G-Sharp is per default set to receive MIDI information on Channel 1.
This can be altered - See the manual section “MIDI”. 

If you only need to switch between relatively few presets and tap tempo we suggest either using the
analog TC Electronic G-Switch or the TC Electronic G-Minor MIDI pedal. Of course other MIDI
pedals can also be used. For full access to all G-Sharp features you should chose a MIDI pedal
that can send both MIDI Control Change messages as well as MIDI program changes.

Expression pedals

Expression pedals can be used to control various parameters*.
On G-Sharp the obvious parameter to control would be In-Volume. The Expression pedal must be
connected to and calibrated with your MIDI board.
* a complete list is found on page 27.

Routings

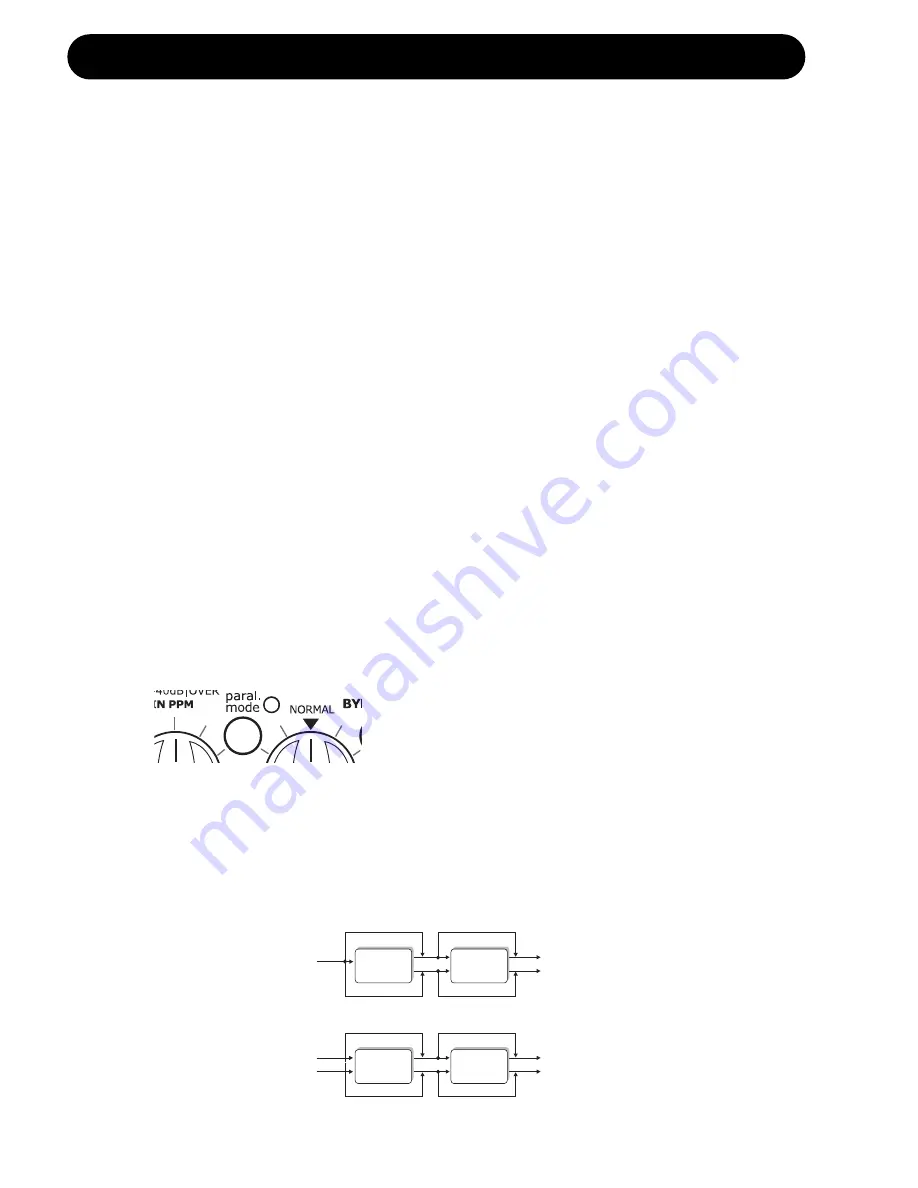
There are two routings to choose between: Serial and Parallel. The routing is selected using the
switch on the front panel. 

When the PARALLEL mode LED on the front panel is lit, G-Sharp is in Parallel mode. When the
LED is “off”, - G-Sharp is in Serial mode. The Routing is a global setting and cannot be saved and
changed with presets.

Serial Routing

With this routing the signal is first routed through the Effects engine and then through the Reverb engine.

This is the Routing to select when you want to add reverb to the signal after the signal is processed

Effects

Reverb

Left In

Stereo Out

Effects

Reverb

Left In

Stereo Out

Bypass

Right In

Bypass

Bypass

Bypass

Bypass

Bypass

Bypass

Bypass

Summary of Contents for G-Sharp

Page 1: ...G Sharp DUAL ENGINE GUITAR FX PROCESSOR U US SE ER R S S M MA AN NU UA AL L...

Page 2: ...tus the apparatus has been exposed to rain or moisture does not operate normally or has been dropped This equipment should be installed near the socket outlet and disconnection of the device should be...

Page 3: ...r a Class B Digital device pursuant to part 15 of the FCC rules These limits are designed to provide reasonable protection against harmful interference in residential installations This equipment gene...

Page 4: ...Lo Fi Delay 22 Dynamic Delay 22 PingPong Delay 22 SlapBack Delay 22 Delay Spill over feature 22 Vintage Phaser 23 Smooth Phaser 23 Swell Tremolo 23 Hard Tremolo 23 Vibrato 23 Flange 23 Lush Chorus 23...

Page 5: ...ft In L R L R Left Out L R L R Right Out Right In Parallel Stereo Bypass Bypass Effects Reverb Left In Stereo Out Bypass Bypass Bypass Bypass For detailed explanations on Routings and connections plea...

Page 6: ...Ideal settings are easily obtained from the front panel giving you a maximum of flexibility at home when rehearsing or when playing live Though easy operation with only few essential controls is a ke...

Page 7: ...operates as a mute function Killdry off The bypass function simply passes the source signal unprocessed to output EFFECTS selector Selects between the 15 effects Off in the Effects engine DELAY TIMIN...

Page 8: ...ll presets by using the UP DOWN arrows followed by LOAD Note that G Sharp holds no stored factory presets apart from the default settings in the various effect combinations Toggling between the Preset...

Page 9: ...Left Input only to connect a mono signal Analog Output Analog output is a stereo output on two 1 4 jack connectors Power In G Sharp has a switchmode power supply that accepts from 100 to 240VAC Pedal...

Page 10: ...balanced ANALOG IN LEVEL DIGITAL IN GAIN MIX ANALOG OUTPUTS balanced A D Left Left Right Right Digital Analog Input Selector Digital Output S PDIF Digital Input S PDIF G Sharp Signal Processing Engin...

Page 11: ...e TC Electronic G Minor MIDI pedal Of course other MIDI pedals can also be used For full access to all G Sharp features you should chose a MIDI pedal that can send both MIDI Control Change messages as...

Page 12: ...al We advice that you use properly shielded cables of high quality throughout your entire setup but be aware that one of the most sensitive points is the cable going from your guitar to the first piec...

Page 13: ...rallel Set Input level to 12 o clock position Set EFFECTS MIX to 12 o clock position Set REVERB MIX to 12 o clock position Adjust fine tune the G Sharp Input level so the Input LED on the front panel...

Page 14: ...position Set EFFECTS MIX to 12 o clock position Set REVERB MIX to 12 o clock position Adjust fine tune the G Sharp Input level so the Input LED on the front panel often is yellow but only rarely peaks...

Page 15: ...12 o clock position Set EFFECTS MIX to 12 o clock position Set REVERB MIX to 12 o clock position Adjust fine tune the G Sharp Input level so the Input LED on the front panel often is yellow but only r...

Page 16: ...uting to serial or parallel Set Input level to 12 o clock position Set EFFECTS MIX to 12 o clock position Set REVERB MIX to 12 o clock position Adjust fine tune the G Sharp Input level so the Input LE...

Page 17: ...er 0dB Clockwise 6dB Parallel mode serial mode LED and button Press the switch to switch between Serial and Parallel modes When this LED is lit green Parallel mode is selected When the LED is not lit...

Page 18: ...tempo that you can increase decrease using the TIMING knob With the TIMING knob in 12 o clock position the tapped tempo equals 1 4 notes With the TIMING knob in fully counter clockwise position min t...

Page 19: ...ectronic is achieved by setting the knob in 12 o clock FEEDBACK DEPTH This knob changes functionality with the selected algorithms The knob controls the Feedback parameter in All Delays The knob contr...

Page 20: ...range of each of these parameters will vary from algorithm to algorithm As an example it is possible to set a much longer decay time for a Gold Plate or TC Classic Hall than for e g Ambience Pre Delay...

Page 21: ...anel controls See illustration above no LED for the INPUT knob When the LEDs are lit they indicate when the front controls match the current settings of the active preset When changing the position of...

Page 22: ...trolled via an external software Editor For the G Sharp to respond to the editor commands the G Sharp must be in Editor mode When the G Sharp is controlled via the external software editor the front p...

Page 23: ...o the Clean Delay algorithm to hear the difference and experiment Lo Fi Deliberately squashing the sound of the delay repeats the Lo Fi delay effect allows you to make a statement Clean Delay Standard...

Page 24: ...Chorus Flanger algorithm the FEEDBACK DEPTH knob sets the depth of the effect Tremolo controls DELAY TIMING knob In the Tremolo algorithm the TIMING knob sets the speed of the Tremolo FEEDBACK DEPTH k...

Page 25: ...sound Plain Spring This reverb type is the least colored spring emulation included in the G Sharp Compared to the Classic Spring and Vintage Spring types Plain Spring appears as the most neutral of th...

Page 26: ...can t get gold enough on your sound Silver Plate The Silver Plate algorithm is a luxuriously well tempered plate reverb which gives you a perfect balance between the Tin and Gold Plate reverbs It s go...

Page 27: ...ch Key s X X Channel X X Pitch Bend X X Control Change O O Prog Change O O SysEx O O Common Song Pos X X Song Sel X X Tune System real time Clock X O Commands X X Aux Messages Local ON OFF X X All Not...

Page 28: ...I channel is set to off OF Reset Procedure If you would like to do a complete reset of the G Sharp and return to factory settings follow this procedure Power down by disconnecting the power cord Press...

Page 29: ...the G Sharp is coloring your sound in a highly unintended way You can test the effect loop of most amp types by inserting a jack cable to the send of the preamp The signal should be muted 100 If your...

Page 30: ...9 kHz 0 01 dB 48 kHz 1 4 phone jack balanced mono sense 21 kOhm 13 kOhm 24 dBu 0 dBu 12 dBu to 12 dBu 24 bit 128 x oversampling bitstream 0 70 ms 0 65 ms 44 1 kHz 48 kHz typ 92 dB 22 Hz to 22 kHz typ...

Reviews: