39/ 42
Thermostat, radiator, fan case cover
Assembly
M6×22 hexagonal flange bolts that lock the thermostat;
2. Use clamp pliers to remove the hoop connected to the radiator, remove the water pipe, use t-shaped sleeve -10# to remove
the four GB5789 M6 ×35 bolts that fix the radiator, and remove the radiator.
(note: take care to protect the radiator fins from
being damaged
);
M6×60 hexagon flange bolts fixing the fan box cover, and take off the fan box cover.
Inspection
1. Check whether the O-ring of the thermostat is trimmed. If there is a trimmed edge, replace it with a new 16.5×1.95 EPDM o
-ring;
2. Check the radiator fins for bumps and cracks. If so, replace with a new radiator;
Install
1. Put the fan box cover in the corresponding position, take five m6×60 hexagonal flange bolts (zinc
) and pre
-tighten them
diagonally, and then use the fixed torque wrench to fix the torque, the torque is 12±1.5 N.m;
2. Put the no-problem or brand-new radiator in the corresponding position, take four gb5789m6×35 bolts and pre-tighten them
diagonally, and then use a fixed torque wrench to set the torque at 12±1.5 N.m;
(as shown in the figure below, heat dissipation
the bushings at the 4 fixing holes of the device must not be missed.)
3. Install the thermostat assembly to the corresponding position of the cylinder head, and do not trim the o ring. Then screw in 2
m6×22 hexagonal flange bolts, pre-tighten and tighten with a fixed torque, the torque is 12±1.5 N.m;
4. Connect the cooling water pipe to the corresponding position of the radiator and thermostat, move the hoop to the proper
position with clamp pliers, and clamp the water pipe tightly.
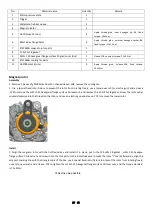
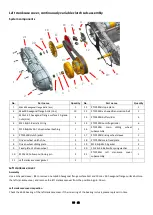
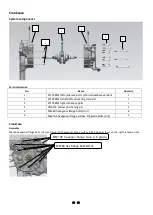
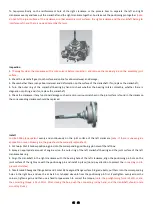
M6×22 hex flange bolts
GB5789M6×35 bolt
M6×60 hex flange bolts
Radiator fixing hole bushing


