2. Installation
2.1 Connection
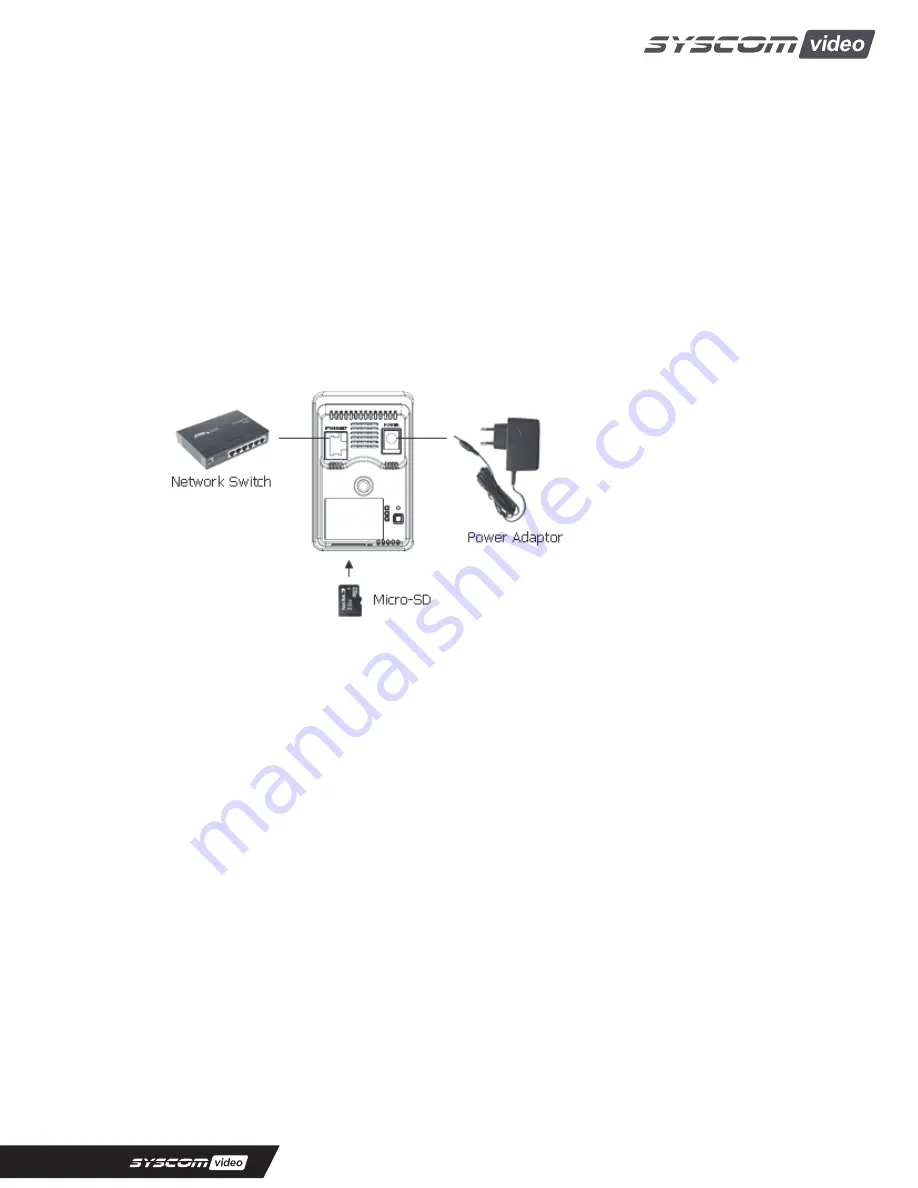
• Connecting to the RJ-45
Connect a standard RJ-45 cable to the network port of the network camera. Generally a
cross-over cable is used for directly connection to PC, while a direct cable is used for connection
to a hub.
Micro SD memory slot
Insert the SD memory card.
• Connecting the Power
Connect the supplied DC 5V power adaptor to the camera.
• Connecting the Wireless using WPS button
The NCT-2211
supports the wireless function.
Follow steps for a proper operation.
1. Make sure your AP (Access Point) and Operating System support WPS (Wi-Fi Protected Setup)
functions. WPS enables easy setup with compatible APs.
2. Press the WPS button on the camera for more 2 seconds. You can then see the Status LED is
blinking.
3. Press and hold down the WPS button on your AP (some router/AP will have a virtual button on
their management software instead). Refer to your AP's documentation for details using its WPS
functions
When WPS configuration is done, wireless connectivity will be established and the security
encryption, such as WEP or WPA-PSK, will be synchronized with the AP.
As for IP setting, the camera's use of DHCP or static IP is determined by your configuration on the
network camera via the web- based configuration of firmware. The camera's default is DHCP for
the
NCT-2211
.
10


