SunFounder Pironman
Step 4
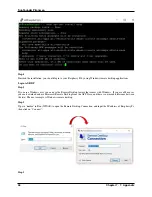
Finished the installation, you should login to your Raspberry Pi by using Windows remote desktop applications.
Login to XRDP
Step 1
If you are a Windows user, you can use the Remote Desktop feature that comes with Windows. If you are a Mac user,
you can download and use Microsoft Remote Desktop from the APP Store, and there is not much difference between
the two. The next example is Windows remote desktop.
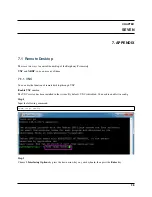
Step 2
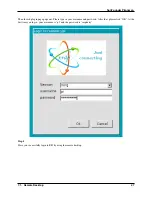
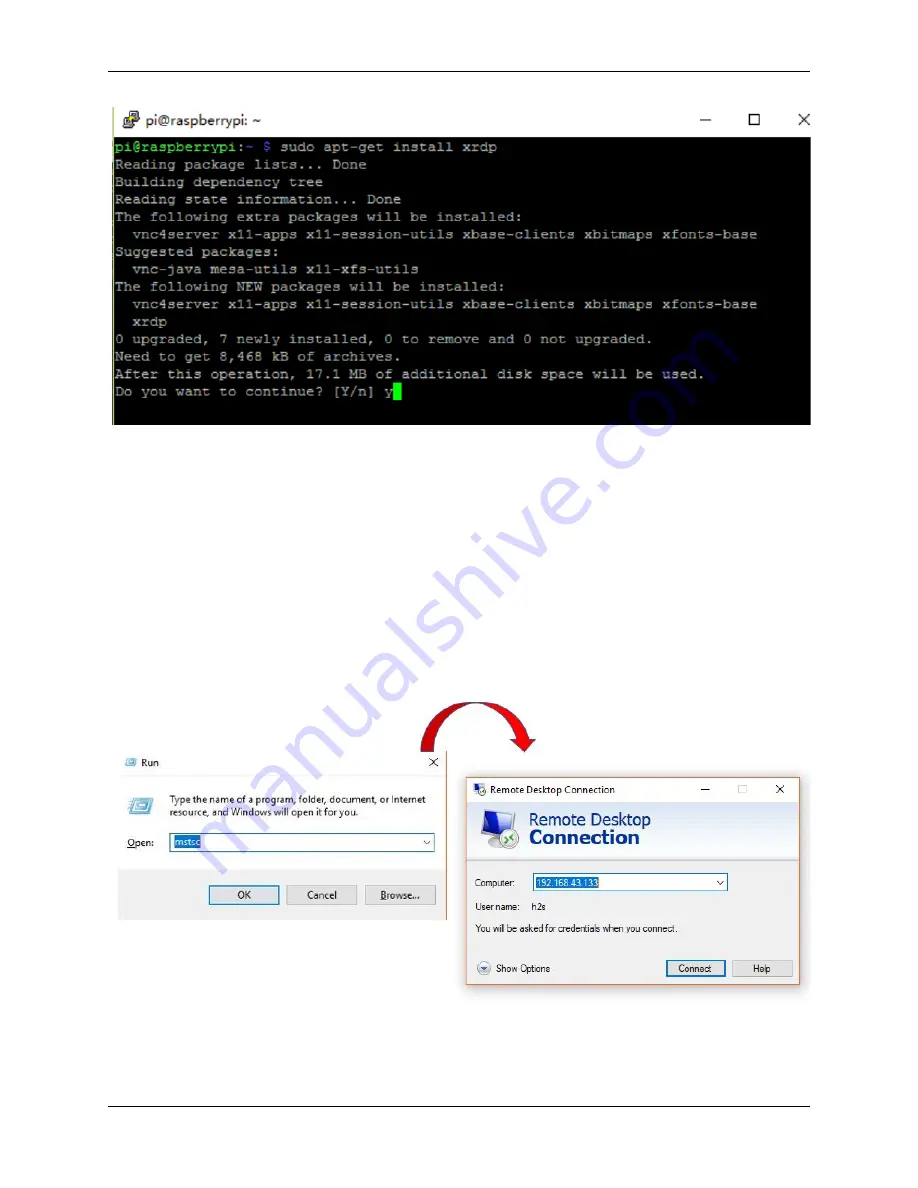
Type in “
mstsc
” in Run (WIN+R) to open the Remote Desktop Connection, and input the IP address of Raspberry Pi,
then click on “Connect”.
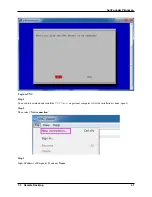
Step 3
46
Chapter 7. 7. Appendix
Summary of Contents for Pironman
Page 1: ...SunFounder Pironman www sunfounder com Nov 01 2022 ...
Page 2: ......
Page 4: ...ii ...
Page 6: ...SunFounder Pironman 2 CONTENTS ...
Page 10: ...SunFounder Pironman 6 Chapter 2 2 Component List and Assembly Instructions ...
Page 17: ...SunFounder Pironman 13 ...
Page 18: ...SunFounder Pironman 14 Chapter 3 3 Installing the OS ...
Page 30: ...SunFounder Pironman 26 Chapter 5 5 Set up the Pironman ...
Page 33: ...SunFounder Pironman 6 2 Main Board About the Jumper Caps 6 2 Main Board 29 ...
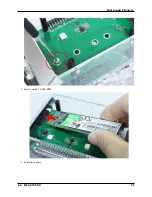
Page 38: ...SunFounder Pironman 2 Remove the screw for the M 2 SATA SSD 34 Chapter 6 6 About Hardware ...
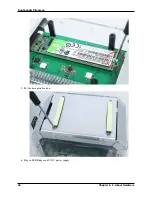
Page 39: ...SunFounder Pironman 3 Insert your M 2 SATA SSD 4 Screwed in place 6 8 M 2 SATA SSD 35 ...
Page 46: ...SunFounder Pironman Step 4 Double click the connection just created 42 Chapter 7 7 Appendix ...
Page 66: ...SunFounder Pironman 2 Select Samba SMB Server 3 Select Install 62 Chapter 7 7 Appendix ...


