CHAPTER
THREE
3. INSTALLING THE OS
Note:
• You can check the complete tutorial on the official website of the Raspberry Pi:
• If your Raspberry Pi is set up, you can skip the part and go into the next chapter.
Step 1
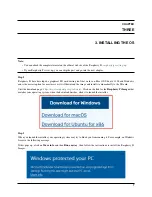
Raspberry Pi have developed a graphical SD card writing tool that works on Mac OS, Ubuntu 18.04 and Windows,
and is the easiest option for most users as it will download the image and install it automatically to the SD card.
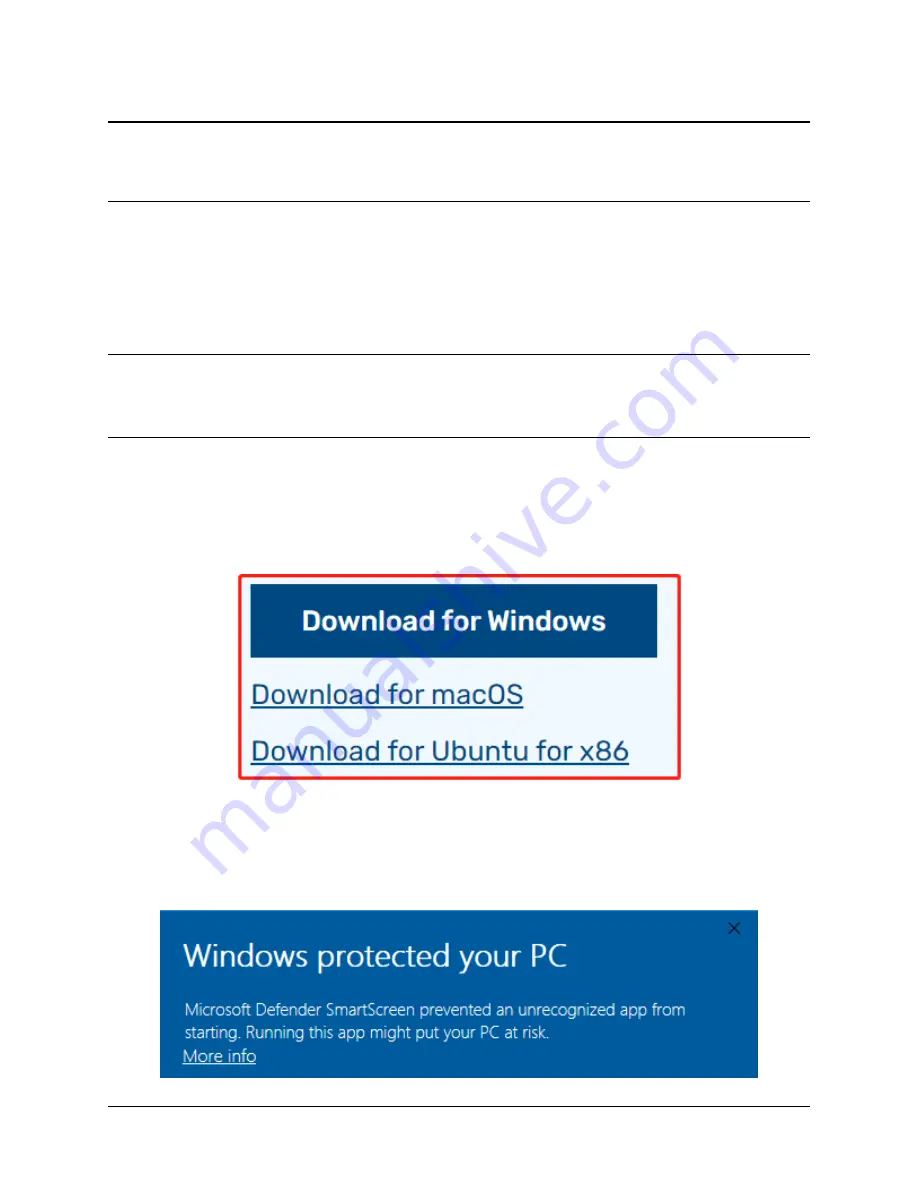
Visit the download page:
https://www.raspberrypi.org/software/
. Click on the link for the
Raspberry Pi Imager
that
matches your operating system, when the download finishes, click it to launch the installer.
Step 2
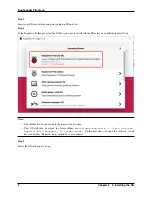
When you launch the installer, your operating system may try to block you from running it. For example, on Windows
I receive the following message:
If this pops up, click on
More info
and then
Run anyway
, then follow the instructions to install the Raspberry Pi
Imager.
7
Summary of Contents for Pironman
Page 1: ...SunFounder Pironman www sunfounder com Nov 01 2022 ...
Page 2: ......
Page 4: ...ii ...
Page 6: ...SunFounder Pironman 2 CONTENTS ...
Page 10: ...SunFounder Pironman 6 Chapter 2 2 Component List and Assembly Instructions ...
Page 17: ...SunFounder Pironman 13 ...
Page 18: ...SunFounder Pironman 14 Chapter 3 3 Installing the OS ...
Page 30: ...SunFounder Pironman 26 Chapter 5 5 Set up the Pironman ...
Page 33: ...SunFounder Pironman 6 2 Main Board About the Jumper Caps 6 2 Main Board 29 ...
Page 38: ...SunFounder Pironman 2 Remove the screw for the M 2 SATA SSD 34 Chapter 6 6 About Hardware ...
Page 39: ...SunFounder Pironman 3 Insert your M 2 SATA SSD 4 Screwed in place 6 8 M 2 SATA SSD 35 ...
Page 46: ...SunFounder Pironman Step 4 Double click the connection just created 42 Chapter 7 7 Appendix ...
Page 66: ...SunFounder Pironman 2 Select Samba SMB Server 3 Select Install 62 Chapter 7 7 Appendix ...


