CHAPTER
FOUR
4. LOGIN TO RASPBERRY PI
4.1 If You Have a Screen
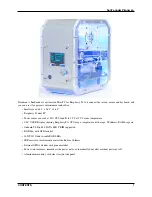
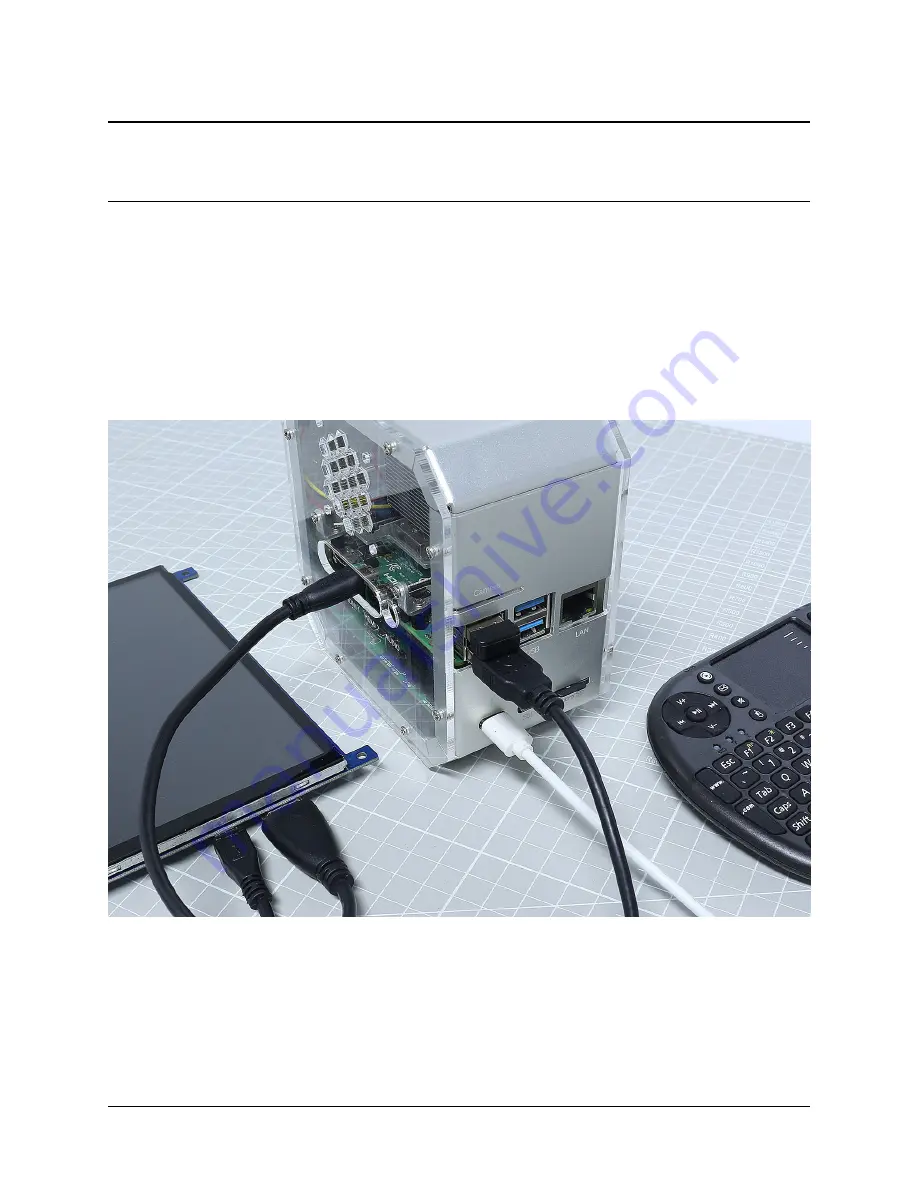
If you have a screen, it will be easy for you to operate on the Pironman.
1. Insert the TF card (Micro SD card) you’ve set up with Raspberry Pi OS into the micro SD card slot on the
Pironman.
2. Plug in the Mouse and Keyboard.
3. Connect the screen to Raspberry Pi’s HDMI port.
4. Power the Pironman with a 5V/3A Type C cable and press the power button on the Pironman to turn it on.
5. After a few seconds, the Raspberry Pi OS desktop will be displayed.
15
Summary of Contents for Pironman
Page 1: ...SunFounder Pironman www sunfounder com Nov 01 2022 ...
Page 2: ......
Page 4: ...ii ...
Page 6: ...SunFounder Pironman 2 CONTENTS ...
Page 10: ...SunFounder Pironman 6 Chapter 2 2 Component List and Assembly Instructions ...
Page 17: ...SunFounder Pironman 13 ...
Page 18: ...SunFounder Pironman 14 Chapter 3 3 Installing the OS ...
Page 30: ...SunFounder Pironman 26 Chapter 5 5 Set up the Pironman ...
Page 33: ...SunFounder Pironman 6 2 Main Board About the Jumper Caps 6 2 Main Board 29 ...
Page 38: ...SunFounder Pironman 2 Remove the screw for the M 2 SATA SSD 34 Chapter 6 6 About Hardware ...
Page 39: ...SunFounder Pironman 3 Insert your M 2 SATA SSD 4 Screwed in place 6 8 M 2 SATA SSD 35 ...
Page 46: ...SunFounder Pironman Step 4 Double click the connection just created 42 Chapter 7 7 Appendix ...
Page 66: ...SunFounder Pironman 2 Select Samba SMB Server 3 Select Install 62 Chapter 7 7 Appendix ...

