ASTOPAD
®
Instructions for Use
33
WARNING
Risk of injury!
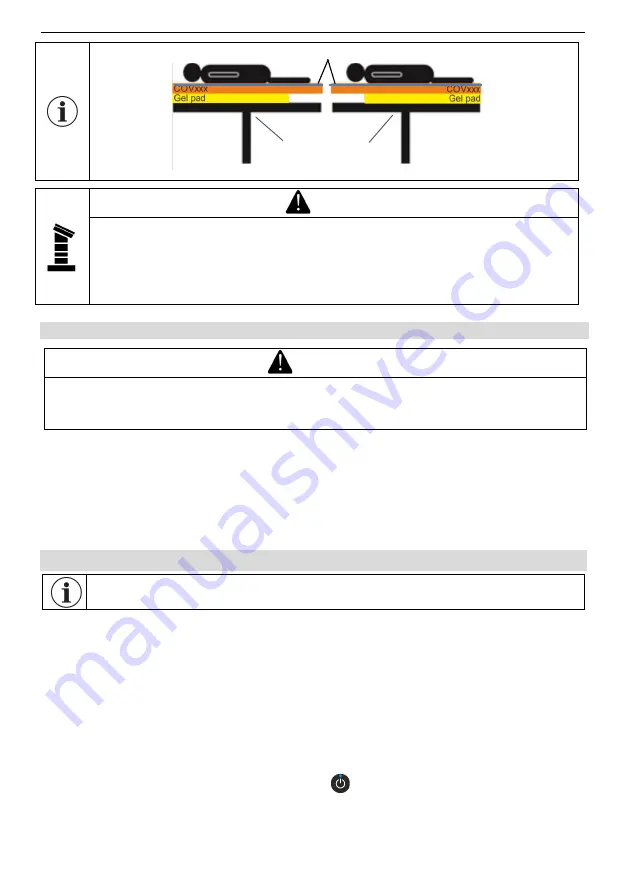
If the OR table top is tilted (adjusted through the longitudinal axis),
there is a chance that the patient will slip off. The patient must be
sufficiently secured against slipping before the OR table top is tilted or
otherwise moved out of the horizontal position!
9.1.2 Using ASTOPAD COV as a top blanket
WARNING
Risk of injury!
When applied parts of the ASTOPAD COV are used as a top blanket, ensure
that they do not obstruct the patient’s field of vision.
Always place a thin waterproof and absorbent barrier between the ASTOPAD
applied part and the patient.
Place the blanket lengthwise over the patient with the cable connection side
facing away from the patient. If areas of the patient are to be made accessible,
the direction of the blanket can be adjusted according to the operation field.
9.2 Starting the heating process
The operator should be positioned in front of the ASTOPAD control unit,
able to see easily the displays and operating elements.
1. Plug the mains plug for the ASTOPAD DUO310 control unit into the plug
socket.
2. Position the patient correctly and apply the applied parts according to the
particular case and according to
Section
3. Connect the extension connection cable with the connection cable of the ap-
plied parts. Then secure the bayonet connector by turning it to the right.
4. Place the extension connection cable/connection cable in either output A or B;
taking care that the two white dots on the plug are facing upwards. Secure the
plug connection by turning it a quarter rotation to the right.
5. Switch on the device with the “Standby”
button.
6. Check whether the self-test is automatically activated (display illuminates, all
LEDs flash, and the acoustic alarm sounds). Only then is the ASTOPAD
ready for use.
OR table
Head end
Foot end
thin barrier


