StarLab Science First Digital STARLAB Setup And Operation Manual Download Page 10

Science First

®

STARLAB

®

 • 86475 Gene Lasserre Blvd, Yulee, FL 32097 USA

800-875-3214 • 904-225-5558 • FAX 904-225-2228 • www.starlab.com

10

Application Menu

The menu runs across the top of the screen

, above the toolbar. Clicking an item in the menu re

-

veals additional options.

Changing Your Viewing Direction 

By default, Starry Night™ always opens with your view facing south, looking slightly above the ho

-

rizon. 

You can adjust this view to look in any direction

. The default cursor icon in Starry Night™ 

is a hand. When you hold the mouse button down, the hand closes, as if it’s grabbing part of the sky. 

If you hold the mouse button down and drag the mouse, your view shifts in the direction that you 

moved the mouse.

Zenith and Nadir Markers  

If you adjust your view to look high above the horizon, you might see a red marker. 

This marker 

identifies the zenith

, the point in the sky that is directly above your head. If your view is from 

a point in space, you can also look straight down to see a marker for the nadir, the point directly 

beneath your feet. If your view is from a spot on Earth or another planet, you can look only slightly 

below the horizon and cannot see the nadir.
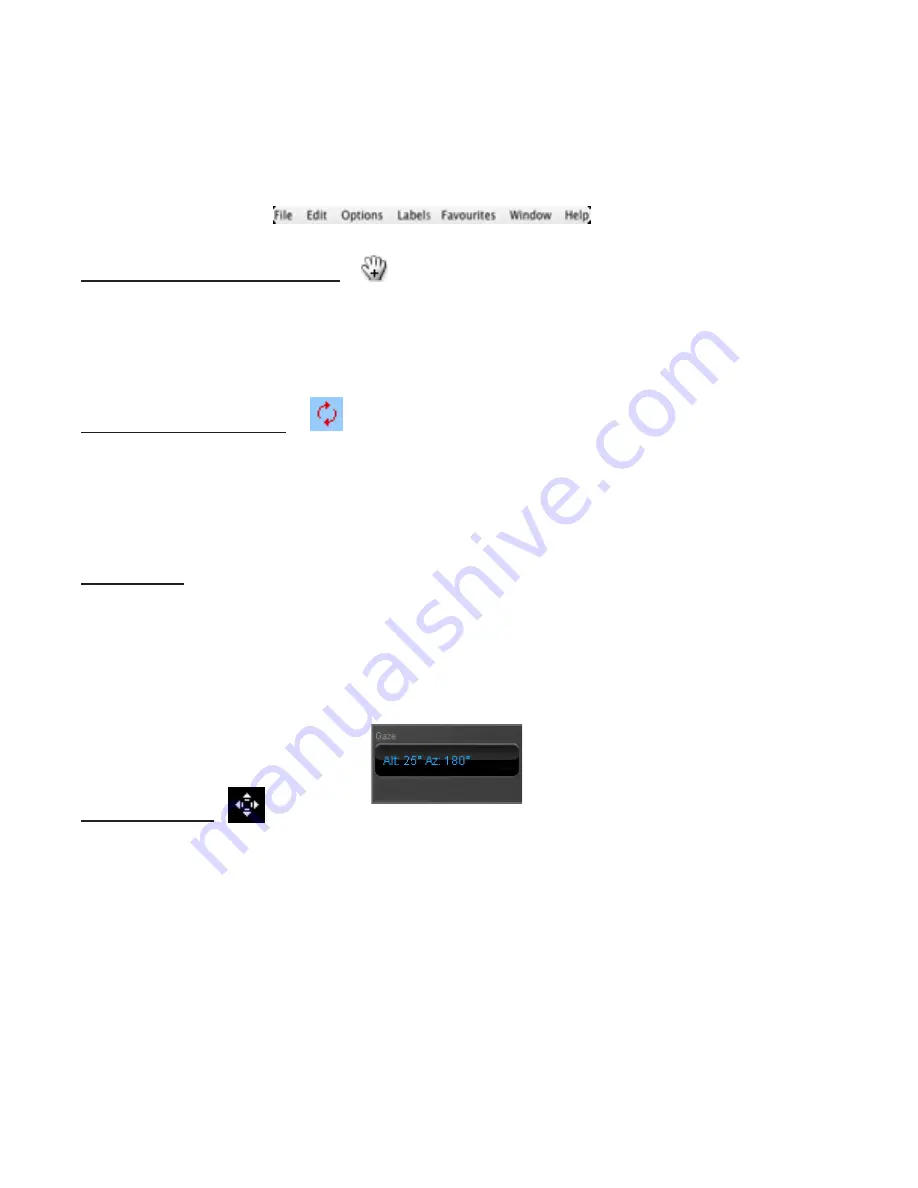
Gaze Control


The gaze display in the status bar shows the direction you’re looking.

•  Altitude (Alt) measures the angle above the horizon in degrees. An altitude of zero degree means 

you’re looking straight ahead; 90 degrees means you’re looking straight up.

•  Azimuth (Az) indicates the direction you’re facing: zero degrees is north, 90 degrees is east, 180 

degrees is south, and 270 degrees is west. You can also use the compass points marked along the 

horizon to determine your viewing direction.

Location Scroller

The location scroller is another way of changing your location when your view is from high above 

an object. The location scroller cursor looks like a compass with arrows radiating from four sides. If 

you click and drag the cursor, you can move all around an object. This offers fantastic views of the 

planets and solar system. For instance, if you’re high above the surface of Saturn, use the location 

scroller to turn the planet and see the rings from every angle.

The location scroller can help you get a real sense of the three-dimensional relationships among 

objects in our solar system and beyond. As you explore the tours in SkyGuide, the location scroller 

appears automatically when appropriate. In these cases, you can click and drag the cursor to change 

your perspective. To change the hand tool to the location scroller tool, hold down the Shift key and 

drag the cursor, or select it from the cursor drag-down menu.

Software Operation

Summary of Contents for Science First Digital STARLAB

Page 1: ...2097 USA 800 799 8301 904 225 5558 FAX 904 225 2228 www starlab com Your Digital STARLAB is entitled to FREE lifetime technical support If you have any questions not covered by this guide or if you do...

Page 2: ...al projection system available today combined with the highest possible level of service You can contact us for any reason a real person will answer the phone each time In addition to our team below w...

Page 3: ...lee FL 32097 USA 800 875 3214 904 225 5558 FAX 904 225 2228 www starlab com Speakers MacBook Pro Computer Projector Power Cord Speaker Power Cord Projector Remote Mini Display Port to HDMI Cable Compu...

Page 4: ...as the stand and also holds all of the accessories for the Digital STARLAB We have left plenty of extra room in the pockets for you to add your own equipment if so desired See pages 5 6 for further i...

Page 5: ...re 1 4 Next remove all of the components from the bottom of the case starting with the projector Lift the projector from the sides where there are spaces in the foam see Figure 2 Place it on a stable...

Page 6: ...ugged into the Mini Display Port on your laptop 9 Plug the included speakers into an open USB port on your computer 10 Once everything has been plugged in turn on the computer and projector The projec...

Page 7: ...bar at the top of the screen far left 4 Unplug the speakers 5 Unplug the power strip from the wall then remove all of the cords 6 Remove all the cords from the computer and projector 7 Make sure you...

Page 8: ...e main window The toolbar has the following set of basic controls each set of controls is explained in a later section Time and Date Time Flow Rate Viewing Location Gaze Zoom Side Panes These panes ar...

Page 9: ...to the page you last visited Click again to move back through all the pages you ve seen Click Forward to go forward again through the same pages Click Home to go to the main SkyGuide page Click Refre...

Page 10: ...tatus bar shows the direction you re looking Altitude Alt measures the angle above the horizon in degrees An altitude of zero degree means you re looking straight ahead 90 degrees means you re looking...

Page 11: ...A Customizing Time Flow By default time in Starry Night advances at the same rate as real time If you run Starry Night for one hour its time advances one hour unless you re in one of the SkyGuide tou...

Page 12: ...teps Discrete time steps move the time by a specific increment every time Starry Night updates the display Discrete time steps are often useful when you re watching astronomical events For example if...

Page 13: ...nter values in degrees degrees and minutes or degrees minutes and seconds You must also enter a time zone which is calculated according to the time difference from London England For example all commu...

Page 14: ...inding the object To turn on the stick figures for the constellations press the K key on the keyboard Press K again to toggle them off More constellation display options are located in the Constellati...

Page 15: ...nify This zooms in on the object so that you get a close up view Objects within our solar system and many deep space objects have detailed images Searching a Specific Database By default Starry Night...

Page 16: ...p to 300 000 times When you zoom in on objects you are not changing your location or your elevation Think of zooming as looking through a powerful telescope while your feet remain firmly planted Deter...

Page 17: ...e 6 When leaving the STARLAB dome the instructor should check to make sure there is no one remaining in the entrance 7 Always make sure there is a clear path out of the STARLAB in the event of an emer...

Page 18: ...jector to try other ports 3 Click the live button in the upper left hand corner of the Starry Night window This allows Starry Night to talk to the projector 4 The computer has been programmed to detec...

Page 19: ...image isn t focused 1 Your Digital STARLAB is focused in the factory However rough handling in shipping can knock the focus out of alignment Caution do not try to focus the lens before reading these i...

Reviews: