Page 32
MAINTENANCE INSTRUCTIONS
•
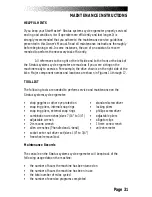
the number of exercise programs completed with a heart rate monitor
While the console is in the ATTRACT mode, the machine usage data can
be displayed by pressing [+ ARROW], [7], [7], [0], [3], and [ENTER]. The console
displays the information in the sequence listed above.
NOTE: The console may display several hours of use when your machine
first arrives due to testing at the manufacturing facility.
INITIAL SERVICE
Upon receiving your new Stratus systems cycle ergometer, use a soft, clean
towel to wipe off the dust that may have accumulated during shipping. Your new
machine will require minor assembly. Refer to the “Installation Instructions”
section of this manual for details.
PREVENTIVE MAINTENANCE
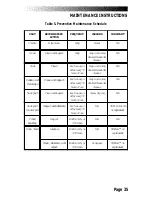
The procedures for performing recommended preventive maintenance on the
Stratus systems cycle ergometer are summarized in Table 5.
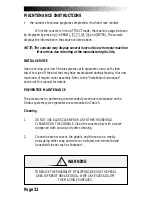
Cleaning
1.
DO NOT USE GLASS CLEANER OR ANY OTHER HOUSEHOLD
CLEANERS ON THE CONSOLE. Clean the console daily with a water-
dampened cloth and wipe dry after cleaning.
2.
Clean the exterior covers, the pedals, and the seat on a weekly
basis using either soap and water or a diluted, non-mineral based
household cleaner such as Fantastic
®
.
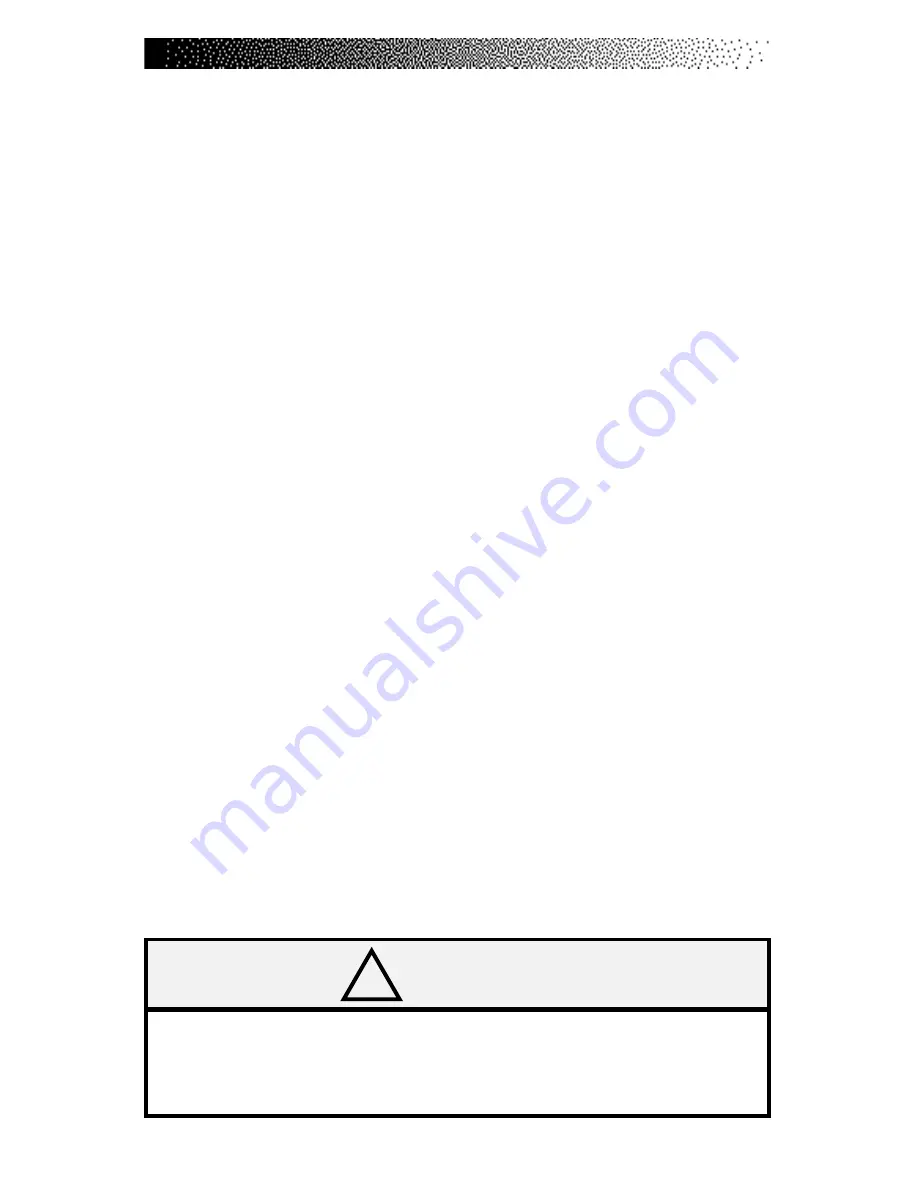
!
WARNING
TO REDUCE THE POSSIBILITY OF SLIPPING, BE SURE THE PEDAL
AREA IS FREE OF GREASE OR OIL. WIPE ANY EXCESS OIL OFF
THE MACHINE SURFACES.
Summary of Contents for STRATUS 3300 CE
Page 1: ...Stratus Systems Owner s Manual...
Page 66: ...Page 59 FIGURES Figure 11 Cover Fasteners...
Page 67: ...Page 60 FIGURES Figure 12 Cover Fastener Locations 3300 CE...
Page 68: ...Page 61 FIGURES Figure 13 Cover Fastener Location 3900 RC...
Page 69: ...Page 62 Figure 14 Right Side View 3300 CE FIGURES...
Page 70: ...Page 63 Figure 15 Left Side View 3300 CE FIGURES...
Page 71: ...Page 64 FIGURES Figure 16 Right Side View 3900 RC...
Page 72: ...Page 65 FIGURES Figure 17 Left Side View 3900 RC...
Page 73: ...Page 66 FIGURES Figure 18 Seat Adjustment Pin Assembly 3300 CE...
Page 74: ...Page 67 FIGURES Figure 19 Seat Assembly 3900 RC...
Page 75: ...Page 68 FIGURES Figure 20 Drive Chain Tension...
Page 76: ...Page 69 FIGURES Figure 21 Intermediate Shaft Assembly...
Page 77: ...Page 70 FIGURES Figure 22 J Bolt Assembly...
Page 78: ...Page 71 FIGURES Figure 23 Crank Assembly...
Page 79: ...Page 72 FIGURES Figure 24 Alternator Flywheel Assembly...

