Ashby-MF Insert
36
Read the Operations manual to determine which Thermostat Mode you want to use. You can
choose between the T-Stat Mode and the Smart-Stat mode
1.
Once you have successfully lit your stove set the thermostat to your desired heating needs.
2. Set the HEAT ADJUST selector to a position that will effectively create a rise in room
temperature above your thermostat setting. The recommended heat settings while using a
thermostat are any Heat Level between 2 through 5.
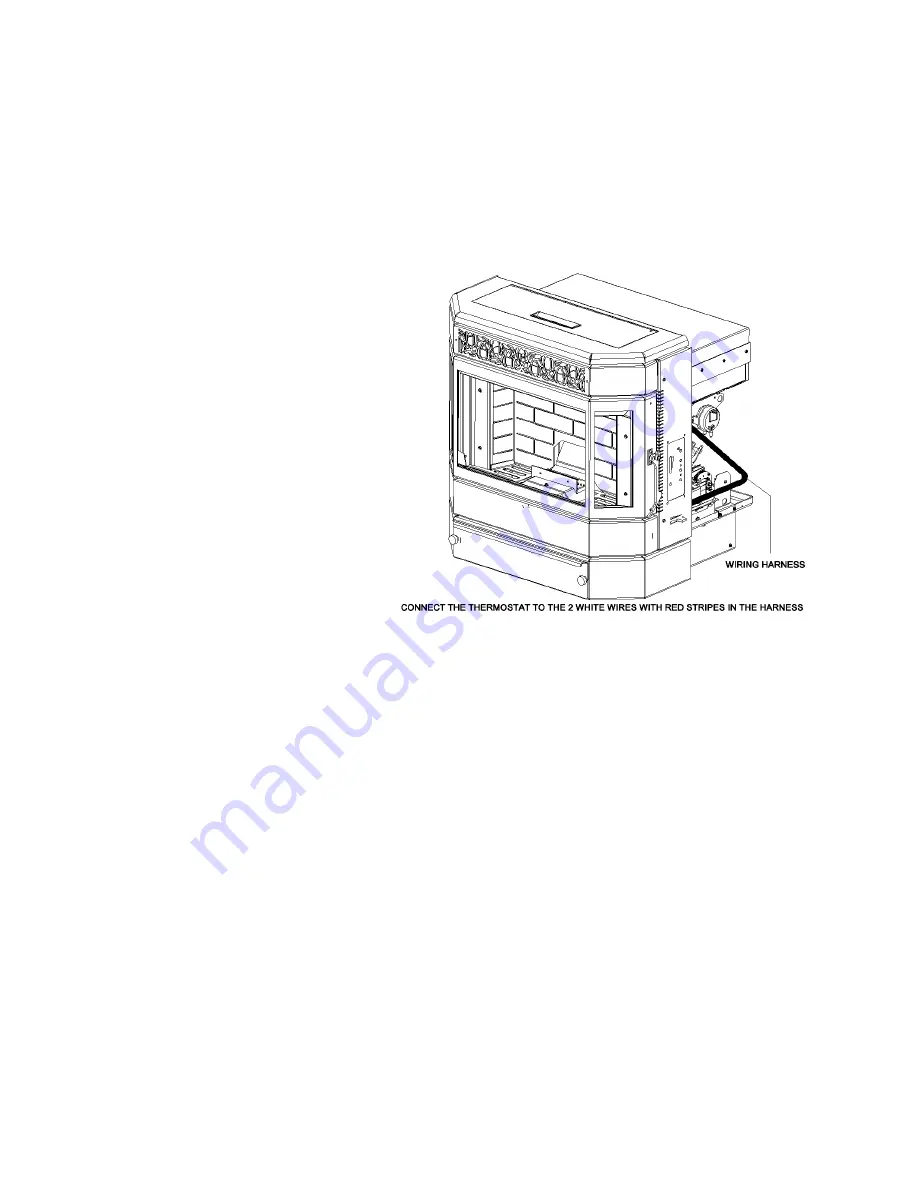
Thermostat Hook-up
Figure 21
To hook up a thermostat connect the wires from the thermostat to the two white wires with red
stripes in the harness. These wires are located on the right side of the stove and are labeled as T-
Stat.
NOTE: Installers must determine a neutral location of where to mount the thermostat panel in
order for accurate room temperature measurements.
Damper Adjustment, Pilot Settings & Thermostat Control
The Ashby-MF may be controlled
with a thermostat to help maintain a more constant temperature. The Ashby-MF may react a little
slower to a thermostat compared to a Gas or Electric insert. With this in mind the low setting can
be adjusted to increase or decrease the amount of fuel used. This will allow the heat output
during the pilot stage to be matched to the size of the home. A larger home will require more
heat than a small one. Keep in mind that the Insert is constantly producing some heat that helps
heat the home while it is in pilot mode. If the home seems too warm, and the Thermostat is never
calling for heat, a lower pilot setting may be a better fit for the home.
Remember: Choosing a lower Pilot setting may require the Draft Fan Voltage or the
Damper to be fine-tuned to match the lower feed rate. Monitor how the Ashby is operating
after a change is made and adjust the damper or Combustion Fan voltage if needed.


