


Capturing movie clips
The following information tells you how to set preferences and capture movie clips.
To set Movie mode preferences
1.
Open Network Smart Capture:
(Microsoft
®
Windows
®
XP) From the
Start
menu, click
All Programs
,
Network Smart Capture
, and click
Network Smart Capture
from the submenu.
(Microsoft
®
Windows
®
2000) From the
Start
menu, click
Programs
,
Network Smart Capture
, and click
Network Smart Capture
from the submenu.
2.
Connect your i.LINK interface compatible digital camcorder to your computer with an i.LINK
®
cable (optional). An
image appears in the Finder window.
3.
Click
Movie
to activate Movie mode.
4.
Click the
Change Setting
icon
to view the available options for your movie capture. The
Movie Clip Setting
window appears.
Mov ie Clip Setting Window
The Movie Clip Setting
window has three tabs:
Basic
— Select a folder destination for your movies when recording video clips.
Capturing Format
— Adjust the image quality, reduce noise, and set the maximum recording time for
your movie capture.
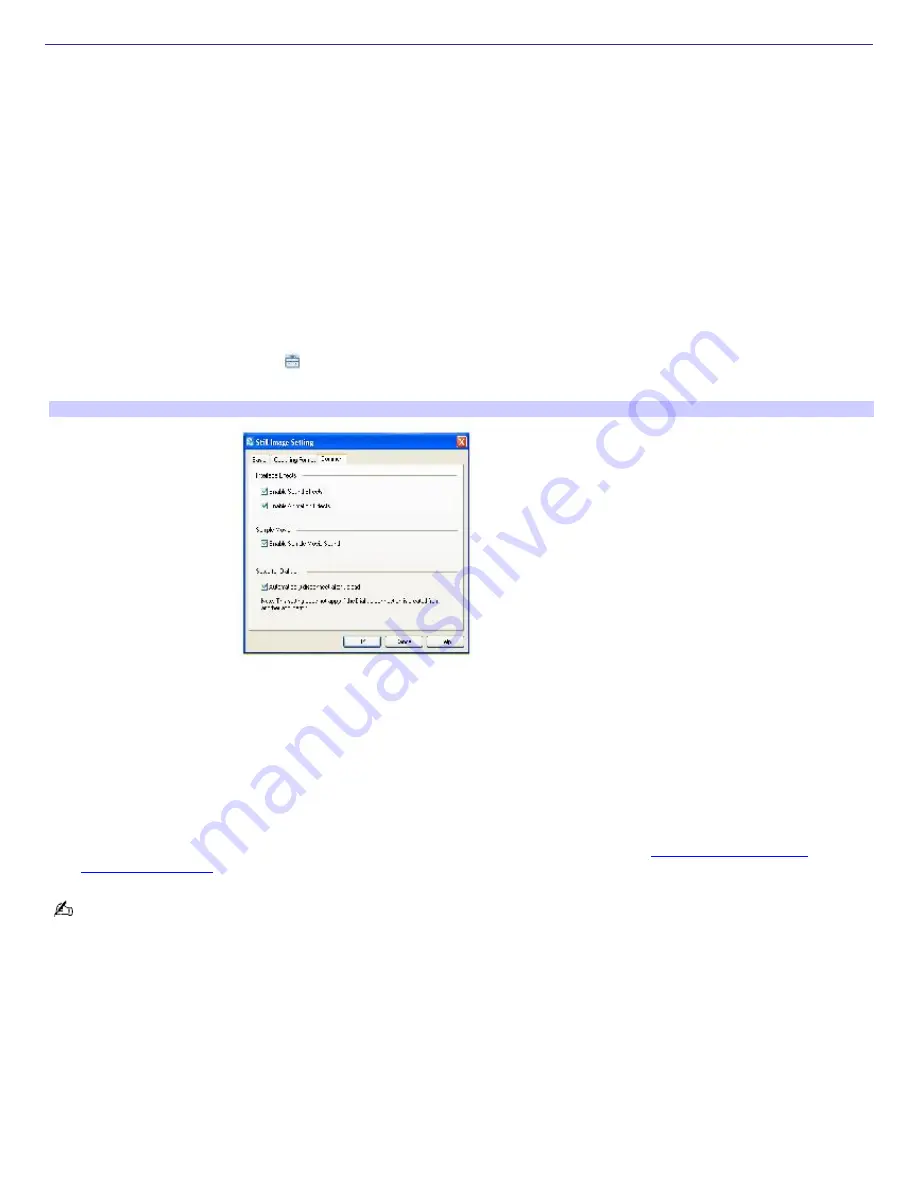
Common
— Enable or disable the sound and animation effects; enable or disable sample movie sound;
and enable or disable automatic dialup connection for uploading images.
5.
Click each tab to view options and set preferences. To apply effects to an movie, see
Applying effects to your
images and movies.
You can remove all special effects by clicking the No Effects button.
To capture a movie in Movie mode
1.
Use your digital camcorder to locate the view(s) you want to capture. When you see the desired view in either
the Finder Window or your camcorder's viewfinder, click
Record
to begin recording your movie. The Movie Player
icon appears.
2.
Click
Stop
when you have finished recording your movie. The first frame of your movie appears in the Data list to
the right of the Finder Window. Network Smart Capture automatically stops recording according to the recording
time set in the Movie Clip Setting window.
3.
You can review your movie in the Finder Window by double-clicking the movie thumbnail in the data list.
Page 176
Summary of Contents for VAIO PCG-GRX700K
Page 21: ...Internet and Network Connections Internet Connections Network Connections Page 21 ...
Page 46: ...Printer Connections Printing With Your Computer Page 46 ...
Page 66: ...Mice and Keyboards Using the Keyboard Connecting External Mice and Keyboards Page 66 ...
Page 74: ...Page 74 ...
Page 77: ...Floppy Disks PC Cards and i LINK Connections Using a Floppy Disk Drive Using PC Cards Page 77 ...


