1-6
24
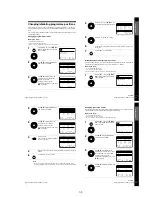
Changing/disabling programme positions
5
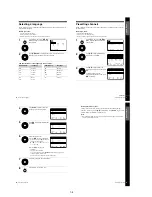
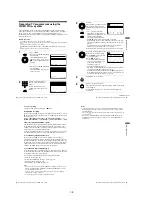
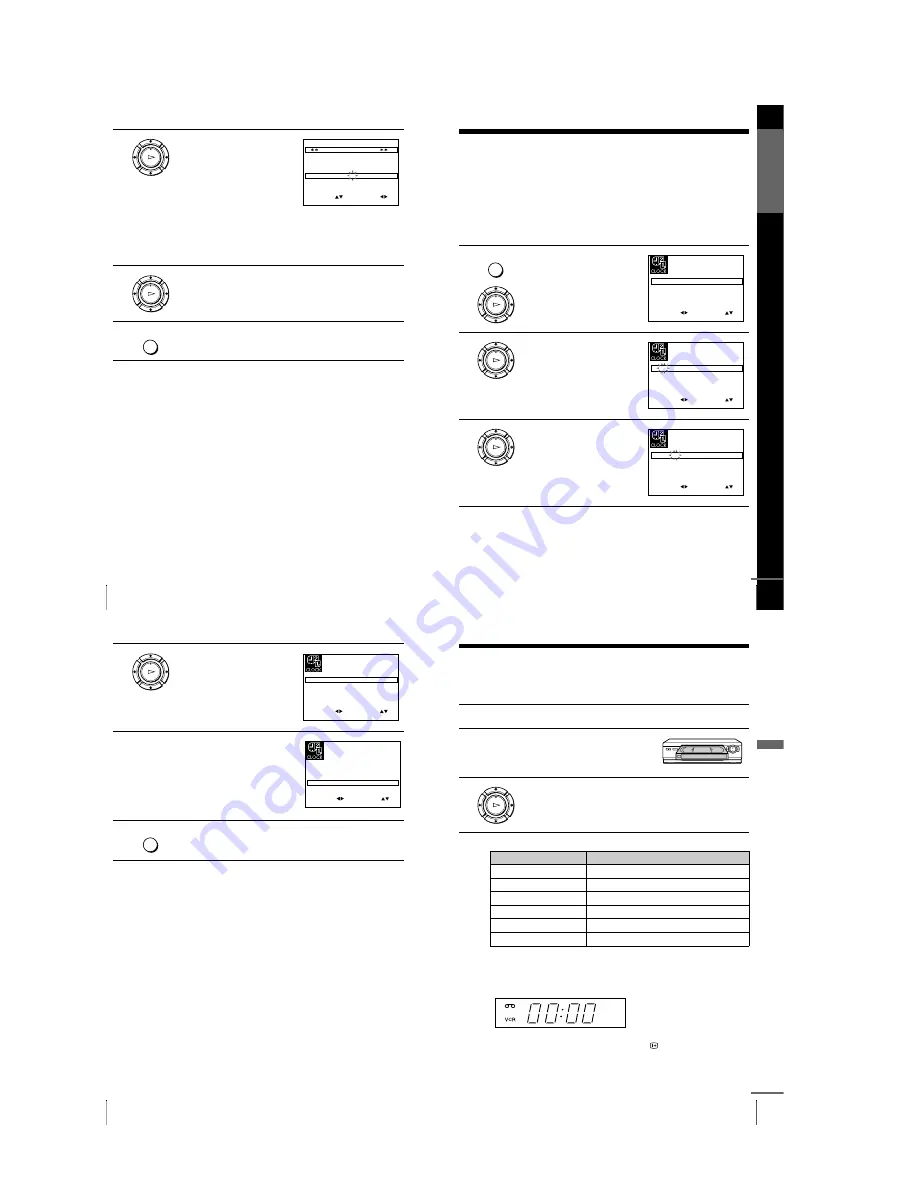
Enter the station name.
1
Press
M
/
m
to select a character.
Each time you press
M
, the character
changes as shown below.
A
t
B
t
…
t
Z
t
0
t
1
t
…
t
9
t
A
2
Press
,
to set the next
character.
The next space is flashed.
To correct a character, press
<
/
,
until the character you want to
correct is flashed, then reset it.
You can set up to 4 characters for the station name.
6
Press OK to confirm the new name.
7
Press MENU to exit the menu.
OK
PLAY
E X I T
M E N U
:
O K
:
E N D
S E L E C T
M A N U A L T U N I N G
P R
:
5
C H
:
0 3 3
M F T
:
–
N A M E
:
O
– – –
:
S E T
:
OK
PLAY
MENU
G
e
tting Star
te
d
25
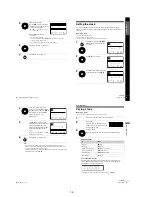
Setting the clock
Setting the clock
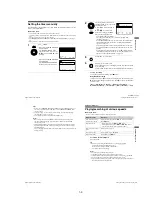
You must set the time and date on the VCR to use the timer features properly.
The Auto Clock Set function works only if a station in your area is broadcasting a
time signal.
Before you start
…
• Turn on the VCR and the TV.
• Set the TV to the video channel.
• Refer to “Index to parts and controls” for button locations.
1
Press MENU, then press
M
/
m
/
<
/
,
to highlight CLOCK SET and
press OK.
2
Press
M
/
m
to set the hour.
3
Press
,
to select the minutes and
set the minutes by pressing
M
/
m
.
MENU
OK
PLAY
S E T
M E N U
:
:
O K
:
E N D
S E L E C T
1 2
0
1
J A N
/
0
:
2 0
M O N
0 1
/
A U T O C L O C K
O N
:
:
E X I T
OK
PLAY
S E T
M E N U
:
:
O K
:
E N D
S E L E C T
1 8
0
1
J A N
/
0
:
2 0
M O N
0 1
/
A U T O C L O C K
O N
:
:
E X I T
OK
PLAY
S E T
M E N U
:
:
O K
:
E N D
S E L E C T
1 8
3
1
J A N
/
0
:
2 0
M O N
0 1
/
A U T O C L O C K
O N
:
:
E X I T
continued
27
Playing a tape
B
a
si
c
Op
er
a
tio
ns
Basic Operations
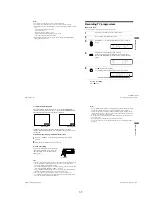
Playing a tape
Before you start...
• Refer to “Index to parts and controls” for button locations.
Additional tasks
To use the time counter
Press CLEAR at the point on the tape that you want to find later. The
counter in the display window resets to “00:00.” Search for the point
afterwards by referring to the counter.
To display the counter on the TV screen, press
DISPLAY.
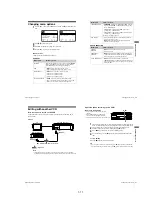
1
Turn on your TV and set it to the video channel.
2
Insert a tape.
The VCR turns on and starts playing
automatically if you insert a tape with
its safety tab removed.
3
Press
H
PLAY.
When the tape reaches the end, it will rewind automatically.
To
Press
Stop play
x
STOP
Pause play
X
PAUSE
Resume play after pause
X
PAUSE or
H
PLAY
Fast-forward the tape
M
FF during stop
Rewind the tape
m
REW during stop
Eject the tape
Z
EJECT
OK
PLAY
continued
26
Setting the clock
Tips
• If you set AUTO CLOCK to ON, the Auto Clock Set function is activated
whenever the VCR is turned off. The time is adjusted automatically by making
reference to the time signal from the station.
• To change the digits while setting, press
<
to return to the item to be changed, and
select the digits by pressing
M
/
m
.
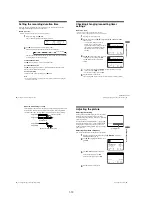
4
Set the day, month, and year in
sequence by pressing
,
to select
the item to be set, and press
M
/
m
to
select the digits, then press
,
.
The day of the week is set
automatically.
5
Press
M
/
m
to select ON for the
setting the Auto Clock Set function.
The VCR automatically set the
clock by the channel between PR01
to PR05 broadcasting the time
signal.
If you do not need the Auto Clock
Set function, select OFF.
6
Press MENU to exit the menu.
OK
PLAY
S E T
M E N U
:
:
O K
:
E N D
S E L E C T
1 8
3
8
2
S E P
/
0
:
2 0
F R I
0 1
/
A U T O C L O C K
O N
:
:
E X I T
S E T
M E N U
:
:
O K
:
E N D
S E L E C T
1 8
3
8
2
S E P
/
0
:
2 0
F R I
0 1
/
A U T O C L O C K
O N
:
:
E X I T
MENU
Summary of Contents for SLV-SE210B
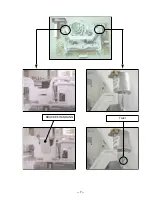
Page 7: ... 7 BRACKET HANDLING Twist ...
Page 8: ... 8 MEMO ...
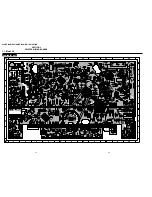
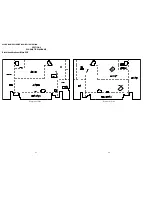
Page 25: ...SLV SE210B SE210D SE210G SX110A SX110B CONDUCTOR SIDE 3 3 3 4E ...
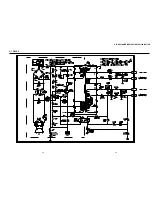
Page 27: ...SLV SE210B SE210D SE210G SX110A SX110B 4 1 S M P S Π4 3 4 4 ...
Page 28: ...SLV SE210B SE210D SE210G SX110A SX110B 4 2 Power 4 5 4 6 ...
Page 29: ...SLV SE210B SE210D SE210G SX110A SX110B 4 3 System Control Servo ˇ ˆ 4 7 4 8 ...
Page 30: ...SLV SE210B SE210D SE210G SX110A SX110B Æ Ú Ò Ô ı 4 4 Audio Video 4 9 4 10 ...
Page 31: ...SLV SE210B SE210D SE210G SX110A SX110B 4 5 TM Block 4 11 4 12 ...
Page 32: ...SLV SE210B SE210D SE210G SX110A SX110B 4 6 OSD VPS PDC 4 13 4 14 ...
Page 33: ...SLV SE210B SE210D SE210G SX110A SX110B 4 7 SECAM SLV SE210B SX110B model 4 15 4 16 ...
Page 34: ...SLV SE210B SE210D SE210G SX110A SX110B 4 8 Input Output 2 Scart Jack 4 17 4 18 ...
Page 35: ...SLV SE210B SE210D SE210G SX110A SX110B 4 9 Input Output 1 Scart Jack 4 19 4 20 ...
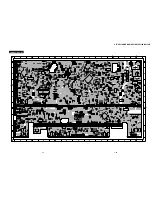
Page 37: ...SLV SE210B SE210D SE210G SX110A SX110B 4 23 4 24E ...


