24
Exporting Recorded Images
Chap
te
r 2
O
per
at
ion
an
d Cont
rol
2
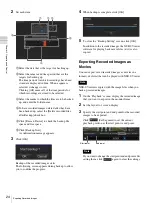
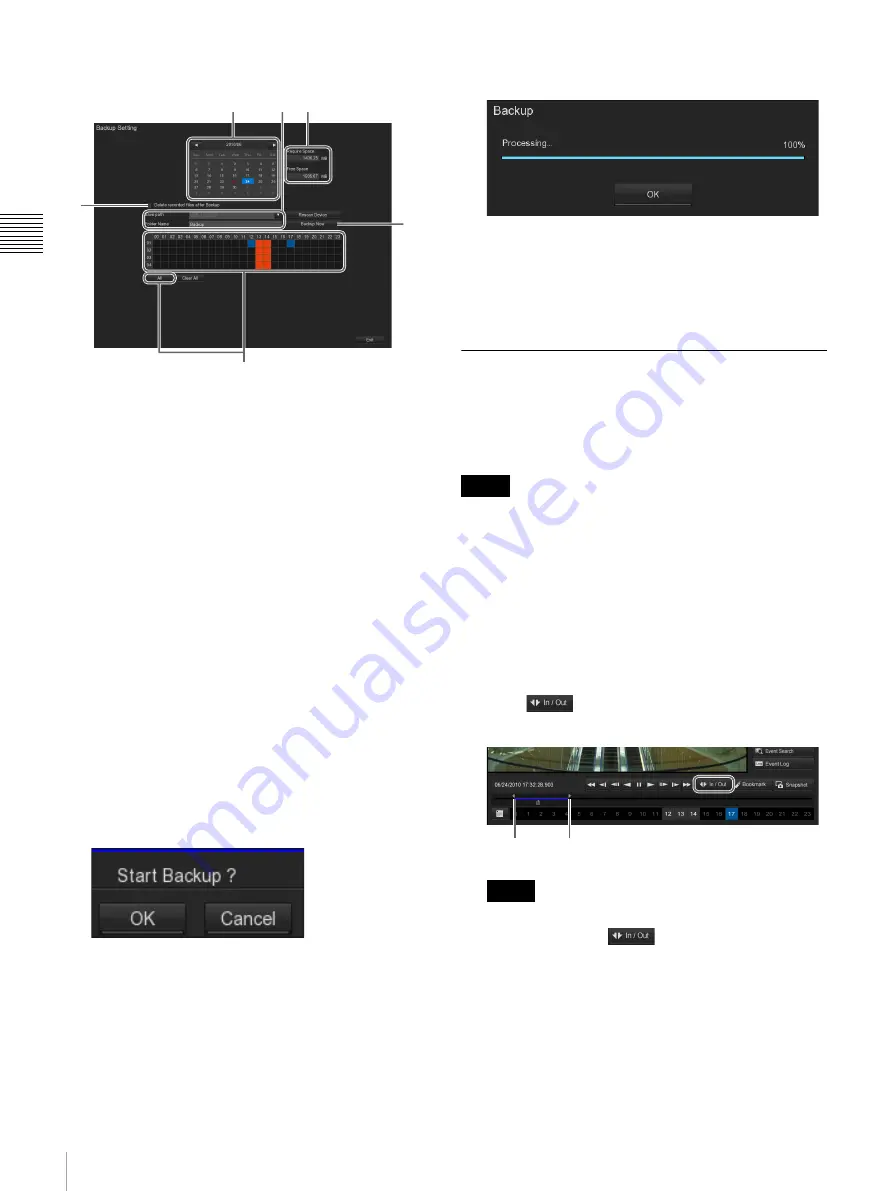
Set each item.
1
Select the date that is the target for backing up.
2
Select the camera and time period that are the
targets for backing up.
The time periods for which recordings have been
stored are displayed in blue. When a square is
selected, it changes to red.
Clicking [All] causes all of the time periods for
which recordings are stored to be selected.
3
Select the media to which the files are to be backed
up, and enter the folder name.
4
To have recorded images deleted after they have
been backed up, select the [Delete recorded files
after Backup] check box.
5
Click [Rescan Device] to check the backup file
space and free space.
6
Click [Backup Now].
A confirmation message appears.
3
Click [OK].
Backup of the recorded images starts.
The following screen appears during backup to allow
you to confirm the progress.
4
When backup is complete, click [OK].
5
To close the “Backup Setting” screen, click [OK].
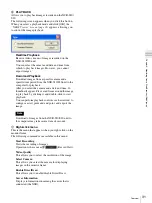
In addition to the recorded images, the NSR-S Viewer
software for playing back movie files (.dvr) is also
copied.
Exporting Recorded Images as
Movies
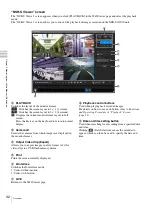
You can export saved recorded images as movies in a
format (.dvr files) that can be played with NSR-S Viewer.
NSR-S Viewer is copied with the image files when you
back up recorded images.
1
On the “Playback” screen, display the recorded image
that you want to export in the monitor frame.
2
Set the layout to 1 screen display.
3
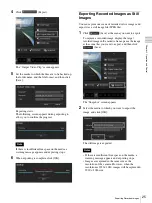
Specify the start point and end point for the recorded
images to be exported.
Click
(Set Segment) to set the current
playback position as the start point or end point.
If you want to change the start point and end point after
setting them, click
again to clear the settings.
6
4
2
1
5
3
Note
Note
2
Start point
End point
Summary of Contents for Ipela NSR-S10
Page 67: ......

