27
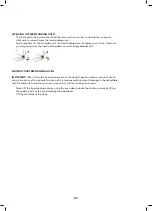
LEVELLING THE FREESTANDING OVEN
•
The feet have built in adjustment and the lower section can be twisted clockwise or anti-
clockwise to raise or lower the freestanding oven.
•
Small adjustments can be made with the freestanding oven standing up on its feet, however
you may need to lie the freestanding down to make larger adjustments.
MOVING YOUR FREESTANDING OVEN
IMPORTANT!
When lifting the freestanding oven to the upright position, always ensure that you
have a minimum of two people to carry out this maneuverer to prevent damage to the adjustable
feet. Be careful to avoid too much pressure on any two feet during this process.
•
Never lift the freestanding oven by using the oven door handle, the cooktop rail or by lifting
the cooktop trim as this may damage the appliances.
•
Lift the feet clear of the floor.
Page 22
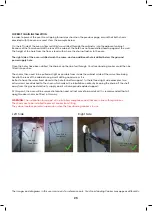
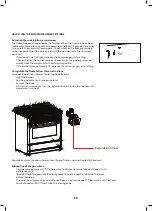
Levelling feet
Safety chain
2
1
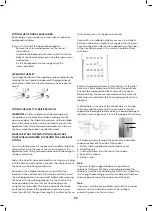
The height and level of the appliance can be adjusted by rotating the feet located
underneath the appliance at each corner. Rotate the feet to decrease or increase
the height.
The appliance must be secured against the possibility of tipping forward by using
the supplied safety chains attached to the rear of your oven. Fasten the stability
hook provided by inserting a wall plug into the kitchen wall and then connect the
safety chain to the hook via the locking mechanism.
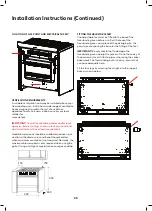
1. Safety chain (supplied and mounted to oven)
Stability hook
Chain attachment for the rear of the cooker
Rear of the cooker
Kitchen wall
2.
3.
4.
5.


