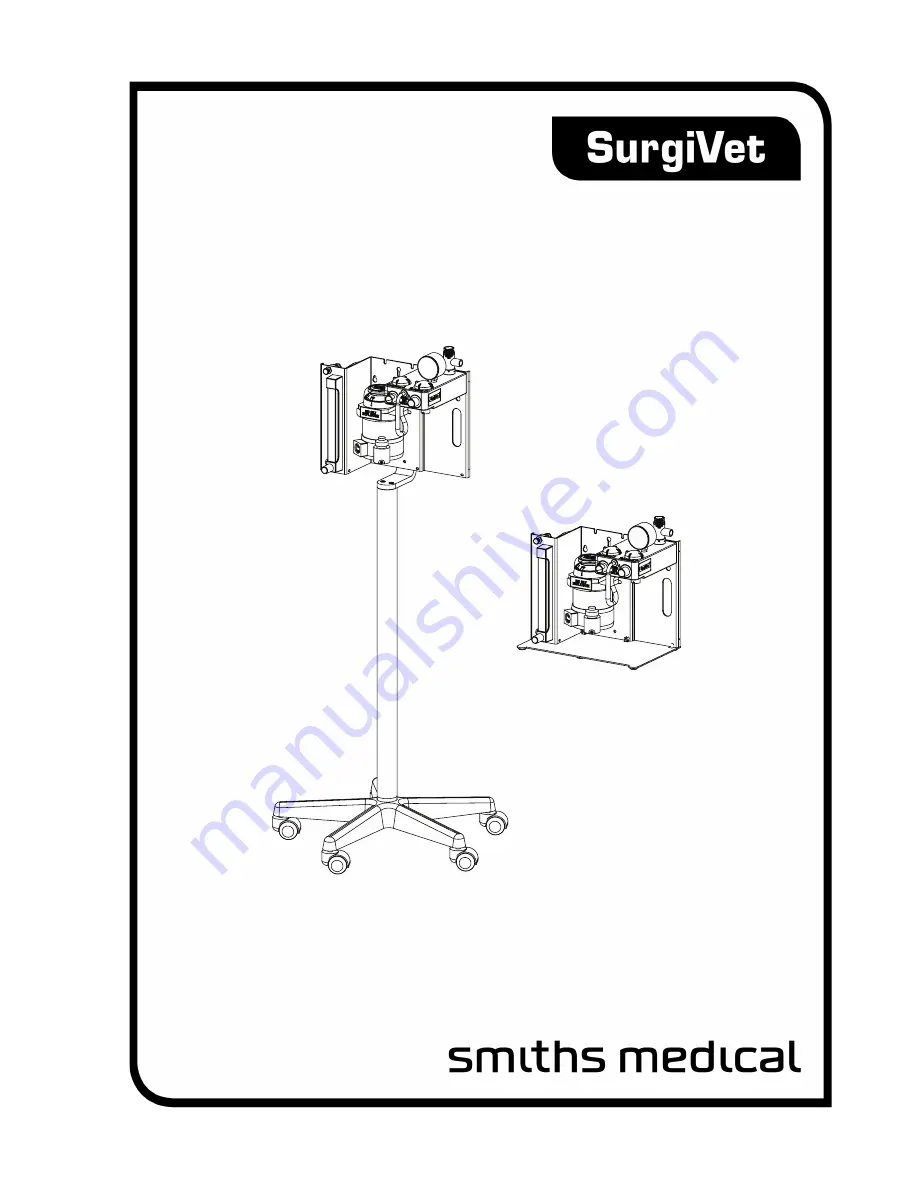
SurgiVet® Universal CDS 9000
Small Animal Anesthesia Machine
Operation Manual
-
English
Catalog Number WW V1932
Version 0, January 2009
©
2009 Smiths Medical family of companies. All rights reserved.
TM
Page 1: ...SurgiVet Universal CDS 9000 Small Animal Anesthesia Machine Operation Manual English Catalog Number WW V1932 Version 0 January 2009 2009 Smiths Medical family of companies All rights reserved TM ...
Page 2: ......
Page 3: ...ecking the shipment 2 1 Items Included With WWV9000 Series 2 1 Items Included With WWV9010 Series 2 2 Definition of parts 2 2 Chapter 3 Machine Operation 3 1 Set up Diagram and Instructions 3 1 Getting Started 3 4 Attaching the Universal F circuit 3 4 Attaching the Modified Jackson Rees MJR Circuit 3 5 Chapter 4 Routine Maintenance 4 1 Routine Maintenance 4 1 Waste Gas Scavenging System not includ...
Page 4: ...irs 4 10 Needle Valve Adjustment 4 10 Needle Valve Replacement 4 11 Chapter 5 Troubleshooting 5 1 Troubleshooting Guide 5 1 Chapter 6 Supplies and Accessories 6 1 Chapter 7 Specifications 7 1 Performance Characteristics 7 1 Environment 7 1 Physical 7 1 Calibration 7 1 ...
Page 5: ... mark are trademarks of the Smiths Medical family of companies The symbol indicates the trademark is registered in the U S Patent and Trademark Office and certain other countries All other names and marks mentioned are the trade names trademarks or service marks of their respective owners ...
Page 6: ...Table of Contents iv Surgivet CDS 9000 Operation Manual This page is intentionally left blank ...
Page 7: ... and item shall be free from defects in workmanship and materials from the date of shipment to the original purchaser Loaner Device Domestic Sales Only Smiths Medical PM Inc will for the period of warranty make available at no charge loaner devices domestic sales only if in the opinion of Smiths Medical PM Inc the repair of the customer s device would require an unreasonable period of time to repa...
Page 8: ...turned for evaluation or repair needs to be cleaned and decontaminated at your facility prior to being handled by our service technicians For cleaning instructions please refer to the appropriate section in the operations manual If equipment is returned without being cleaned and decontaminated and in our opinion it represents a potential biological hazard our service technicians reserve the right ...
Page 9: ...irective 2006 96 EC and implementing regulations all devices and service items within the scope of the Directive purchased new after August 13 2005 must be sent for recycling when ultimately becoming waste Devices and items must not be disposed of with general waste If purchased before that date they may also be sent for recycling if being replaced on a one for one like for like basis this varies ...
Page 10: ... WARNING It is the Operator s responsibility to supply and maintain an adequate waste gas removal system Failure to do so may result in operator exposure to anesthetic agents WARNING Failure to completely open the Pop off Valve during Normal Operation may result in serious injury or death Verify the Pop off Valve is in the Open position before use The pop off valve should be kept in the open posit...
Page 11: ...ting at the back of the flowmeter and may result in leakage Always use 2 wrenches to tighten the DISS female hose connection to the machine One 5 8 inch to hold the DISS male and one 11 16 inch to tighten the DISS female hose connection CAUTION Before cleaning the Absorber Canister remove all loose debris and dust Applying water to carbon dioxide absorbent causes it to harden making it difficult t...
Page 12: ...Chapter 1 Introduction 1 4 Surgivet Universal CDS 9000 Operation Manual This page is intentionally left blank ...
Page 13: ...g list with the items received to make sure the shipment is complete Items Included With WWV9000 Series Universal CDS 9000 Anesthesia Head Assembly with Pole Mount Arm 32816B1 Draw Knob 32046B1 Absorber Canister 32028B6 2 Aluminum Pole V718701 Chrome Base with casters 32821B1 20 x 1 Button Head Screw 32359B3 F Circuit with 2 Liter Bag V7309 Pop Off Occlusion Valve 32359B6 Modified Jackson Rees wit...
Page 14: ...alve Located above the Flowmeter this device is used to quickly deliver oxygen to the patient bypasses the Vaporizer It is also used to pressure test the anesthesia machine Female End Cap Universal 23 mm taper connection for most vaporizers attaches to the Vaporizer Inlet Male End Cap Universal 23 mm taper connection for most vaporizers attaches to the Vaporizer Outlet Pop Off Valve Located behind...
Page 15: ...opens to allow exhaled gas to circulate through the absorber canister and closes during inhalation to prevent rebreathing of carbon dioxide Bag Port Located below the Exhalation Valve The Bag Port is used to connect a breathing bag or a ventilator hose Absorber Canister Located behind and underneath the Inhalation Exhalation Valves It holds absorbent to remove carbon dioxide from the re circulatin...
Page 16: ...Chapter 2 Description of Controls and Features 2 4 Surgivet Universal CDS 9000 Operation Manual This page is intentionally left blank ...
Page 17: ...sult in serious injury or death CAUTION Overtightening the absorber canister draw knob may cause damage to the machine and result in leakage Do not overtighten Figure 3 1 Machine Set up Draw Knob Universal CDS9000 Anesthesia Head Assembly with Pole Mount Arm Absorber Canister Vaporizer Optional 2 Aluminum Pole Chrome Base with Casters V7330 O2 E Tank Regulator Double Tank Holder Regulator not show...
Page 18: ...rom the anesthesia 6 machine bracket Attach the vaporizer to the anesthesia machine bracket using the screws provided located on the back of 7 the vaporizer manifold Note Vaporizer mounting hardware is included with the purchase of the vaporizer only it is not included with the purchase of the anesthesia machine due to the various styles of vaporizers that the machine accommodates Note The order o...
Page 19: ...se a leak in the anesthesia machine Once the absorber canister is filled locate the guide pin at the top front of the canister Match the guide 11 pin with the notch underneath the anesthesia machine block Secure the canister in place using the draw knob CAUTION Overtightening the absorber canister draw knob may cause damage to the canister and result in leakage Do not overtighten Using a wrench at...
Page 20: ...nimals that weigh from 7 kg 15 lbs or greater NOTe When using the F circuit condensation will form in the outer tube This will create warm fresh gas which is good for the patient Locate the inhalation exhalation valves on the front of the block 1 Attach the corrugated teal tube within the clear tube to the inhalation valve left 2 Attach the short clear corrugated tube to the exhalation valve right...
Page 21: ...tlet By doing 3 so you are bypassing the absorber the inhalation exhalation valves the manometer and the pop off valve on the machine Caution Do not press the adapter at the end of the smooth clear 72 tubing in too firmly or it may be difficult to remove resulting in damage to the adapter or the Fresh Gas Outlet Place the liter bag provided with the MJR circuit onto the corrugated clear tubing of ...
Page 22: ...ne Parts View 1 V7306 Pop off Valve Assembly 32816B1 Absorber Knob 32027B1 Manometer 32166B1 Dome Caps 32405B16 Dome Cap O Rings 32369B3 Flutter Disk 32813B1 Pop Off Base O Ring 32424B2 Seal Washer Rubber side toward block V7117 Flush Valve Assembly 32056B2 Female Endcap Pop Off Occlusion valve ...
Page 23: ...ew 2 32375B8 Single O2 Flow meter 32036B1 Fresh Gas Adapter 32809B1 Absorber Inlet Outlet Bag Port 32813B2 Inlet Outlet Bag Port O Ring 32056B1 Male Endcap 32813B2 Inlet Outlet Bag Port O Ring 32809B1 Absorber Inlet Outlet Bag Port 32814B1 Absorber Gasket New Style 32817B1 6 32 x Button Head Screw 18 8SS ...
Page 24: ...Chapter 3 Machine Operation 3 8 Surgivet Universal CDS 9000 Operation Manual This page is intentionally left blank ...
Page 25: ...eaned or replaced as needed Daily Needle Valve 32413B2 Waste Gas Scavenging System not included Following the manufacturer s recommendations check that the scavenging system is properly connected turned on and does not have too much draw bag will be completely deflated if there is too much draw Visually inspect all connections to ensure waste gas is not leaking into the operating environment WARNI...
Page 26: ...lated if there is too much draw or suction If using a ventilator ensure that it is correctly configured and tubing is securely attached 7 Pressure test the machine 8 Place bag and Universal F circuit rebreathing circuit on the machine with pop off valve closed a Occlude the patient end of the circuit with finger and fill bag with the oxygen flush valve b Note The oxygen flowmeter should be turned ...
Page 27: ...noticeable deterioration Machine surfaces Clean with dilute chlorhexidine type solution 1 ounce 2 Tablespoons per gallon of water Absorber Canister To remove the absorber canister loosen the draw knob at the top of the aluminum block directly above the canister After removing the canister dispose of all particles and dust Clean with mild soap and water and dry completely Inspect for damage and rep...
Page 28: ...ration Supplies Needed 5 64 Allen Wrench 70 Isopropyl Alcohol not shown Soft Cloth Krytox Lubricant Needle Nosed Pliers not shown Loosen the small set screw located on the chrome body of the Pop off Valve See Figure 4 2 1 Open the Pop Off Valve to the fully open position counterclockwise and then turn 1 4 turn back 2 clockwise Unscrew the top black portion of the Pop off Valve and then unscrew the...
Page 29: ... back into the chrome body and tighten set screw 9 Test movement of the Valve s knob by opening and closing completely several times The knob should move 10 smoothly Open Pop Off Valve completely 11 WARNING Failure to completely open the Pop off Valve during Normal Operation may result in serious injury or death Verify the Pop off Valve is in the Open position before use Test the relief function o...
Page 30: ...e 3 ball bearings located behind 16 the set screws See Figure 4 6 Replace the existing o ring with a new o ring P N 32405B18 17 Figure 4 7 Replace O Ring Apply a thin film of Krytox to the new o ring 18 Install chrome body back into the black base 19 Position Pop Off as desired and tighten the 3 set screws using a 5 64 inch Allen Wrench 20 Perform a pressure test to confirm that the o ring is seal...
Page 31: ...for clarity It is not necessary to disassemble the Flowmeter from the machine to perform this operation Supplies Needed 5 32 Allen Wrench Isopropyl Alcohol Thin Needle Nosed Pliers Soft cloth Make sure oxygen supply is turned off Use the Flush Valve to deplete any remaining oxygen 1 Remove the plastic lens cover on the flowmeter by pinching the sides in gently and pulling it out 2 See Figure 4 9 W...
Page 32: ...gure 4 13 Remove the Ball Squirt Isopropyl Alcohol into the tube 7 Gently tip the tube back and forth allowing the alcohol to flow throughout the tube several times 8 NOTE It may be necessary to clean flowtube with a plastic bristle brush or long Q Tip Pour alcohol out of tube and properly dispose of used alcohol 9 Allow Flowtube to dry for about 10 minutes 10 Clean ball with isopropyl alcohol 11 ...
Page 33: ... located inside the 13 gaskets Top and Bottom Figure 4 15 Stainless Steal Alignment Guide While holding the Flowtube the entire time center the Flowtube and tighten screw with 5 32 Allen Wrench 14 Make sure numbers are facing out toward you Do not overtighten Replace plastic cover 15 Turn oxygen on Test Flowmeter by turning it fully On and then fully Off gradually If the ball continues to 16 stick...
Page 34: ... lower 2 set screws using the same 1 16 inch Allen Wrench 2 Pull off knob See Figure 4 17 3 Turn on oxygen supply to anesthesia machine 4 First try using your fingers to adjust metal rod to turn off flow in flowmeter See Figure 4 18 If this cannot 5 be turned with fingers use pliers taking care not to damage rod Do not over tighten as you may damage needle valve Once ball is resting on the stop pu...
Page 35: ... left in the system 2 Place a 9 16 open end wrench on the black aluminum portion of the needle valve assembly directly in front 3 of the plastic knob See Figure 4 20 Turn wrench counterclockwise to remove the old needle valve assembly See Figure 4 21 4 Turn the flow knob counterclockwise on the new needle valve assembly until it stops 5 Insert the new needle valve assembly into the flowmeter and t...
Page 36: ...Chapter 4 Routine Maintenance 4 12 Surgivet Universal CDS 9000 Operation Manual This page is intentionally left blank ...
Page 37: ...heck that the vaporizer end caps are securely in place Check for punctures around silicone hose connections Check bag and circuit hoses Check that the vaporizer fill cap is tight Patient does not respond to anesthetic agent Leak in anesthesia machine Not enough oxygen flow No agent in vaporizer Too much draw or vacuum coming from Active Waste Gas Scavenger Vaporizer is due for service Perform Pres...
Page 38: ... the Charcoal Canister Flush Valve is defective Check the size of the bag and change if needed Open Pop off valve all the way or Clean or replace Pop off valve Position charcoal canister so gas can pass through properly Check and replace Flush Valve if necessary If the SurgiVet CDS 9000 Anesthesia Machine is still not functioning properly contact Veterinary Clinical Support for help Smiths Medical...
Page 39: ...r Canister Gasket 1 32816B1 Draw Knob w Washer 1 32028B6 2 Chrome Pole 1 V7117 Flush Valve Assembly 1 32413B2 Needle Valve with Knob O2 1 Note Warranties are subject to change please contact Smiths Medical PM Inc for current warranty information For ordering information contact Veterinary Clinical Support at the address or phone number below Smiths Medical PM Inc N7W22025 Johnson Drive Waukesha WI...
Page 40: ...Chapter 6 Supplies and Accessories 6 2 SurgiVet Universal CDS 9000 Operation Manual This page is intentionally left blank ...
Page 41: ... Tapered 22 mm Flowmeter 0 2 to 4 LPM Flush Valve 10 15 LPM Pressure Manometer 60 cm H2O Oxygen Inlet DISS Male Environment Temperature Operating 15 to 32 C 60 to 90 F Storage 1 to 48 C 30 to 120 F Physical Dimensions wwV9000 wwV9010 Height 135 3 cm 53 25 in 36 8 cm 14 5 in Depth 66 cm 26 in 26 7 cm 10 5 in Width 66 cm 26 in 36 2 cm 14 25 in Weight 10 4 kg 23 lbs 6 8 kg 15 lbs Calibration Daily pr...
Page 42: ...Chapter 7 Specifications 7 2 SurgiVet Universal CDS 9000 Operation Manual This page is intentionally left blank ...
Page 43: ......
Page 44: ...H Manufactured By Smiths Medical PM Inc N7W22025 Johnson Drive Waukesha WI 53186 1856 USA www surgivet com ...