38
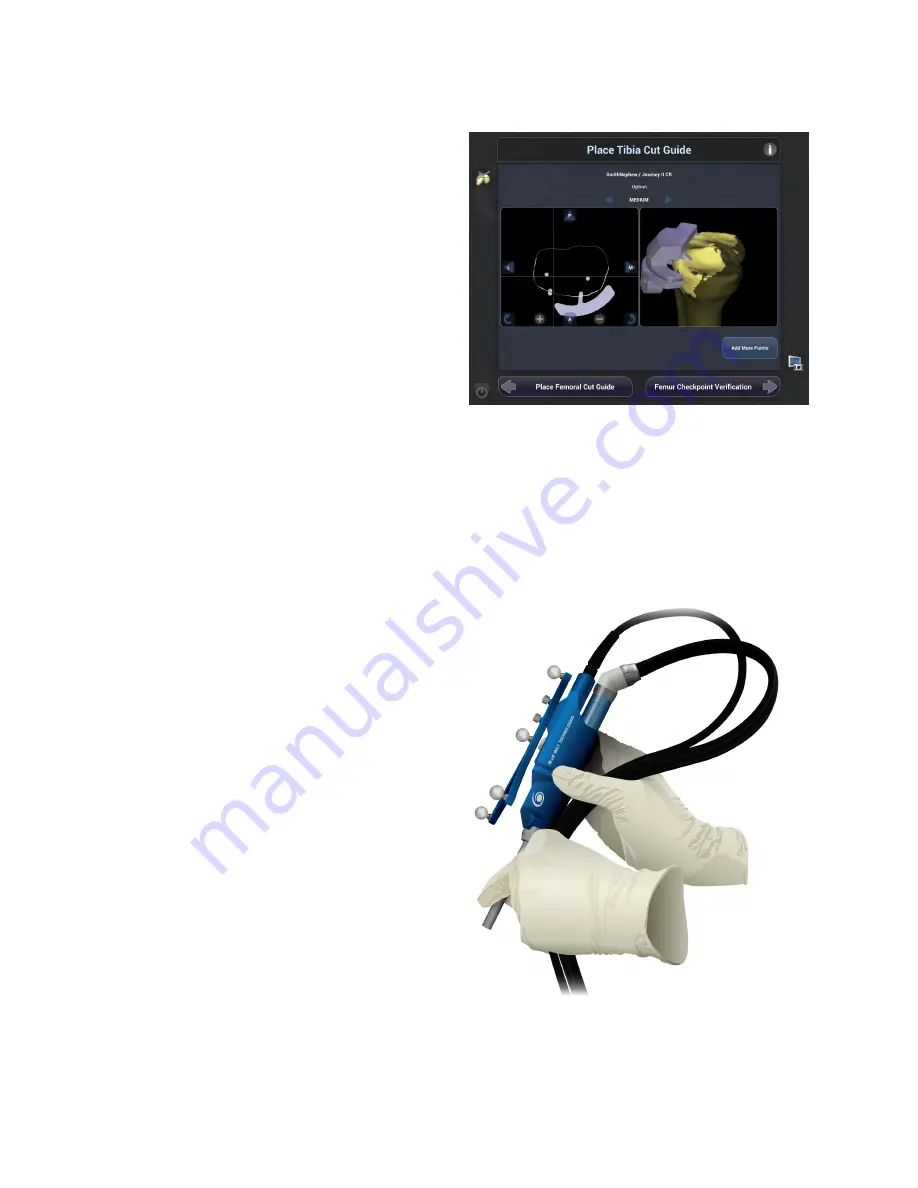
The user has the ability to move the cut guide
anterior and posterior, as well as rotate it in the
cut plane. Confirm that the cut slot portion of the
guide is not impinging on the bone surface by
referencing the cross section view, as well as the
3D view (See Figure 58). Take care to evaluate cut
guide placement such that it does not interfere
with patient soft tissue, by assessing the incision
made.
•
The user should ensure that the scrub tech has
properly assembled the NAVIO™ handpiece tool
and tug on the Anspach drill cylinder inserted into
the back of the tool. If it comes loose, hand the tool
back to the scrub tech to properly attach the two
for use. Figure 59 demonstrates the suggested way
to hold the NAVIO handpiece while orienting the
tracking spheres towards the camera. The user’s
dominant hand on the body of the tool and the
opposing hand near the tip provide support for the
cutting implement.
•
In order to activate the bur for bone cutting,
depress the black (Anspach) footpedal all of the
way down. This will activate the bur at 80,000
RPM. During exposure control, the bur will spin at
approximately full power (80,000 RPM) regardless
of exposure level. During speed control mode,
the NAVIO system control will ramp the speed
of the bur from 0 to 80,000 RPM depending on
its position in bone to be removed or bone to be
preserved as defined by the Implant Planning
section.
•
The surgical workflow during bone preparation
works as per the surgeon’s preference.
Figure 58.
Visualize the cut guide placement on the cross section
and solid surface models. Ensure that there is engagement of the
locking features onto the bone surface, especially on the concave
medial condyle. Rotate and translate the cut guide appropriately, to
gain maximum bone purchase. For the tibia, ensure that the cutting
geometry does not interfere with the anterior portion of the tibia bone
at this stage.
Figure 59.
Right-handed technique for holding the cutting tool dur-
ing bone preparation - (Do not hold the drill barrel sticking out the
back of the handpiece, as this may prevent the tool from functioning
properly).
8
Bone Cutting


