


Connect the airPoint-PRO Outdoor to your normal LAN using straight Ethernet cable. Make sure
the power to the airPoint-PRO Outdoor is ON.
By Default airPoint -PRO Outdoor runs a DHCP Client. So the IP Address will be acquired from the
DHCP Server on the LAN If your LAN doesn't have a DHCP server but instead you run the PCs
with Static IPs then you need to assign a Temporary IP Address to airPoint-PRO Outdoor in order
to configure it (see Appendix A).
l
Configuring airPoint-PRO Outdoor using a standalone PC
Connect the airPoint-PRO Outdoor to your PC using cross Ethernet cable. You can convert straight
cable to cross using a cross connector provided. Make sure the power to the airPoint-PRO
Outdoor is ON. To use the simple Monitor for configuring airPoint-PRO Outdoor, you must assign a
temporary IP address to your computer and to the airPoint-PRO Outdoor. (see Appendix B).
For Windows 98 / ME / NT / 2000 / XP
The Setup software is common to both airPoint-PRO and
airPoint-PRO Outdoor and refered to as airPoint-PRO Software.
l
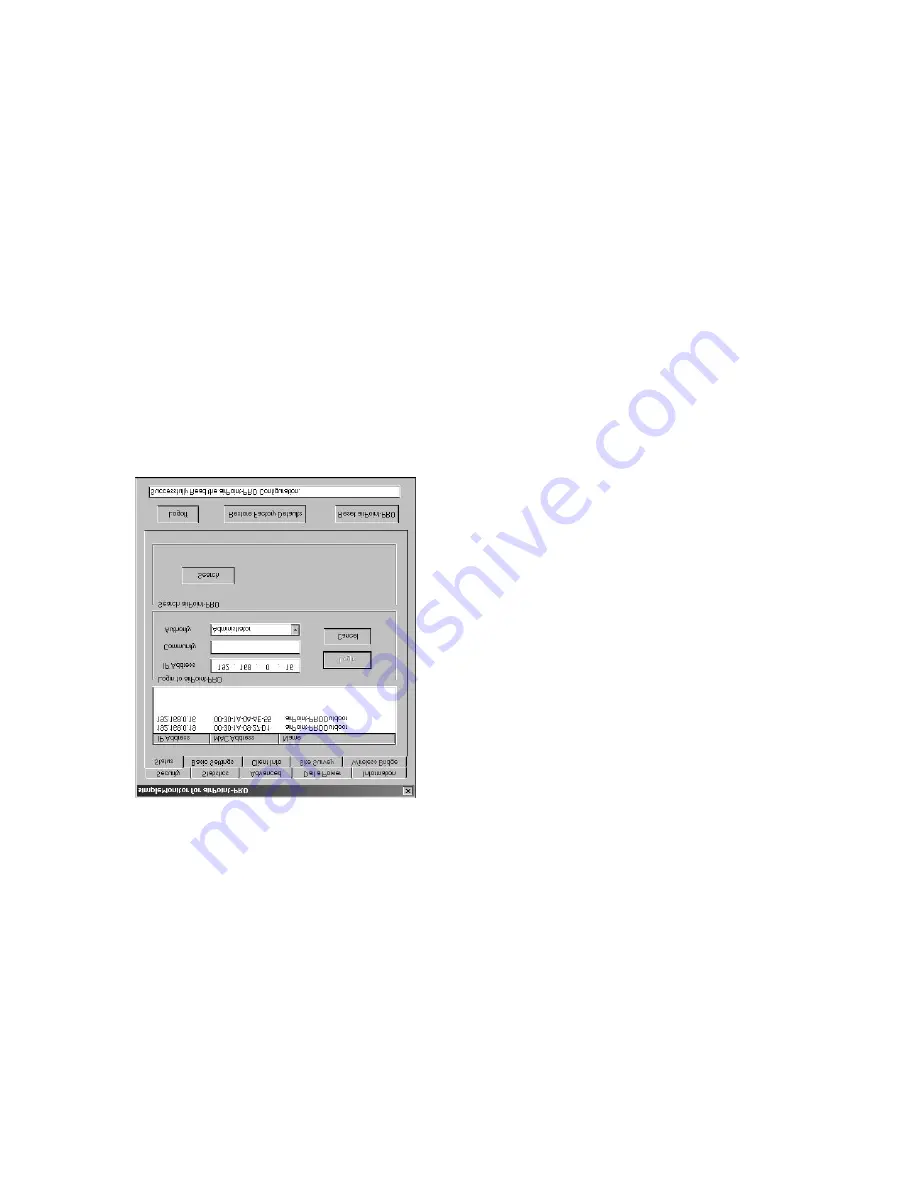
Start the simpleMonitor by clicking on the shortcut
Start -> Programs -> smartBridges -> airPoint-PRO -> simpleMonitor.
l
Click on Search.
l
Select the airPoint-PRO Outdoor and enter the community password as "public" (case sensitive)
and click on Login.
l
You will get the message 'Successfully read the Configuration' in the message window.
By default encryption is disabled which means the communication is not secure. In case you want
to have a secure communication, ensure that the WEP encryption keys are set.
l
To set the encryption keys click on security tab :
l
Select the Desired Encryption Key(64Bit/128Bit).
l
Select HEX & enter hex data (0~9, A~F).
l
Select the desired key to be used(Default Key).
l
Save the WEP Keys..
l
You will get a pop up window with the message
'WEP Encyption Keys Saved Successfully'.


