


l
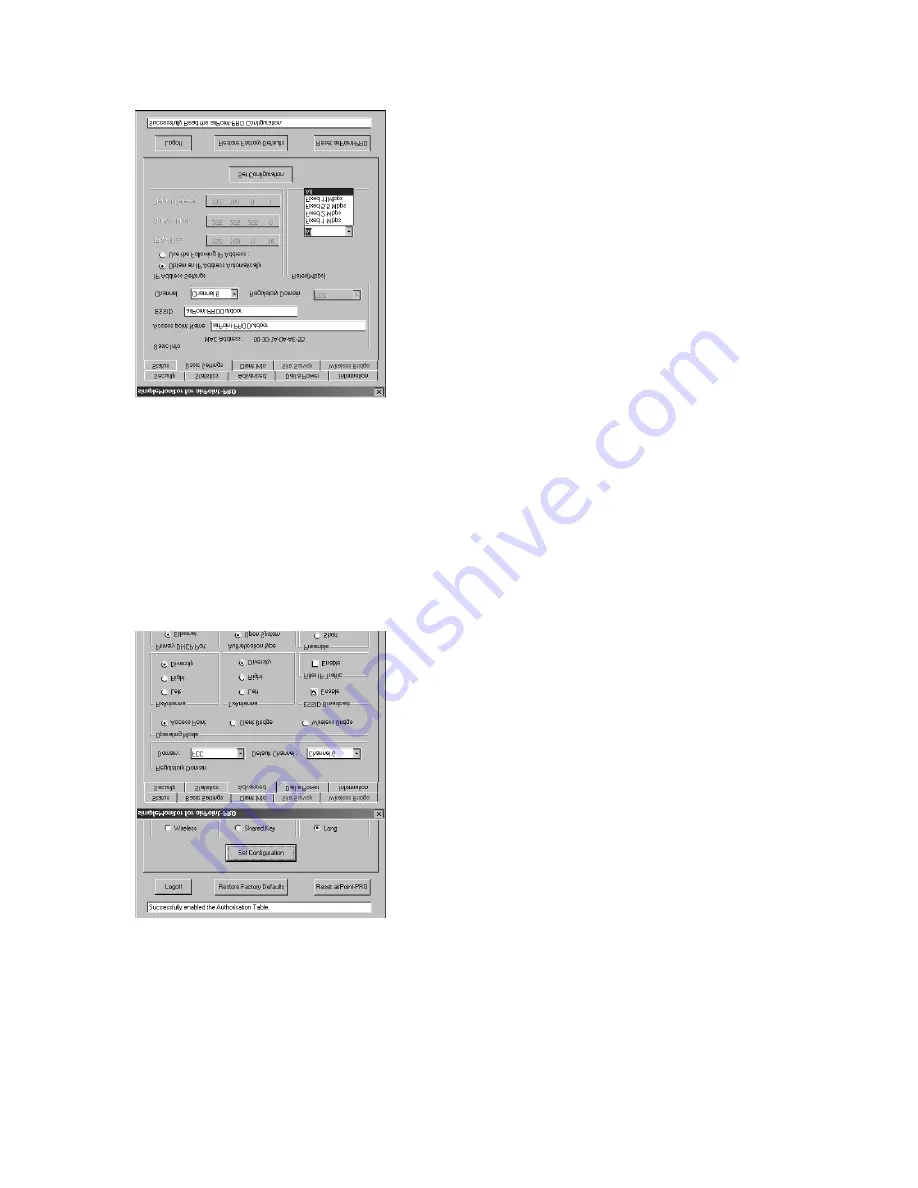
Select the 'Basic Settings' Tab.
l
Enter the desired ESSID & Access Point Name,
Channel and Rate in the respective tabs.
l
If you want to assign a new network settings to
airPoint-PRO Outdoor, enter the IP Address,
Subnet Mask and Default Gateway as per your
Network Settings.
l
Click on Set Configuration to save the
Configuration. Once the configuration is saved, you
will be logged out of simple monitor.
l
Close simpleMonitor application, and relogin into
the airPoint-PRO Outdoor ( Follow Step 1).
airPoint-PRO Outdoor can work in three different modes:
1. Access Point - Normal 802.11b compliant Access
Point. In this mode Client Info Tab will be enabled.
2. Client Bridge - airPoint-PRO Outdoor acting as
ethernet client, works in infrastructure mode.
In this mode Site Survey Tab will be enabled.
3. Wireless Bridge - airPoint-PRO Outdoor acting as
wireless bridge connecting two or more ethernet


