16
Before Installing Your 600i2 Interactive Whiteboard System
99-00850-21 B0
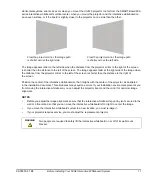
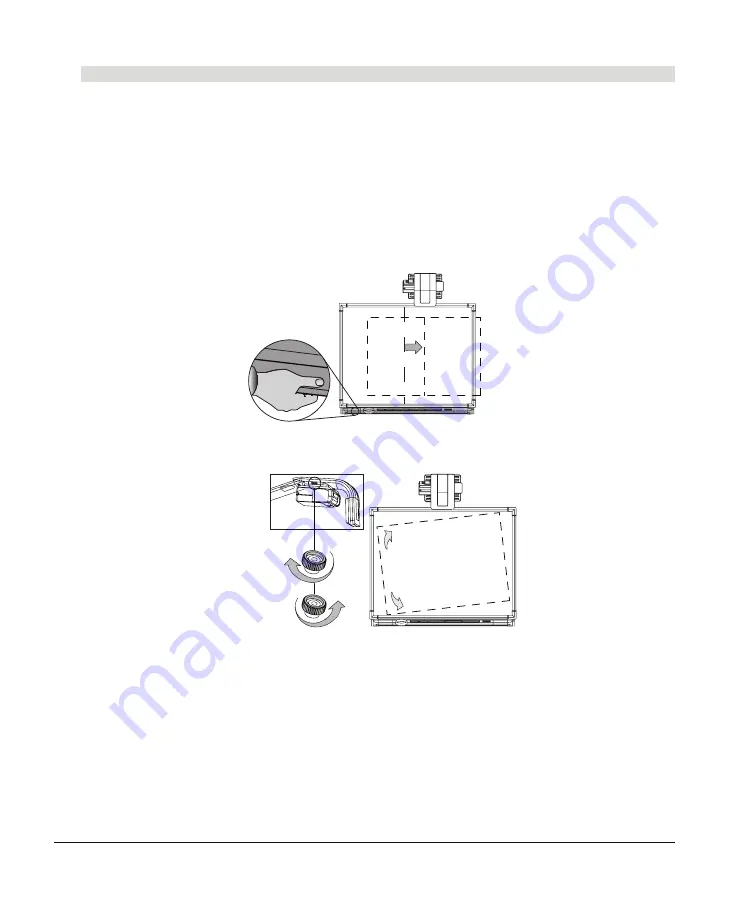
Use this procedure to obtain a rectangular image that is slightly smaller than the interactive whiteboard’s screen.
NOTES
•
We recommend that you project a computer image while performing the following steps. If you don’t have a
computer, use the projector’s
MENU
(see instructions on page 15) to change the background to blue so that
you can see the full projector image clearly.
•
Complete the procedures on the preceding pages before performing this alignment procedure.
1.
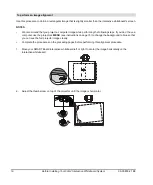
Move your SMART Board interactive whiteboard left or right to center the image horizontally on the
interactive whiteboard.
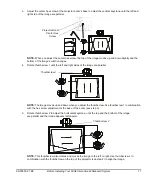
2.
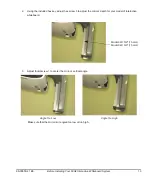
Adjust the thumbscrew on top of the projector until the image is horizontal.
To perform an image alignment
Summary of Contents for SmartBoard 600i2
Page 1: ...Configuration and User s Guide SMART Board 600i2 Interactive Whiteboard System...
Page 8: ...vi Important Information 99 00850 21 B0...
Page 16: ...6 About Your 600i2 Interactive Whiteboard System 99 00850 21 B0...
Page 30: ...20 Before Installing Your 600i2 Interactive Whiteboard System 99 00850 21 B0...
Page 50: ...40 Maintaining Your 600i2 Interactive Whiteboard System 99 00850 21 B0...
Page 64: ...54 Remote Management of Your 600i2 Interactive Whiteboard System 99 00850 21 B0...
Page 72: ...62 Index 99 00850 21 B0...
Page 73: ......

