28
Installation Manual
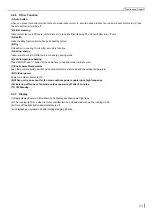
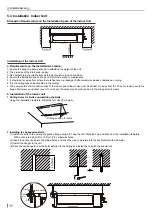
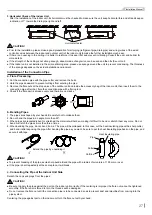
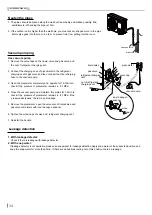
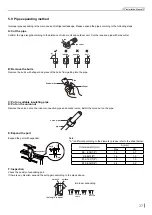
Hold the torque wrench at its grip, keeping it in the right angle with the pipe
in order to tighten the flare nut correctly.
CAUTION!
Holding spanner
Torque wrench
Torque wrench
Flare nut
Copper piping
Oil applied (improves seal air-tightness)
Oil applied (to reduce friction with the flare nut)
Spanner
Piping union
Flare nut
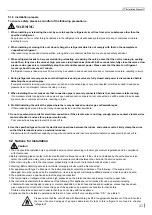
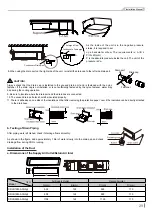
Be sure to connect the gas pipe after connecting the liquid pipe completely.
For both indoor and outdoor unit side, check the joints for gas leaking by the use of a gas leakage detector without fail when the pipes
are connected.
Stick coupler heat insulation (large and small) to the place where connecting pipes.
CAUTION!
d. Checking the Pipe Connections for Gas Leaking
e. Heat Insulation on the Pipe Joints
Flare nut tightening torque
Pipe Diameter (Inch)
1/4˝
3/8˝
1/2˝
5/8˝
3/4˝
7/8˝
Tightening Torque (N·m)
15-30
35-40
45-50
60-65
70-75
80-85
Installation of the Drain Hose
a. Installation of Drain Piping
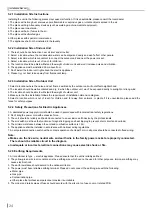
Install the drain hose in accordance with the instructions in this installation manual and keep the area warm enough to prevent
condensation. Problems with the piping may lead to water leaks.
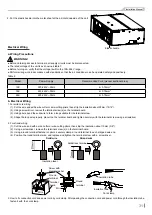
1. Install the drain hose with downward gradient (1/50 to 1/100) and no risers or traps are used for the hose.
2. Be sure there is no crack or leak on the drain hose to avoid the formation of air pocket.
3. When the hose is long, install supporters.
4. Always use the drain hose which has been insulated properly.
5. Use a suitable drain hose, and see Table 3 for its size.
6. There is a drain port on both the left and right sides. Select the drain port to match the local conditions.
7. When the unit is shipped from the factory, the drain port is defaulted to be the one on the left side (electric box side), the port on right side
has been plugged.
CAUTION!
h
Ĝ


