Operational procedures
How to choose an automatic start depth
This procedure explains how to enable use of the
automatic start depth function. The start range is
controlled by the
Start Range
button on the
Main
menu.
Note
The
Automatic Start Depth
function will only work in surface related echograms.
Example 11
Automatic Start Depth
If you set
Range
to 20 meters and enable the
Automatic Start Depth
feature,
your echogram will always be drawn to make the bottom contour appear
close to the bottom of your echogram presentation. If the water depth exceeds
20 meters, the ES70 will automatically move the start range down. The range
is kept, but as the start range is moved, the bottom contour is still visible.
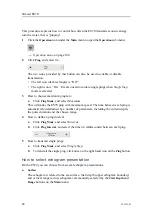
1
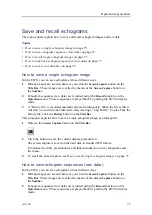
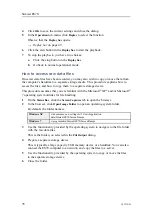
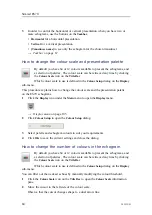
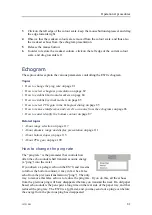
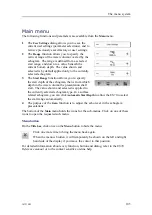
Observe the
Main
menu. It is normally located on the right hand side of the ES70
presentation.
2
Observe the
Start Range
button.
3
Click the middle of the button to open it.
4
Click to enable
Automatic Start Depth
.
5
Click the middle of the button to close it.
How to choose the vertical range
The vertical range is controlled by the
Range
button
on the
Main
menu.
Example 12
Start Range and Range in bottom related echogram
In a bottom echogram, set the
Start Range
value to –5 meters. This will
make the echogram start from 5 meters above the bottom. Set
Range
to the
5 meters plus 10 = 15 meters. The echogram will now show the area from
5 meters above the depth, and down to 10 meters “below” the bottom. The
bottom contour will appear as a flat line.
Two methods can be used.
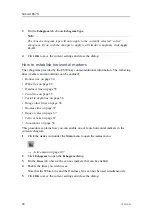
1
Method 1
:
a
Click [
+
] or [
-
] to adjust the range manually.
343539/B
89
Summary of Contents for ES70 - DOWNLOAD AND INSTALLATION REV B
Page 2: ......
Page 128: ...ISBN 13 978 82 8066 118 0 2010 Kongsberg Maritime AS ...

