Getting started
5
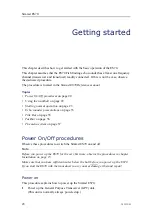
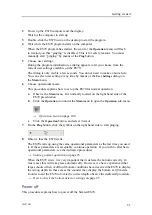
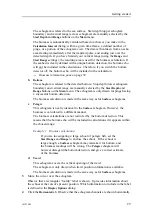
Click
OK
to save the current settings and close the dialog.
6
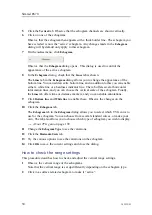
Click the
Operation
icon under the
Main
menu to open the
Operation
sub-menu.
→
on page 104
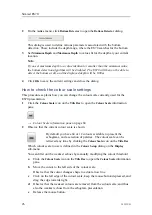
7
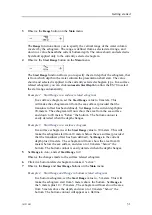
Click
Normal Operation
to open the
Normal Operation
dialog.
This dialog is used to define various parameters associated with the transceiver.
These settings include transceiver mode, the depth of the transducer surface, the
transmit power, and the pulse duration. Note that this dialog is not available in
Replay
mode.
8
For each channel (transceiver/transducer combination):
a
Set
Mode
to
Active
.
b
Set
Pulse Length
to
Auto
.
The ES70 will automatically choose the best pulse duration to fit the operational
frequency, mode and current depth. The pulse duration defines the resolution.
→
on page 113
c
Set
Power
to maximum.
d
Check that the
Depth
value is set correctly.
This is the depth of the transducer face relative to the water surface. A positive
value of for example 5 meters means that the transducer is located 5 meters
below the sea surface. For accurate depth readings, this
Depth
value must be
set up correctly.
9
Click
OK
to save the current settings and close the dialog.
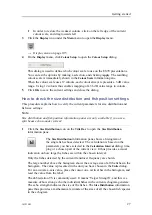
How to check the bottom detector settings
This procedure explains how to set up the bottom detector parameters (minimum and
maximum depth) using the
Bottom Detector
dialog. Use these parameters if the ES70 has
problems detecting the bottom.
The purpose of the
Bottom Detector
dialog is used to define the upper and lower depth
limits most likely to be used during the ES70 operation. In this dialog, you can also
modify the setting for
Bottom Backstep
to change the bottom detection relative to the
bottom echo.
1
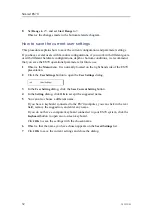
Click the
Active
icon under the
Main
menu to open the
Active
menu.
→
on page 107
343539/B
25
Summary of Contents for ES70 - DOWNLOAD AND INSTALLATION REV B
Page 2: ......
Page 128: ...ISBN 13 978 82 8066 118 0 2010 Kongsberg Maritime AS ...

