Unocode 399 PLUS
Operating manual - English
50
Copyright Silca 2010
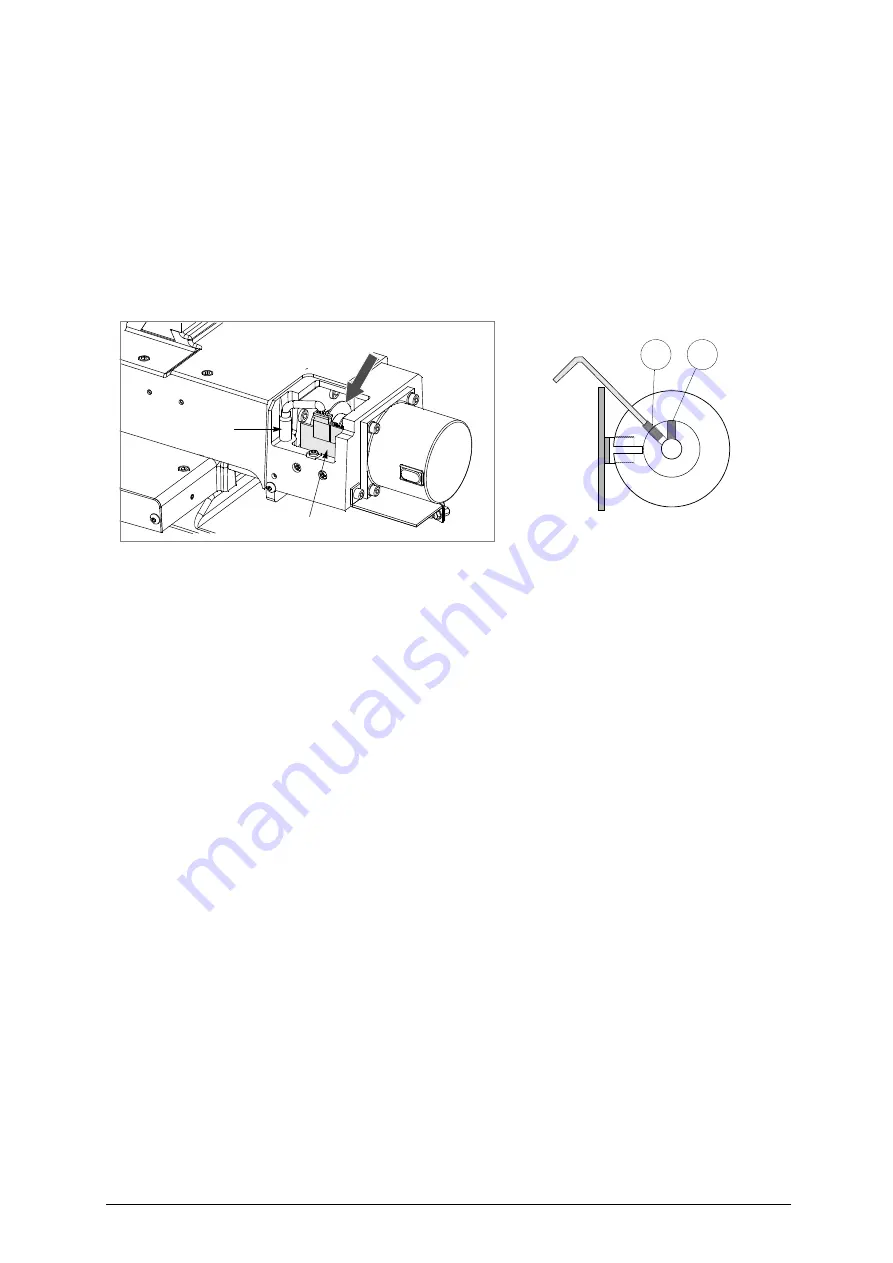
Y axis photocell:
• manually turn the Y axis disk (fig. 38) up until the display’s description changes from OFF to ON.
• use the provided allen key to tighten the (G3) grub screw.
X axis photocell:
• manually turn the X axis disk (fig. 36) up until the display’s description changes from OFF to ON.
• use the provided allen key to tighten the (G1) grub screw (fig. 36).
9) lower the protective shield.
10) press START.
- the machine goes on to a new position and is ready for regulating the sensors.
Fig. 38
Regulating the Y axis sensor:
• raise the protective shield.
• use the p rovided allen key to loosen the (C1) grub scr ew; m anually rotate the (C2) r od in b oth
directions up until the changeover point from OFF to ON is found.
• tighten the (C1) grub screw to secure the rod.
Regulating the X axis sensor:
• carefully tip the machine over.
• remove the bottom panel by unscrewing all 8 securing screws.
• loosen the (C3) screw that secures the sensor support plate. Manually move the sensor support plate
up until the display’s description goes from OFF to ON.
• tighten the (C3) screw to secure the plate back into place.
• re-position the machine back on its workbench and lower the protective shield.
• press START.
G3
G4
Y axis photocell
Y axis sensor
Summary of Contents for Unocode 399 Plus
Page 1: ...D437711XA vers 1 0 Operating manual GB...
Page 82: ......
Page 84: ......
Page 94: ...Operating manual English UNOCODE 399 PLUS Appendix XII Copyright Silca 201 0...


