10
E
Drawing with a Pen
1. Touch any of the
“Pen 1” to “Pen 3” buttons.
2. Draw on the board.
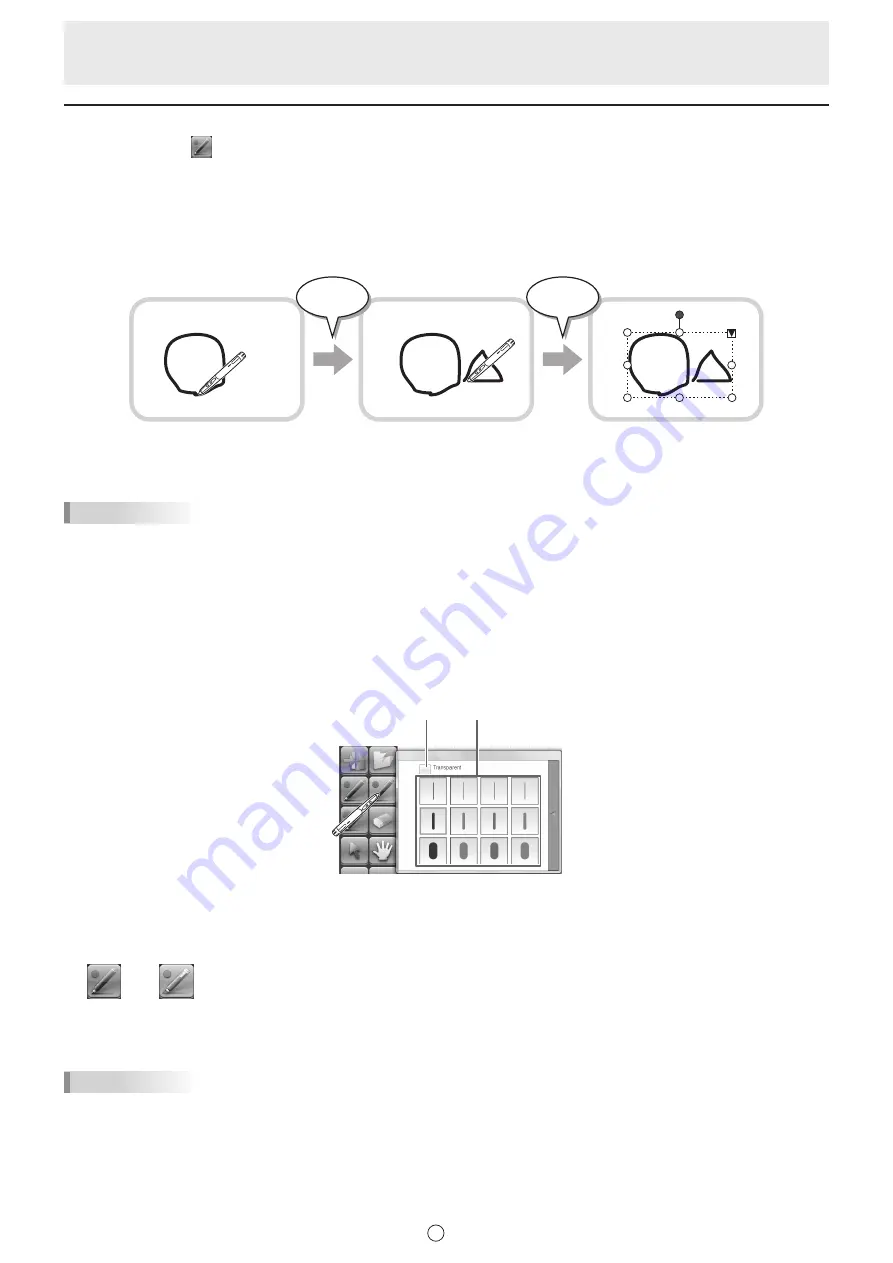
The drawn shape will be determined as an object 1 second* after you lift the touch pen from the board. If you start drawing another
object within 1 second* after you lift the touch pen from the board, the drawn shapes will be determined to be a single object even
though they are separate.
* This period can be changed. (Page 20)
Draw a shape.
Draw another shape.
Both shapes are determined
as a single object.
Less than
1 second
After
1 second
TIPS
• You can switch through “Pen 1” to “Pen 3” and “Eraser” by repeatedly pressing Function Button 2 of the touch pen.
To change functions using Function Button 2, select the touch panel driver “Properties”, and set “Function Button 2” to “Pen
Software Link” on the “OPERATION SETTING” tab.
• For details about objects, refer to page 12.
• In certain cases, such as when a button on the toolbar is touched, the drawn shape will be fixed as an object before the
specified time elapses after the touch pen is lifted from the board.
n
Changing the color and thickness of the pen
The “Pen 1” to “Pen 3” palettes can be used to change the pen function settings.
To display the palette, touch the button of the selected pen once again.
(1)
(2)
(1) Check this box to make the line transparent.
The pen icon changes when this setting is enabled.
Normal Transparent
(2) Set the color and thickness of the line.
The palette is closed.
TIPS
• The method of closing the palette can be changed. (Page 20)


