39
Recording to HDD
Direct Recording to HDD
HDD
Explained below is the standard procedure
for recording the programme being viewed
onto HDD.
• A maximum of 12 hours can be recorded
onto HDD in one direct recording session.
• A maximum of 199 programmes can be
recorded (saved) onto HDD.
NOTE
• Also direct recording to a DVD-RW/R is
possible. (Page
41
)
• Video for which recording is prohibited
cannot be recorded.
• The content being recorded will not be
successfully recorded if power failure
occurs or if power cord is accidentally
unplugged.
Preparation for Direct Recording
• Perform “CLOCK SETTING” and
“CHANNEL SETTING”. (Pages
28-30
)
• When you record NICAM broadcast, set
“NICAM” setting to “AUTO”. (Page
108
)
• When recording to the HDD, the recorded
data is the same as that recorded to a
DVD-RW in VR mode.
• After recording a programme on your HDD,
when you want to dub (copy) it to a video
format DVD-RW/R without degrading the
image quality, set the “HI SP DUB SET-
TING” to “YES”. (Pages
59
,
104
)
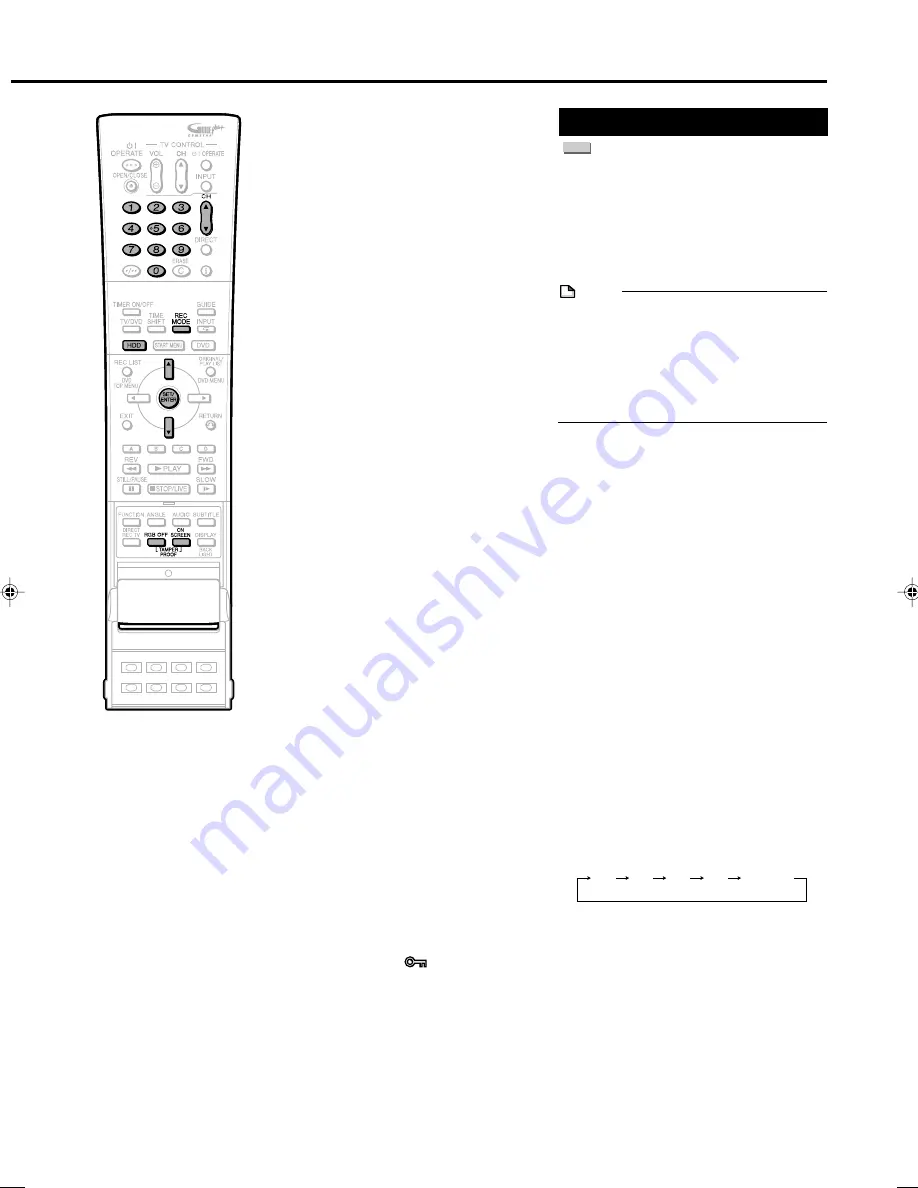
1
Press
HDD
to select HDD mode
.
• The HDD mode indicator on the Front
Panel Display appears.
• HDD mode is selected automatically
when the power is turned on.
2
Press the
Number
buttons or
CH
'
/
"
to select the channel to
be recorded.
3
Press
REC MODE
to select the
recording mode.
• The recording mode changes as
shown below each time the button is
pressed.
• Recording mode set by selecting
“MN
gg
” is the recording mode set
on the “REC MODE SETTING” screen
(page
44
).
XP
SP
LP
EP
MN
gg
High-Speed Dubbing Priority
(Page
59
)
• This Recorder has a high-speed dubbing
function. The High-Speed Dubbing Priority
function can be used when dubbing from
HDD to video format DVD.
• This setting must be specified in advance
when performing high-speed dubbing from
HDD to an DVD-R or video format DVD-RW
disc.
• If you set high-speed dubbing priority,
there will be restrictions, such as the
inability to edit at the frame level, when you
edit the video.
* When performing high-speed dubbing to a
VR format DVD-RW disc, this setting is not
necessary.
Chasing Playback (Page
37
)
• This lets you playback and watch a
programme from the beginning while it is
being recorded on HDD.
Simultaneous Recording/
Playback (Page
79
)
• This lets you playback and watch a
programme recorded on HDD, or a DVD or
CD, while recording another programme on
HDD.
• You can use the HDD playback function
even while you record another broadcast to
DVD or a programmed recording to DVD is
performed.
Cutting out Commercials
(Pages
83
,
92
)
• After recording is finished, you can cut out
commercials and other unnecessary
scenes by calling up the “ERASE SCENE”
function.
(Commercials cannot be cut out automati-
cally during recording.)
• With video recorded to a video format DVD-
RW/R, it is not possible to erase scenes.
Tamper Proof
• You can activate the Tamper Proof setting
so that pressing buttons by mistake will not
interrupt recording or timer recording.
1
Press and hold
TAMPER PROOF
(
RGB OFF
and
ON SCREEN
together)
for more than 2 seconds.
2
Each time you perform this operation,
the function is activated or deactivated.
• If you try to operate the Recorder while
Tamper Proof is set, “
” blinks in the
Front Panel Display and tells you that
Tamper Proof is set.
HR480H-036-044
2005.4.5, 1:31 PM
39
Summary of Contents for DV-HR400H
Page 131: ......


