


15
SETUP
1
7
Click the "Printer Driver" button.
8
Click the "Standard installation"
button.
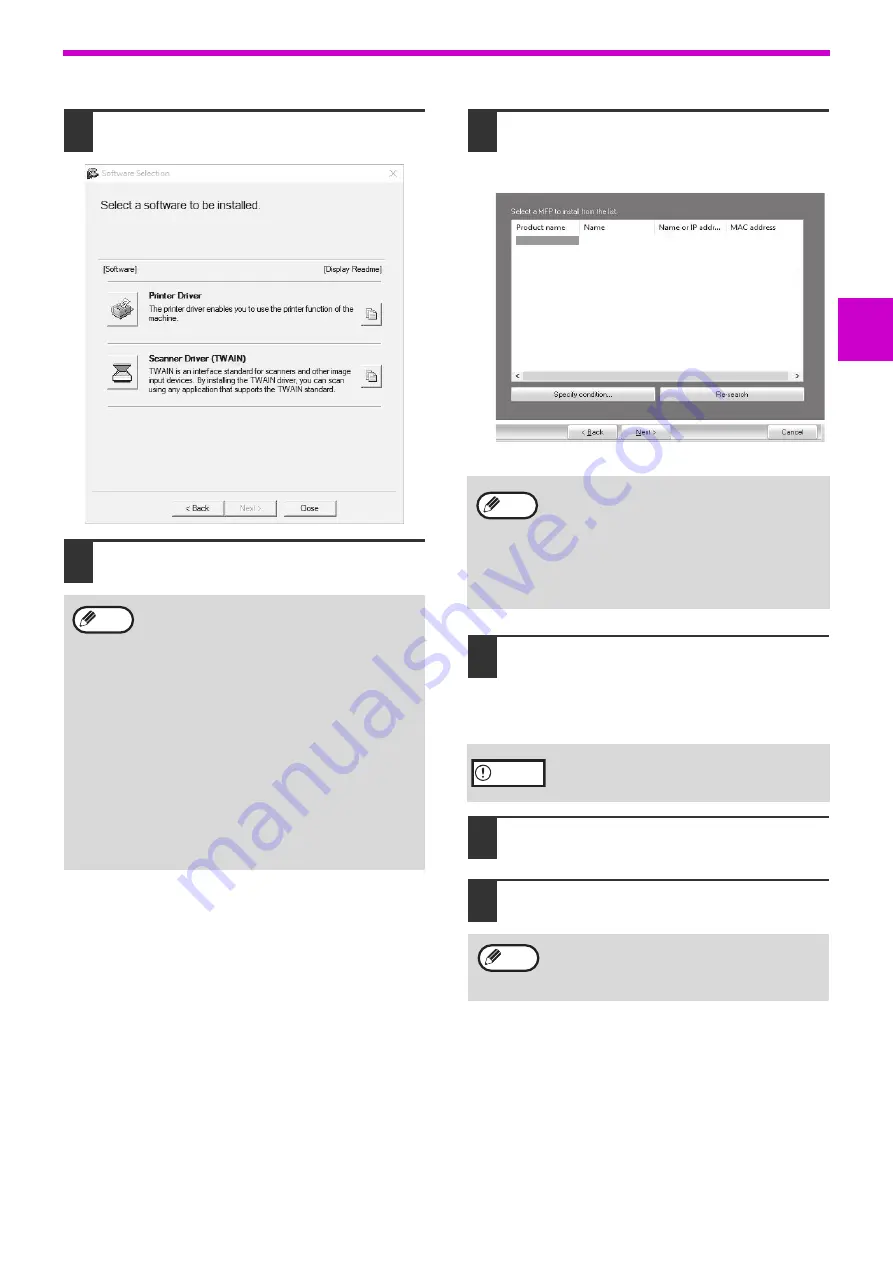
9
Printers connected to the network are
detected. Select the machine and click
the "Next" button.
10
Follow the on-screen instructions.
Read the message in the window that appears
and click the "Next" button.
Installation begins.
11
When the installation completed
screen appears, click the "OK" button.
12
Click the "Close" button in the
window of step 7.
When "Custom installation" is selected, you
can change any of the items below. When
"Standard installation" is selected, the
installation will take place as indicated below.
• Machine connection method:
LPR Direct Print (Auto Search)
• Set as default printer:
Yes
• Printer driver name:
Cannot be changed
• PCL printer display fonts (Only at the time
of PCL, PS printer driver or PPD driver
installation): Installed.
If you selected "Custom installation", select
"LPR Direct Print (Auto Search)" and click the
"Next" button.
Note
• If the machine is not found, make sure that
the machine is powered on and that the
machine is connected to the network, and
then click the "Re-search" button.
• You can also click the "Specify condition"
button and search for the machine by
entering the machine's name (host name)
or IP address.
If a warning window regarding security is
displayed, please click "Install this driver
software anyway" or "Install".
After the installation, a message prompting
you to restart your computer may appear.
If this message appears, click the "Yes" button
to restart your computer.
XX-xxxx
xxx.xxx.xxx.xxx
xxx.xxx.xxx.xxx
Note
Caution
Note