


13
SETUP
1
USING THE MACHINE AS A SHARED PRINTER
If the machine will be used as a shared printer on a Windows network, follow these steps to install the printer driver
in the client computer.
1
Perform steps 2 through 6 in
"INSTALLING THE SOFTWARE"
(p.10)
2
Click the "Custom" button.
3
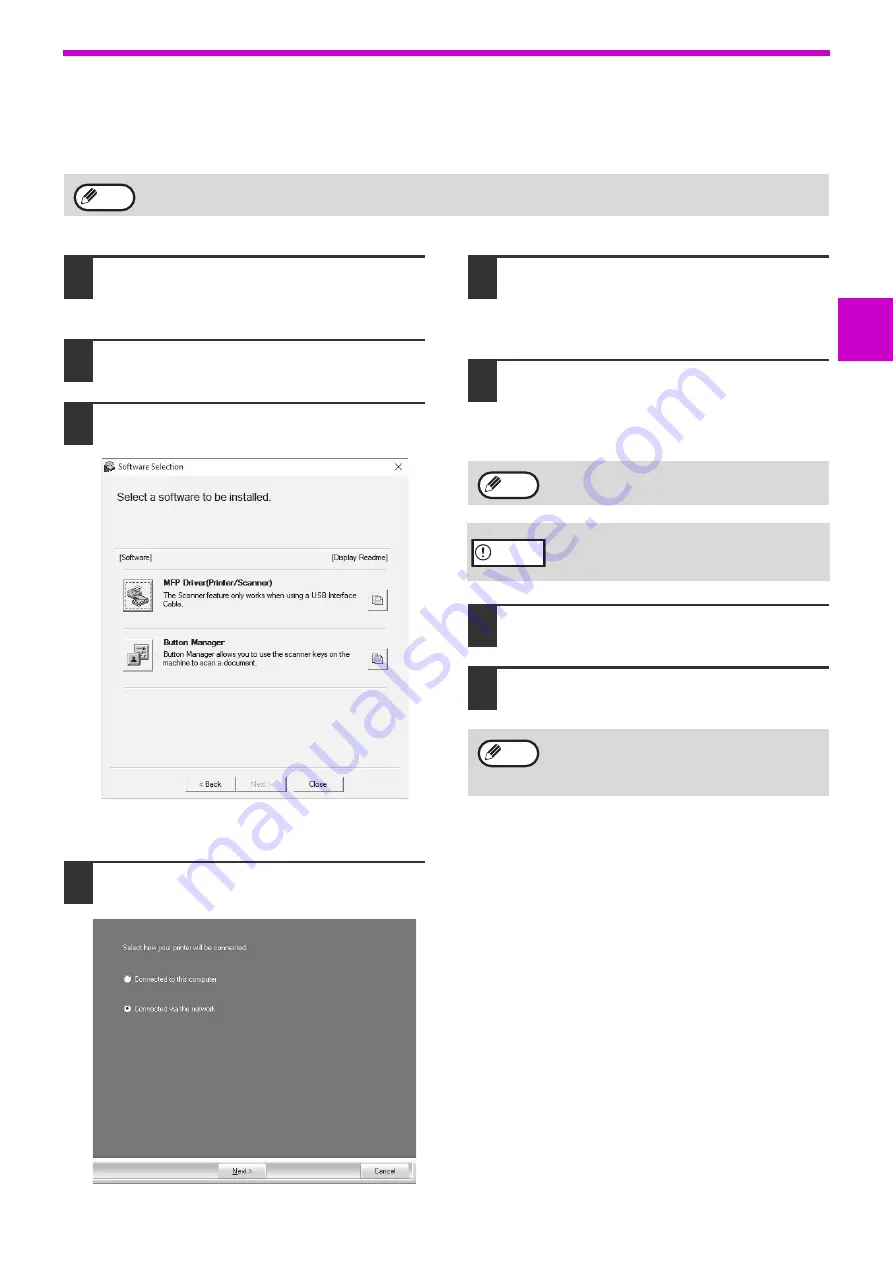
Click the "MFP Driver" button.
Click the "Display Readme" button to show
information on packages that are selected.
4
Select "Connected via the network"
and click the "Next" button.
5
Click the part you want to use with this
printer.
(1) Select the MFP port in the list.
(2) Click the "Next" button.
6
Follow the on-screen instructions.
Read the message in the window that appears
and click the "Next" button.
Installation begins.
7
When the installation completed screen
appears, click the "OK" button.
8
Click the "Close" button in the window
of step 3.
This completes the installation of the software.
To configure the appropriate settings in the print server, see the operation manual or help file of your operating
system.
Note
If the shared printer does not appear in the
list, check the settings on the print server.
If a warning window regarding security is
displayed, please click "Install this driver
software anyway" or "Install".
After the installation, a message prompting
you to restart your computer may appear. In
this case, click the "Yes" button to restart your
computer.
Note
Caution
Note