


Sharebot Next Generation XXL+
user's manual
Warnings on the safety
You find on the machine the followings safety labels
Description of the safety signs
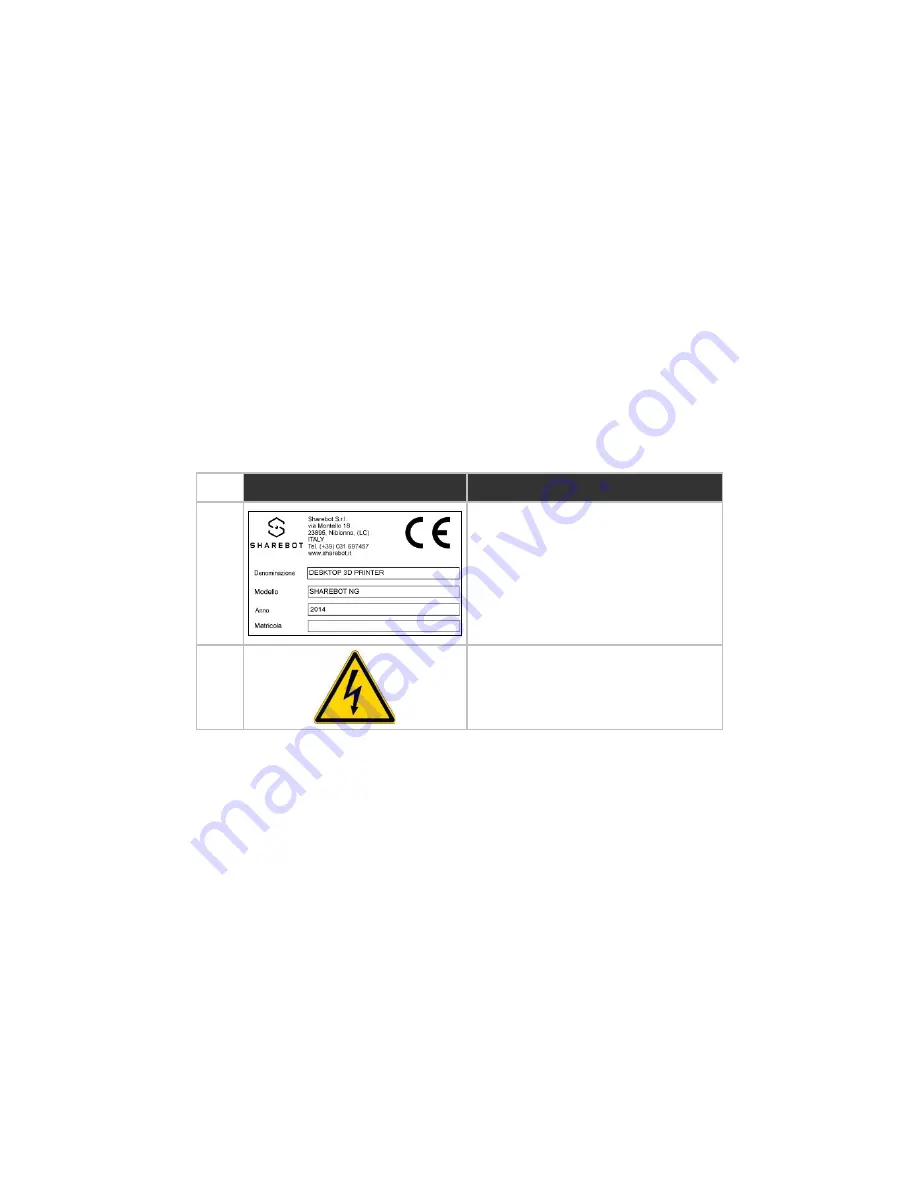
SIGN
DESCRIPTION
A
CE Label
B
Indicates the danger of electrocution at electrical
casings of the machine .
Sharebot srl
Nibionno Italy
All rights reserved
. No part of this manual
may be reproduced or transmitted in any form or by any means without prior permission
page 40