pulseEKKO PRO
2-System Assembly and Startup
27
Brightness
: The yellow Brightness control arrows are used to increase and decrease the screen
brightness. Increasing the Brightness setting may improve the visibility of the screen in dark conditions.
Contrast
: The yellow Contrast control arrows are used to increase and decrease the screen contrast.
Increasing the Contrast setting may improve the visibility of the screen on a bright, sunny day.
Temperature sensors within the DVL automatically compensate the screen setting so that manual
adjustments of Brightness and Contrast should seldom be needed after initial setup.
2.6.4 Main Menu
Once all components are properly connected, the radar is ready to operate under DVL control. Turn the
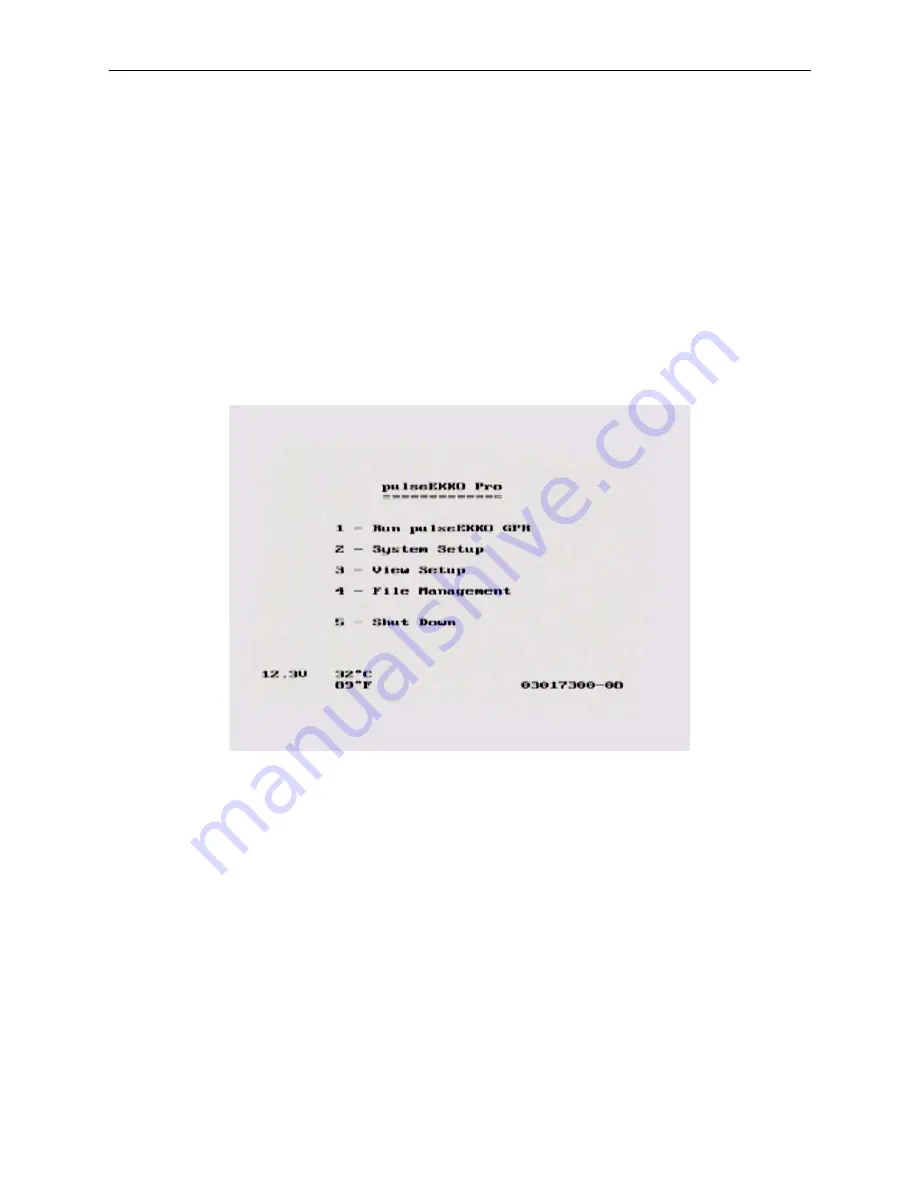
DVL on by pressing any button on the front. After the DVL boots up the main menu is displayed (Figure 2-
36). There is also a flow chart of the complete menu system on the DVL shown in Figure 2-37.
Figure 2-36: pulseEKKO PRO main menu screen on the DVL.
To begin acquiring data, press button number 1 for
Run pulseEKKO GPR
. Details about data collection
are given in Section 4 on page 65.
To setup data collection parameters, press button number 2 for
System Setup
. Details about setting data
collection parameters are given in Section 3 System Setup Parameters on page 31.
The current system setup parameters can be viewed by pressing button number 3 for
View Setup
.
Data files collected can be transferred to an external PC and deleted from the DVL using the
File
Management
menu item. File Management can be selected by pressing button 4 from the main menu.
Details about using File Management are given in Section 8 on page 104.


