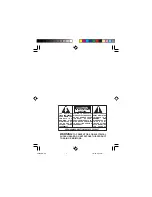
12
Setting the Date and the Time,
1/60 or 1/100 printing,
the 12/24 HOUR format
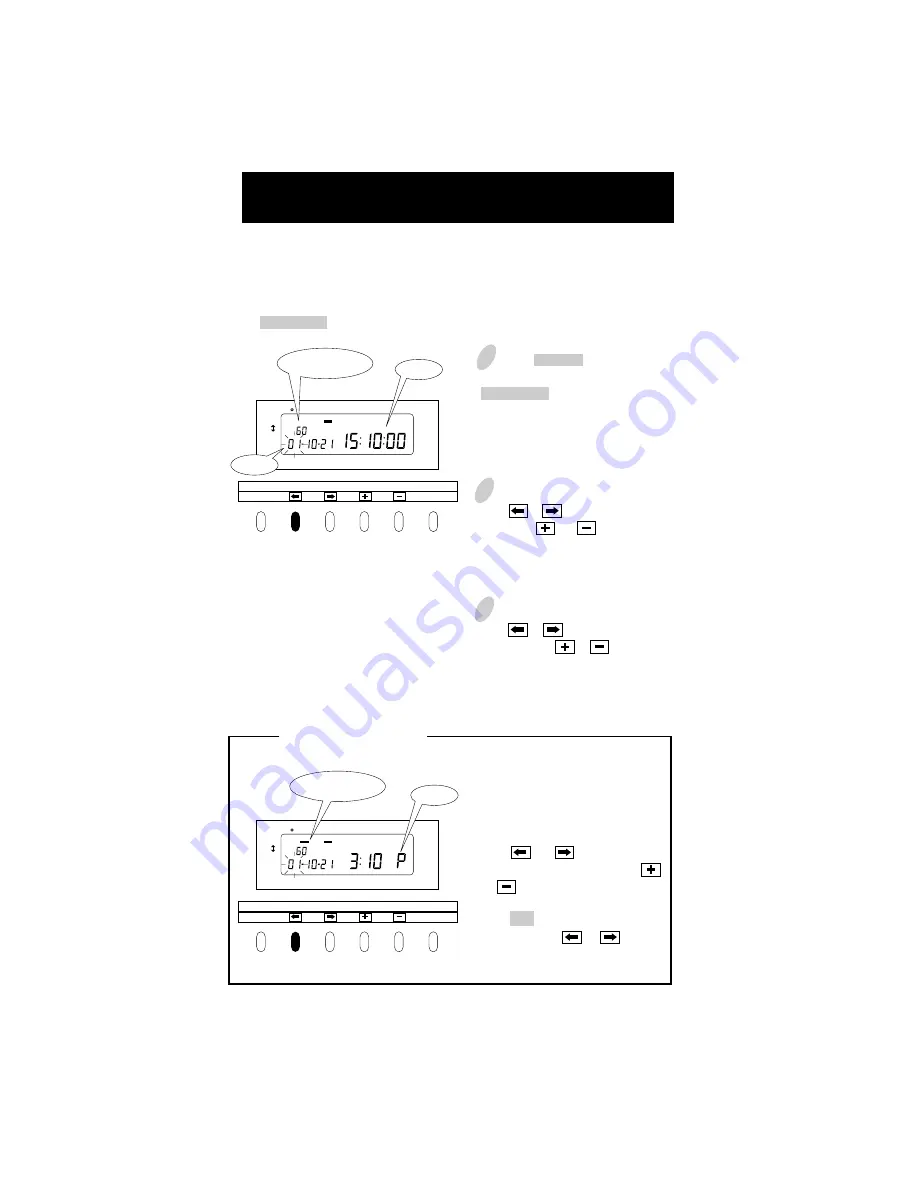
The DATE/TIME button stays lit up during its setting operation.
1
Press SELECT to illuminate the
second button from the left,
DATE/TIME .
Date is indicated at the left, and time at
the right on the display.
To set the number, the digits must
flash.
2
To set date
Press or to cause digits to flash
and press or to select the
desired date.
Example:
For October 21, 2001, adjust
the digits to "01-10-21".
3
To set time
Press or to cause the digits to
flash and press or to select the
desired time.
When the hour and minute are entered,
the second indication is automatically
reset at "00".
DAY ADV.TIME
D.S.T
PROGRAM
EXT.ALARM
SET
PAY ENDING
SELECT
YEAR
RED/BLK.
MONTH
EX.ALM
DAY
COL.
HOUR
MINUTE
SECOND/CARD
DATE/TIME
SU
12Hr. TU
SA
FR
TH
WE
MO
1/60
1/100
1/60, 1/100 printing
Date
Time
DAY ADV.TIME
D.S.T
PROGRAM
EXT.ALARM
SET
PAY ENDING
SELECT
YEAR
RED/BLK.
MONTH
EX.ALM
DAY
COL.
HOUR
MINUTE
SECOND/CARD
DATE/TIME
SU
12Hr. TU
SA
FR
TH
WE
MO
1/60
1/100
PM
When you want to apply 12 hour
format both on LCD time and
printing format on the time card,
select 12 hour format first as
described below.
Press or to cause the bar
under "12 Hr." to flash and press
or to select 12 hour format.
Check the settings on the display and
press SET .
Thereafter press or to cause
the digits indicating hour to flash,
then follow step 3, above.
12 HOUR format
How to set 12 hour format


