3 – Introduction to the Custom Options
Cura is an easily accessible, yet very complex slicing program. It’s got a wide range of
options that can give you complete control over nearly every aspect of the slicing process.
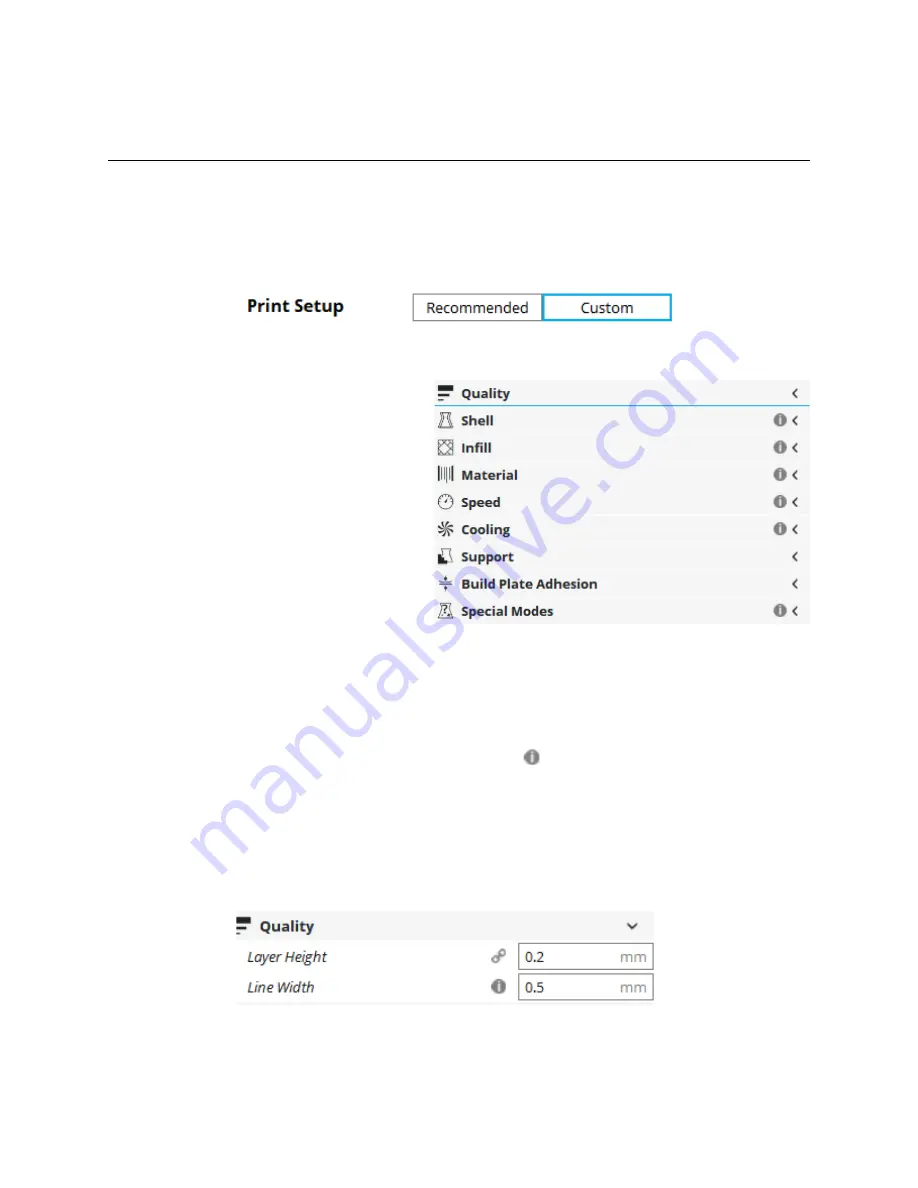
Fortunately for us, the Cura developers have created a “default” set of custom options that
allows new users some control without burying them in dozens of options they may not need to
change. These default options can be reached by clicking the
Custom
print setup button.
Cura divides the options into the following 9 categories:
•
Quality
•
Shell
•
Infill
•
Material
•
Speed
•
Cooling
•
Support
•
Build Plate Adhesion
•
Special Modes
Cura will present the most commonly needed options within each category at first – what
you see is not all that’s there! Let’s cover the basics of each one and then we can take some
time to investigate the more advanced parameters later. You’ll notice that some of the
categories have this symbol next to their control points:
This icon indicates that there may
be hidden parameters that use values that differ from the Cura defaults. This is normal and is
the result of the SeeMeCNC supplied profiles. The profiles that SeeMeCNC supplies change
those default values in order to provide better results on their printers.
When you hover your mouse over a category heading, you’ll notice that a “gear” icon
appears. This icon will open up the visibility settings for the selected category. You won’t need
that right now, but later on we’ll use it to expand the available parameters you can use in Cura.
Quality
covers
Layer Height
and
Line Width
. As you may have surmised,
Layer
Height
dictates the layer thickness of each layer in the print. The thicker the layer height, the
faster your print job will complete, but the results can be a “rough draft” - or of a poorer surface
18
Print Options in Cura


