204
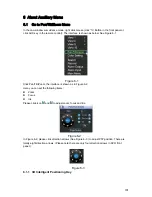
In the middle of the eight direction arrows, there is a 3D intelligent positioning key. See
X401H401H401H
Figure
6-4
X
. Please make sure your protocol supports this function and you need to use mouse to
control.
Click this button, system goes back to the single screen mode. Drag the mouse in the screen to
adjust section size.
Figure 6-4
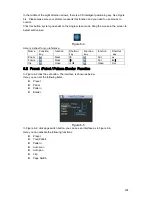
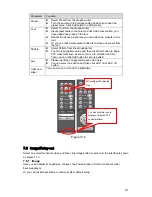
Here is a sheet for you reference.
Name
Function
key
function Shortcut
key
Function
key
function Shortcut
key
Zoom
Near
Far
Focus
Near
│
_
Far
►
│
Iris
close
W
Open
f
6.2
Preset /Patrol / Pattern /Border Function
In
X402H402H402H
Figure 6-2
X
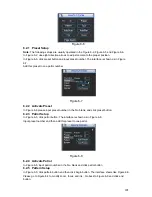
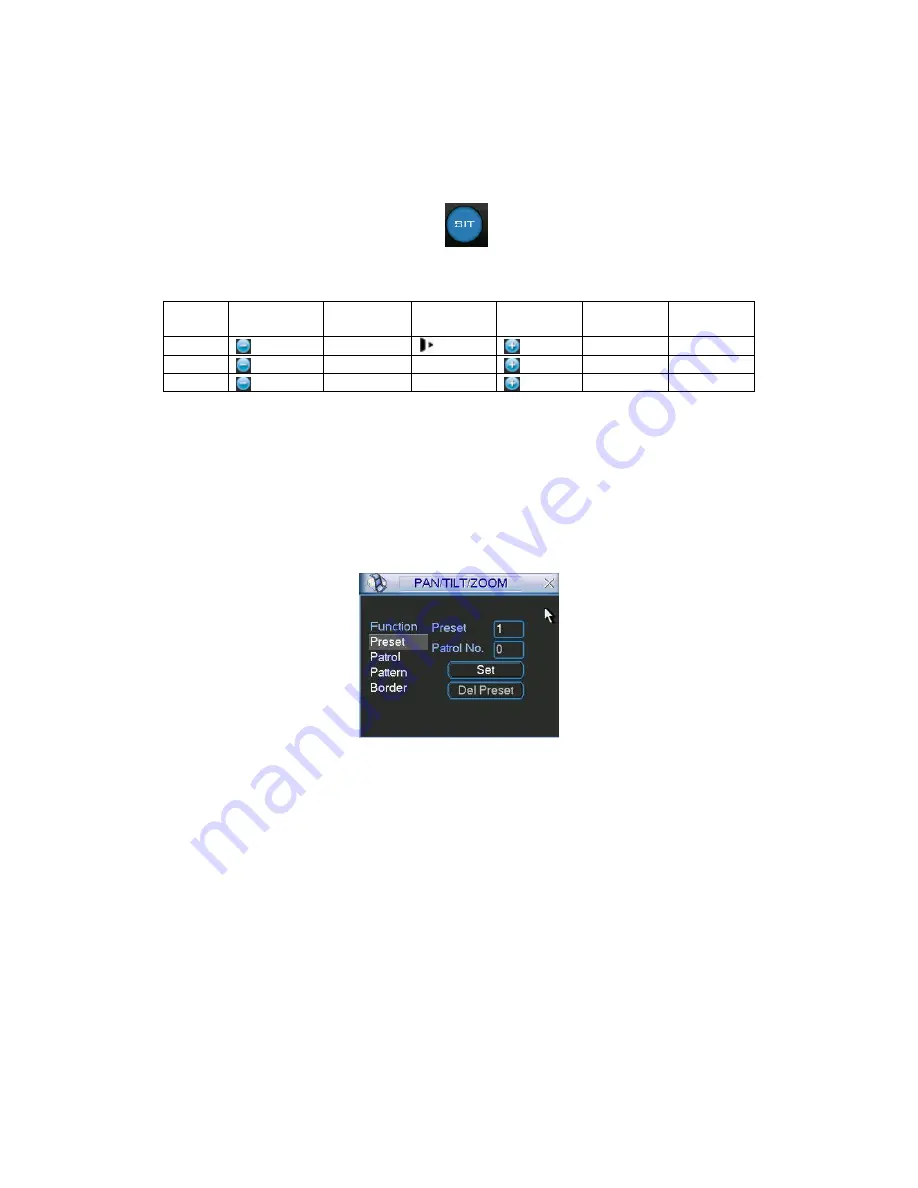
click the set button. The interface is shown as below:
Here you can set the following items:
z
Preset
z
Patrol
z
Pattern
z
Border
Figure 6-5
In
X403H403H403H
Figure 6-2
X
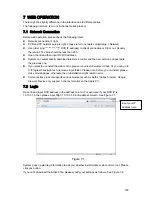
, click page switch button, you can see an interface as in
X404H404H404H
Figure 6-6
X
.
Here you can activate the following functions:
z
Preset
z
Tour(Patrol)
z
Pattern
z
Auto
scan
z
Auto
pan
z
Flip
z
Page
Switch
Summary of Contents for DVR-HD016240M
Page 97: ...86 Figure 2 30 2 3 4 HD SDI 1080P 1U Series The connection sample is shown as in Figure 2 31...
Page 99: ...88 Figure 2 32 2 3 6 General 1 5U series Please refer to Figure 2 33 for connection sample...
Page 130: ...119 HD SDI 1 5U Mini 2U Series Figure 3 18...
Page 152: ...141 Figure 4 27 Figure 4 28 Figure 4 29...
Page 157: ...146 Figure 4 34 Figure 4 35 Figure 4 36...
Page 165: ...154 Figure 4 52...
Page 169: ...158 Figure 5 3 Figure 5 4 Figure 5 5 Figure 5 6...
Page 177: ...166 Figure 5 16 Figure 5 17 Figure 5 18 5 3 5 3 NTP Setup...
Page 218: ...207 Figure 6 11...
Page 288: ...277 Maxtor DiamondMax 20 STM3250820AS 250G SATA...


