186
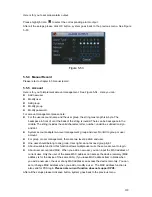
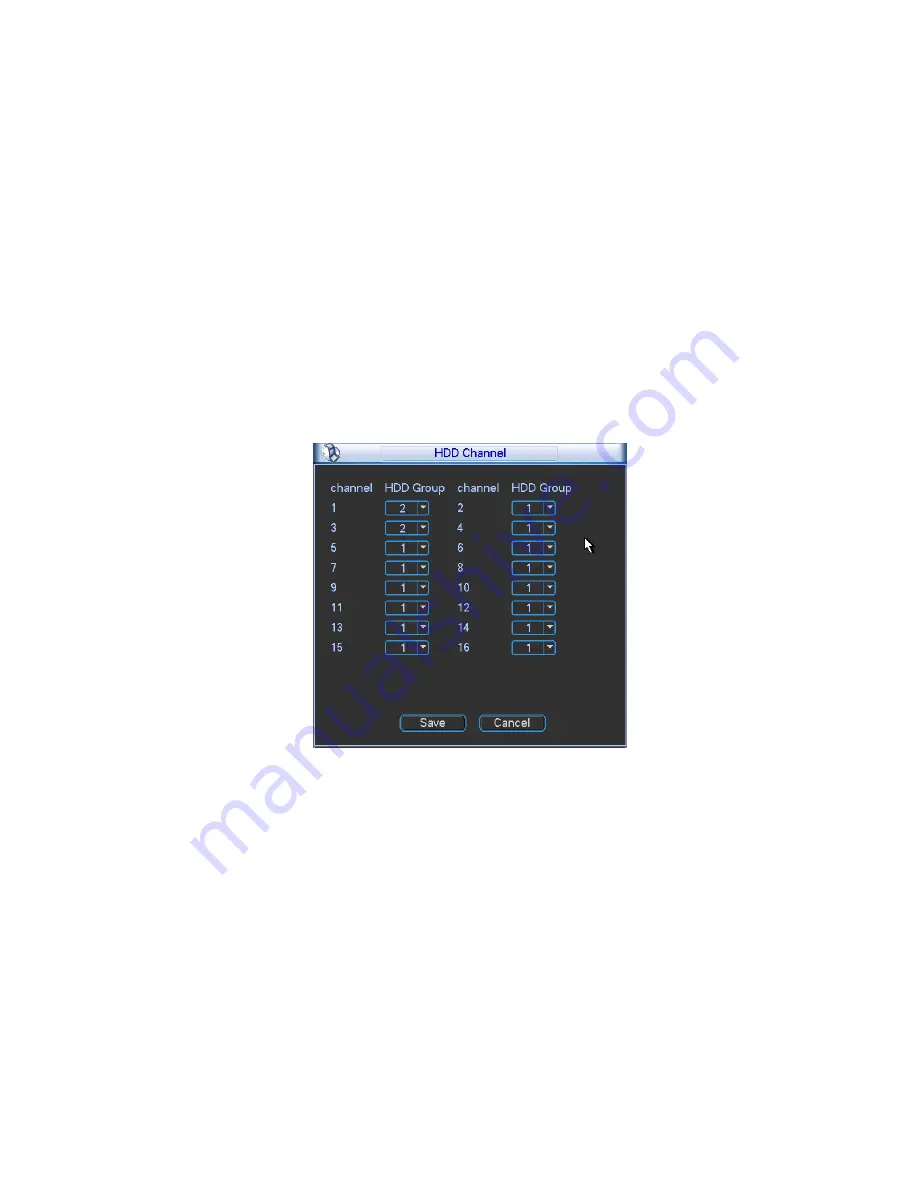
When you set the channel setup, please select the corresponding channel such as 1 and 2, and
then select the HDD group such as 1. Click the Save button, you can complete the setup.
In the Figure 5-48, you set channel 1 and channel 3 to the corresponding HDD group2 and set
channel 2 and channel 4 to channel 16 to HDD group 1. In this setup, the records from channel 1
and channel 3 are both saved in HDD of the group 2. The records from channel 2 and channel 4
to channel 16 are all saved in HDD of the group 1.
When you are setting the configurations of the channels setting, please select relevant channels
first (such as channel 1 to 16), and then select the HDD Group NO. Please click the Save button
to save current setup.
Important
z
Once you change the HDD Group settings, system will pack the records and then reboot!
Tips
There is an easy way for you to test whether the records from the corresponding channel is
saved in the specified HDD. You can remove the HDD and then check the channel can record or
not. You can see the channel does not record and you can not search the previous record now.
Figure 5-48
Channel Quota
Please note only the product of the quota setup icon supports this function.
Here you can set channel storage capacity. See Figure 5-49.
Summary of Contents for DVR-HD016240M
Page 97: ...86 Figure 2 30 2 3 4 HD SDI 1080P 1U Series The connection sample is shown as in Figure 2 31...
Page 99: ...88 Figure 2 32 2 3 6 General 1 5U series Please refer to Figure 2 33 for connection sample...
Page 130: ...119 HD SDI 1 5U Mini 2U Series Figure 3 18...
Page 152: ...141 Figure 4 27 Figure 4 28 Figure 4 29...
Page 157: ...146 Figure 4 34 Figure 4 35 Figure 4 36...
Page 165: ...154 Figure 4 52...
Page 169: ...158 Figure 5 3 Figure 5 4 Figure 5 5 Figure 5 6...
Page 177: ...166 Figure 5 16 Figure 5 17 Figure 5 18 5 3 5 3 NTP Setup...
Page 218: ...207 Figure 6 11...
Page 288: ...277 Maxtor DiamondMax 20 STM3250820AS 250G SATA...

