13
“Menu/OK”.
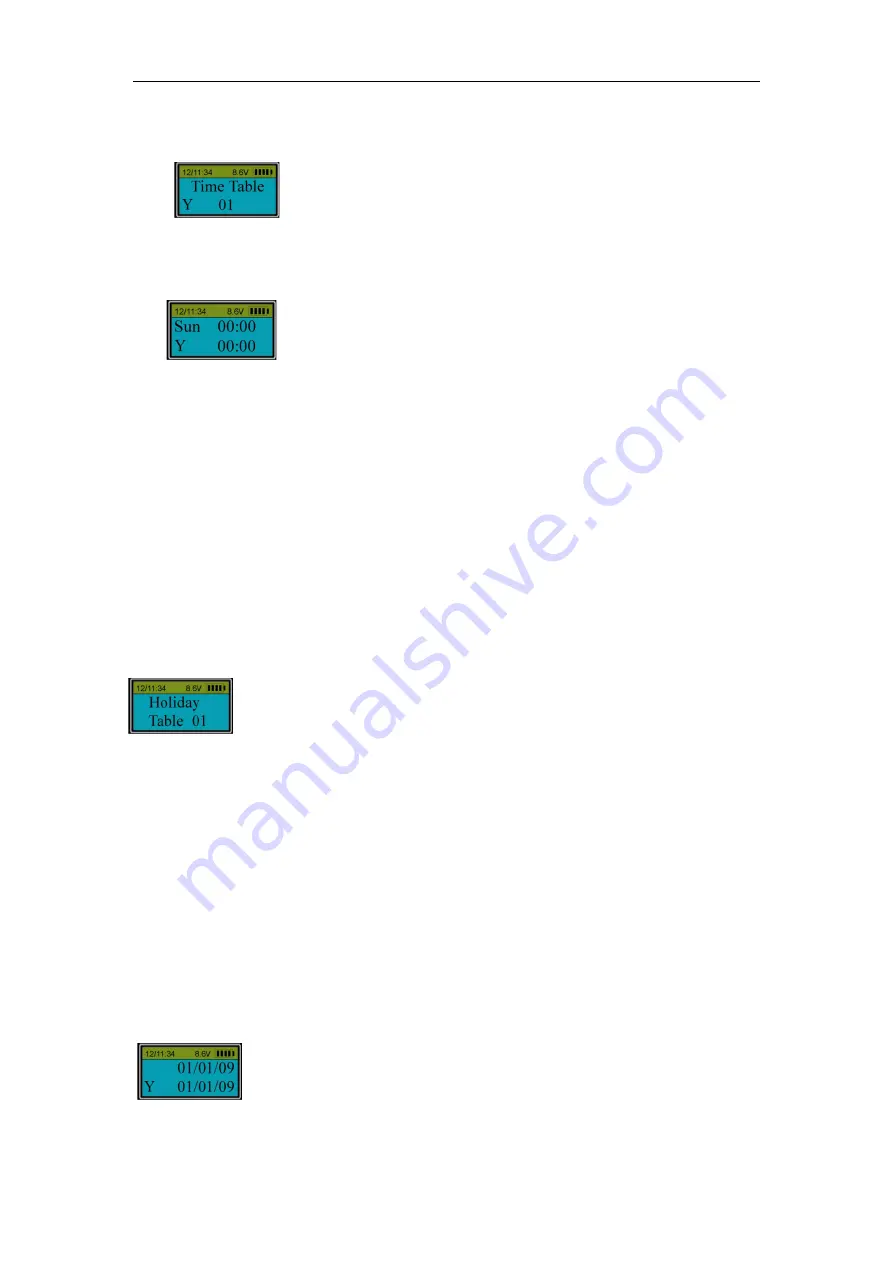
Two (2) time tables can be preset. Press “▲” or “▼” to select Time Table number and “Y” (yes)
or “N” (No) and press “Menu/OK”. If “Y” is selected, the Time Table (for sample: Time Table 01)
is enabled. If “N” is selected, the Time Table is disabled.
Press “▲” or “▼” to select the week day, “Y” (or “N”) and the time period and press “Menu/OK”
to confirm.
If “Y” is selected,
users
can only unlock the controller during the pre-set time period.
If “N” is selected,
users
cannot unlock on the specified week day.
Note:
If on one day, “Y” is selected and the starting time is set as same as the end time, the controller
can be unlocked all the day.
18.3 Set Holidays
Press “Menu/OK”. The screen will show “Select Menu”.
Press “▲” or “▼” to select “System Menu”. Press “Menu/OK” again.
Place the fingerprint of
ID 01 or enter the code of ID 01
. After the fingerprint
or code
is verified successfully, When the
LCD shows “Select Menu”, press “▲” or “▼” to select “Set Holidays”. Press “Menu/OK”.
Ten (10) holiday tables can be preset. Press “▲” or “▼” to select Holiday Table number and
press “Menu/OK”.
Press “▲” or “▼” to select “Y” (or “N”) and the holidays and press “Menu/OK” to confirm.
If “Y” is selected,
users
cannot unlock the controller during the specified holidays.
If “N” is selected, users can unlock during the holidays.
TMO user can unlock the controller with time lock override.
19.See Timer (Level 3)
Press “Menu/OK”. The screen will show “Select Menu”. Press “▲” or “▼” to select “System
Menu”. Press “Menu/OK” again.
Place the fingerprint of ID 01
,
02
,
03
or 04 or enter the code
of ID 01,02,03 or 04
. After the fingerprint
or code
is verified successfully, When the LCD
shows “Select Menu”, press “▲” or “▼” to select “See Timer”. Press “Menu/OK”.
Then ,the LCD screen will show :


