10
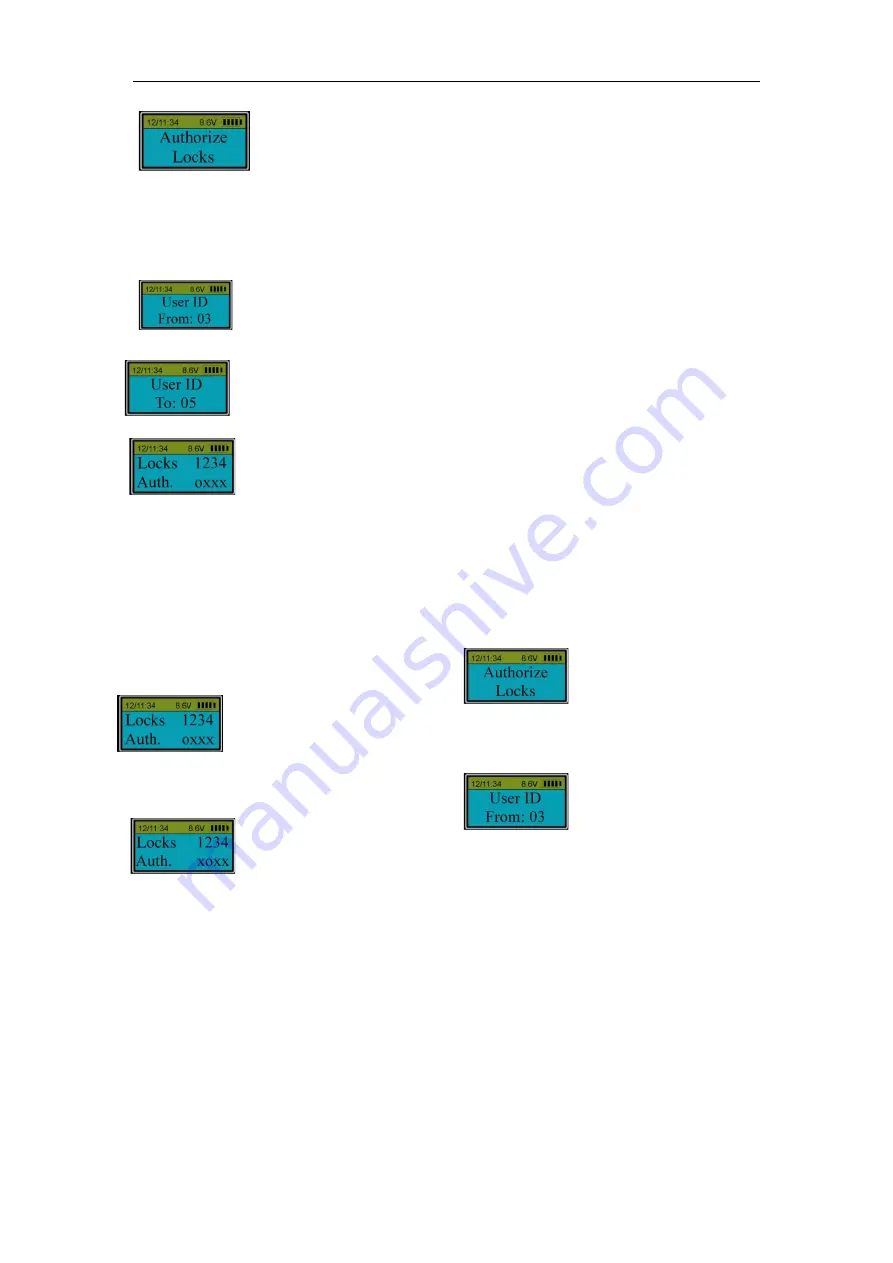
Press “Menu/OK”.
Press “▲” or “▼” to set the first ID in the group of users to be authorized. For example, to
authorize users with ID No. from 03 to 05.
Press “Menu/OK”.
Press “▲” or “▼” to set the last ID in the group of users to be authorized.
press “Menu/OK”.
“Lock 1234” means the number for each lock. “Auth. oxxx” shows whether the group has
authorization for each specified lock. Letter “o” means the group has authorization. Letter “x”
means the group does not.
For example: To authorize users with ID No. 03, 04 and 05 to open Lock 2, when the LCD screen
shows:
Press “1” to change “o” to “x”.
Press “2” to change “x” to “o”. Press “Menu/OK”.
Now the authorization is completed.
Note:
Administrators can open all locks without authorization.
14.Enable sequence (Level 3)
Press “Menu/OK”. The screen will show “Select Menu”. Press “▲” or “▼” to select “System
Menu”. Press “Menu/OK” again. Place an enrolled administrator’s finger (ID No. 01 or 02) on the
reader window and hold
or enter the code of an administrator
. After the fingerprint
or code
is
verified successfully, the LCD screen shows “Select Menu”. Press “▲” or “▼”to select “Enable
Sequence”. Press “Menu/OK”.
If the number of locks is more than one, when unlocking in sequence is enabled.


