


Page 37
7. The Optional Statprinter
/
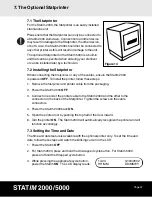
7.1 The Statprinter
For the Statim 2000, the Statprinter is an easily installed
stand-alone unit.
Please note that the Statprinter can only be connected to
a Statim 2000 Autoclave. Connection to another device
may result in damage to the Statprinter, the other device,
or both. Also, the Statim 2000 should not be connected to
any other printer as this will result in damage to the unit.
The optional Statprinter for the Statim 5000 is a built-in
unit that can be specified when ordering your sterilizer,
or can be installed later by a technician.
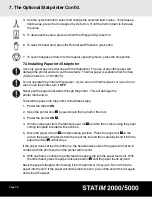
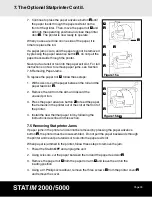
7.2 Installing the Statprinter
When connecting the
Statprinter
, or any of the cables, ensure the Statim 2000
is powered
OFF
. To install the printer, follow these steps:
1. Remove the
Statprinter
and printer cable from the packaging.
2. Power the Statim 2000
OFF
.
3. Connect one end of the printer cable to the Statim 2000 and the other to the
connector on the back of the Statprinter. Tighten the screws on the cable
connectors.
4. Power the Statim 2000 back
ON
.
5. Open the printer door by pushing the top half of the door inward.
6. Turn the printer
ON
. The Statim 2000 will automatically recognize the printer and will
function accordingly.
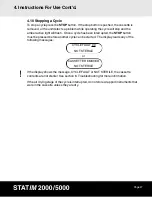
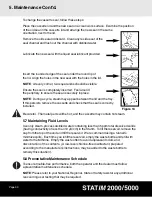
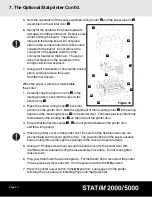
7.3 Setting the Time and Date
The time and date feature is available with the optional printer only. To set the time and
date, follow these steps and watch the blinking cursor on the LCD:
1. Power the Statim
OFF
.
2. For Statim 2000, press and hold the Unwrapped cycle button. For Statim 5000,
press and hold the Wrapped cycle button.
3. While pressing the appropriate cycle button,
power the Statim
ON
. The LCD display reads:
Figure 14
14:23
12/04/2002
HH:MM
DD/MM/YY


