

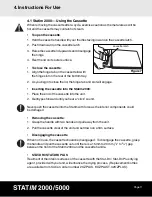


• Removing the cassette
:
1. Grasp the cassette handle with one hand and pull out from the unit.
2. As the cassette emerges from the unit, grasp the carry handle with your free hand
and lift it upwards.
3. Pull the cassette clear from the unit and set down on a firm surface.
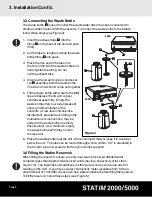
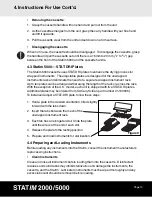
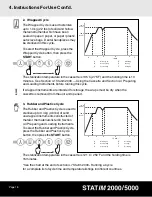
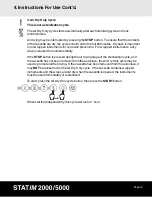
• Disengaging the cassette
When not in use, the cassette should be disengaged. To disengage the cassette, grasp
the handle and pull the cassette out until there is a 15 mm to 20 mm (
1
/
2
" to
3
/
4
") gap
between the front of the Statim 5000 and the cassette handle.
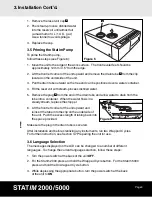
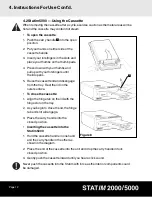
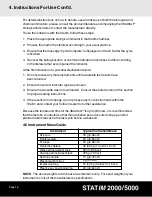
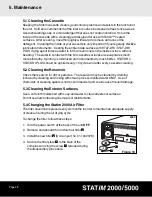
4.3 Statim 5000 — STAT-DRI Plates
The Statim 5000 cassette uses STAT-DRI plates to enhance the drying process for
wrapped instruments. The adjustable plates are designed for the unwrapped
instruments rack and eliminate the need for a separate wrapped instrument rack.
Up to ten plates can be arranged either along the length of the rack or across the rack.
With the exception of the U.S. model, each unit is shipped with five STAT-DRI plates.
Additional plates may be ordered from SciCan (SciCan part number 01-103935).
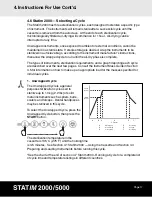
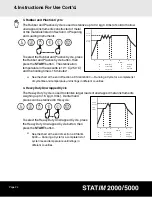
To install and adjust a STAT-DRI plate, follow these steps:
1. Hold a plate in the desired orientation, tilted slightly
forward with the tabs down.
2. Insert the tabs between the mesh of the
unwrapped instrument rack.
3. Each tab has an elongated slot. Slide the plate
until the wire is at the end of each slot.
4. Release the plate to the resting position.
5. Prepare and load instruments for sterilization.
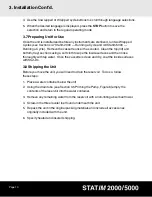
4.4 Preparing and Loading Instruments
Before loading any instruments into the Statim, consult the instrument manufacturer’s
reprocessing instructions.
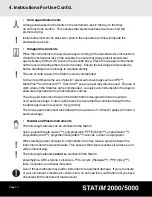
• Clean Instruments
Clean and rinse all instruments before loading them into the cassette. Disinfectant
residues and solid debris may inhibit sterilization and damage the instruments, the
cassette, and the Statim. Lubricated instruments must be wiped thoroughly and any
excess lubricant should be removed before loading.
Page 13
4. Instructions For Use Cont’d.
/
Figure 9


