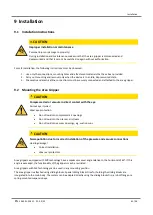
Installation
62 / 96
EN
· 30.30.01.02851 · 01 · 03/22
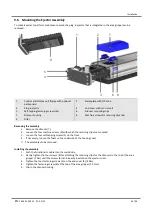
When mounting the gripper with an integrated ejector, make sure that the area around the silencer
remains free to ensure unhindered discharge of the escaping air.
For the start of operations, the area gripper must be connected to the controller via the connection plug with a
connection cable.
Grippers with an integrated ejector must be supplied with compressed air via the plug-in screw union.
If the separation function is used, a throttle non-return valve is used at the corresponding connection.
Grippers of type FMP-i with a hose connector for connection to an external vacuum generator must be connected to
this before operation using a hose that is suitable for vacuum applications.
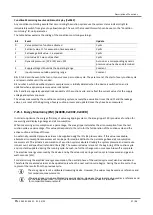
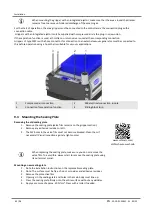
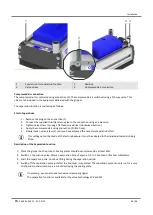
1
Compressed air connection
2
M8 electrical connection, 6-pole
3
Connection for separation function
4
Sliding block strip
9.3
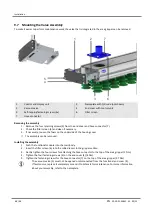
Mounting the Sealing Plate
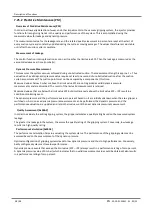
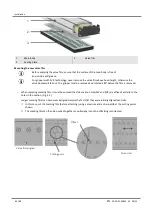
Removing the old sealing plate
1.
Remove the sealing plate (valve film remains on the gripper section).
2.
Remove any adhesive residues or dirt.
3.
The SW bores in the valve film must not become blocked. Clean them if
necessary! (Visual inspection against a light source)
When replacing the sealing plate, make sure you do not remove the
valve film. To avoid this, always start to remove the sealing plate using
its outermost corner.
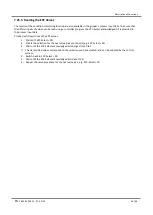
Mounting a new sealing plate
1.
Note the installation instructions on the replaceable sealing plate.
2.
Note: The surface must be free of: dust, oil, oxides and adhesive residues
3.
Remove the protective film
4.
Openings in the sealing plate and holes in the main body must line up.
5.
Press the sealing plate firmly onto the entire surface without any wrinkles.
6.
Apply a pressure of approx. 20 N/cm². Press with a roller if needed.
2
3
1
4
Video
www.schmalz.com/
dichtschaum-wechseln


