Page 25
Service Screen
4
AT-10 plus
Service Handbook
Test
4.8
A
rt.
-n
o.:
2.5
4004
3 Re
v.
: a
4.8.1
Battery capacity test
To check the battery capacity proceed as follows:
1. Leave unit connected to the mains for eight hours to fully charge the battery.
2. Disconnect the mains supply to the unit.
3. Enter the test screen and press the character sequence 032.
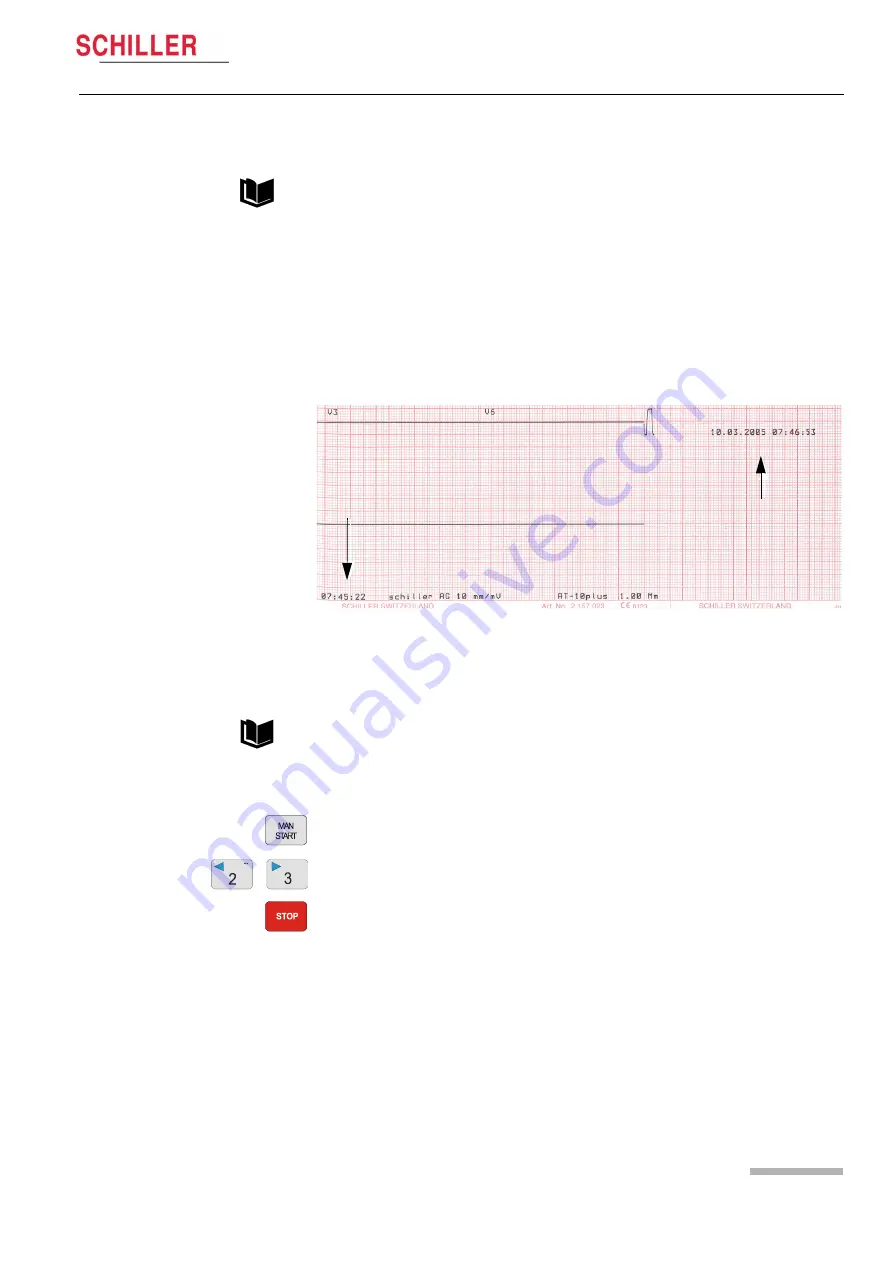
4. A printout will be initiated and then a printout will be given every hour.
5. Check that at least 2 printouts are obtained (minimum capacity one hour).
6. The time of each printout is given on the bottom of the printout
(1)
. The final
printout gives the time that the battery capacity was exhausted
(2)
.
7. Quit the test by switching the unit off.
4.8.2
Print quality and printer alignment check
To check the print quality proceed as follows:
1. Enter the test screen.
2. Press the Man Start key.
3. A continuous test print will be given.
4. Use the Lead selection keys (2 and 3), to toggle though the four test patterns. The
five print patterns are shown on the next page.
5. Stop the printout by pressing the Stop key.
6. Check the printout for:
– fading
– alignment
– faulty pixels
– blackness for regularity and good readability on the complete print width.
If individual pixels are missing, the printout fades or is darker in one area the problem
is usually with the thermal print head. If the print quality is not good:
– clean the print head with alcohol (see page 50).
– check that fresh good quality SCHILLER paper is installed in the unit.
– check the electrical / mechanical settings of the print head.
– change the printer (see page 46).
Battery settings and calibration procedure are detailed on the following page.
1
2
Also see page 36 for print speed and parallelism checks.


