17
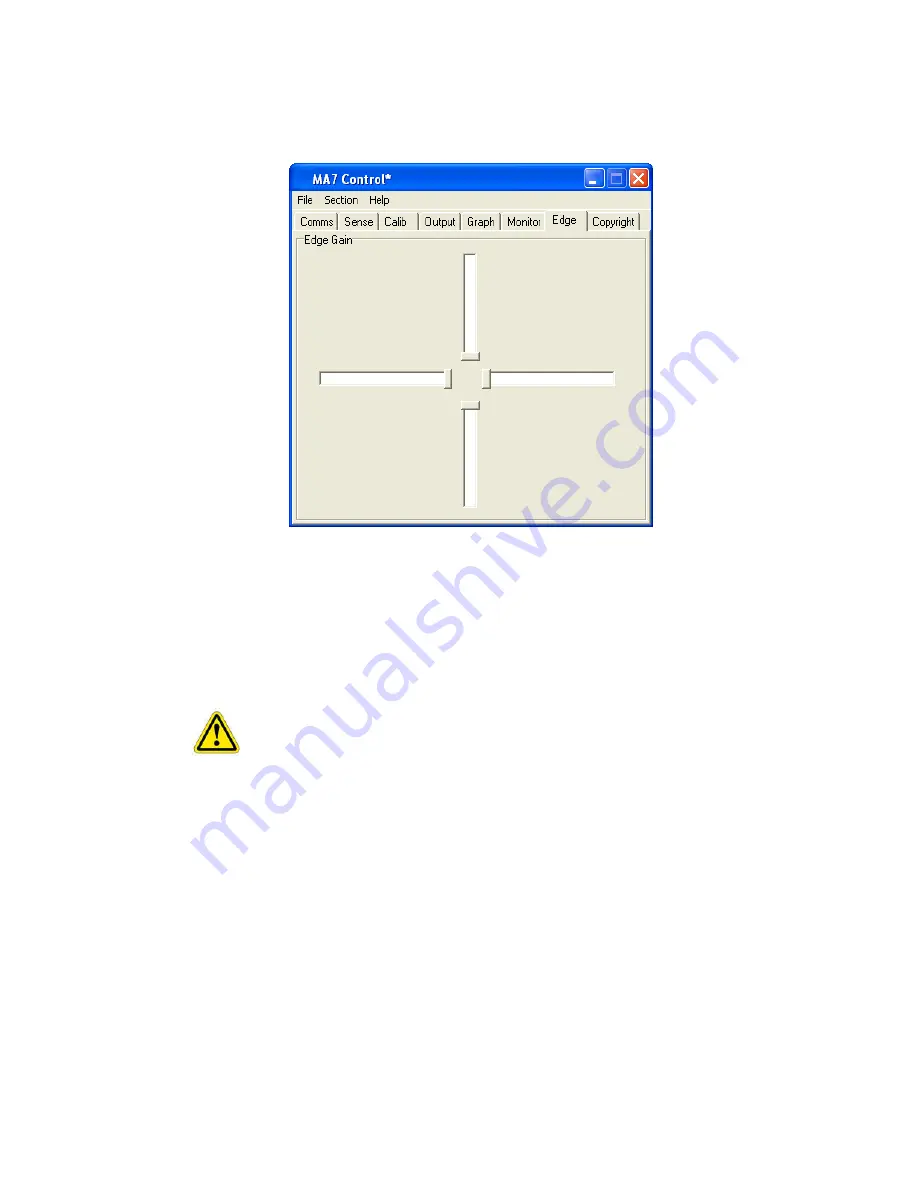
USING EDGE ENHANCEMENT
1. To allow easy access to the sliders and buttons at the edge of the display, the cursor can be
positioned nearer the edge of the screen. The amount of enhancement can be adjusted via
the screen shown.
Fig 13
2. Each of the sliders represents one edge of the sensor; the default position is as illustrated
above (Fig 13).
3.
Edge Gain
can also be used to counteract the effects of nearby metalwork that surrounds the
display area.
4. The further the sliders are away from the centre, the greater enhancement is given to the
appropriate edge.
Too much edge enhancement will force the cursor to the edge of the display
where it may not have the desired effect.
DELAYED STARTING OF THE DRIVER OUTPUT
1. When starting a touchscreen computer system, it is sometime desirable to be able to prevent
users from interfering with the start-up procedures from the touchscreen. Delaying the action
from the touchscreen driver to the application can do this.
2. This can be done by editing the
MA7.ini
file. This is found in the same directory as the
MA7_Control_En
and
MA7_Driver_En
programs. There is a line,
StartDelayInt1=0
.
By changing the 0 to a number between 1 and 120 adds a delay of up to 120 seconds
between the time when the driver is loaded and when it can be used to control an application
program.
Summary of Contents for 42LM5WPTC
Page 2: ...2 ...