16
GB
●
[Setup wizard]:
Select this option to perform the
Setup wizard again, either right away or at the next
startup. Refer to chapter 3 "Getting started" for more
information on using the Setup wizard.
●
[Info]:
Select this option to view the radio's Spotify
version, Radio ID and Friendly Name.
●
[Privacy policy]:
Select this option to display the link
to the radio's privacy policy.
Manually setting the time and date
Setting the radio's date and time works slightly different
from configuring most of the other radio's options and
features. If you would be unable to automatically update
the time and date using the DAB, FM or network, follow
these steps to manually set the time and date:
1.
Open the System settings menu using the three steps
previously described.
2.
Select
[Time / Date]
.
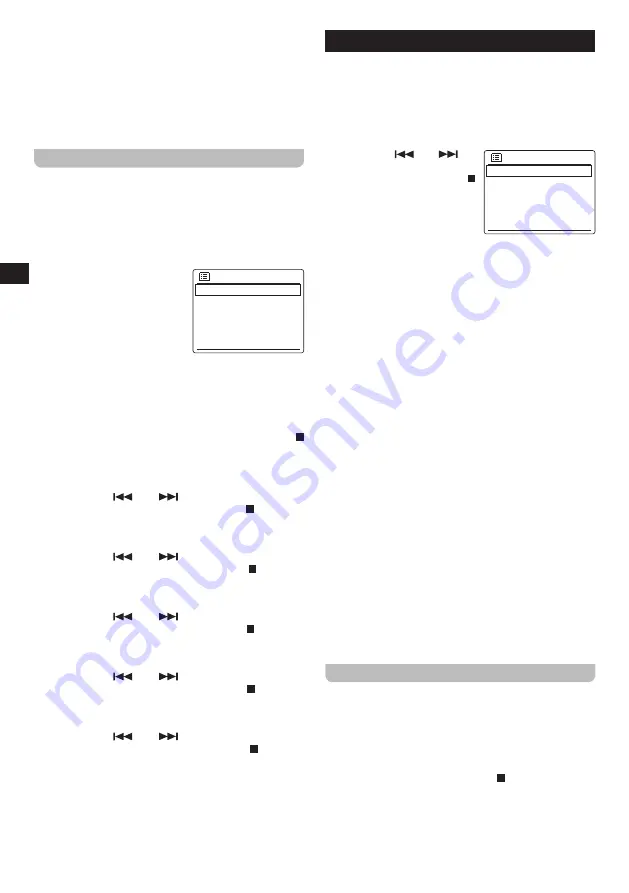
The Date / Time submenu
Time/Date
Set Time/Date
Auto update
Set format
>
offers the following options:
●
[Set Time / Date]:
Select
this option to manually
configure the time and
date.
●
[Auto update]:
Select this option to select a source
for automatically updating the time and date.
●
[Set format]:
Select this option to select the 12 or
24 hour format.
3.
Select
[Set Time / Data]
and press the SELECT /
button to manually set the radio's time and date.
4.
The radio's display will show the date and time and
the day digits are blinking on the display.
5.
Use the V /
and
/ Ʌ buttons to select the
current day and press the SELECT / button to
confirm.
6.
Next, the month digits will blink on the display.
7.
Use the V /
and
/ Ʌ buttons to select the
current month and press the SELECT / button to
confirm.
8.
Next, the year digits will blink on the display.
9.
Use the V /
and
/ Ʌ buttons to select the
current year and press the SELECT / button to
confirm.
10.
Next, the hour digits will blink on the display.
11.
Use the V /
and
/ Ʌ buttons to select the
current hour and press the SELECT / button to
confirm.
12.
Next, the minute digits will blink on the display.
13.
Use the V /
and
/ Ʌ buttons to select the
current minutes and press the SELECT / button to
confirm.
14.
Manually setting the time is now completed and the
radio will return to the Date / Time submenu.
15. Using the Main menu
The Main menu can be used to select the radio's mode
or to set the alarms and sleep timer of the radio. Follow
these steps to access the Main menu:
1.
Turn on the radio using the Power button.
2.
Press and hold the INFO / MENU button to open the
menu for the current mode.
3.
Use the V /
and
/ Ʌ
Main menu
Internet radio
Podcasts
Spotify
Amazon Music
Deezer
buttons to select
[Main menu]
and press the SELECT /
button to open the menu.
The Main menu offers the
following options:
●
[Internet radio]:
Select this
option to switch to the Internet radio mode.
●
[Podcasts]:
Select this option to switch to the
Podcast mode.
●
[Spotify]:
Select this option to switch to the Spotify
mode.
●
[Amazon Music]:
Select this option to switch to the
Amazon Music mode.
●
[Deezer]:
Select this option to switch to the Deezer
mode.
●
[DAB]:
Select this option to switch to the DAB radio
mode.
●
[FM]:
Select this option to switch to the FM radio
mode.
●
[CD]:
Select this option to switch to the CD mode.
●
[USB]:
Select this option to switch to the USB mode.
●
[SD]:
Select this option to switch to the SD mode.
●
[Bluetooth]:
Select this option to switch to the
Bluetooth mode.
●
[AUX in]:
Select this option to switch to the AUX in
mode.
●
[Sleep]:
Select this option to set the radio's sleep
timer.
●
[Alarms]:
Select this option to set the radio's alarms.
●
[System settings]:
Select this option to go to the
System settings menu (refer to chapter 14 "Using the
System settings menu" for more information on this
menu).
Setting the alarms
The radio's alarms can be set by pressing the ALARM
button while the radio is powered on or using the
[Alarms]
option in the Main menu. Follow these steps to set the
radio's alarms:
1.
Turn on the radio using thePower button.
2.
Press the ALARM button or open the Main menu, select
[Alarms]
and press the SELECT / button.
Summary of Contents for DDR-66BT
Page 1: ...GB Version 1 DDR 66BT...


