62
4.
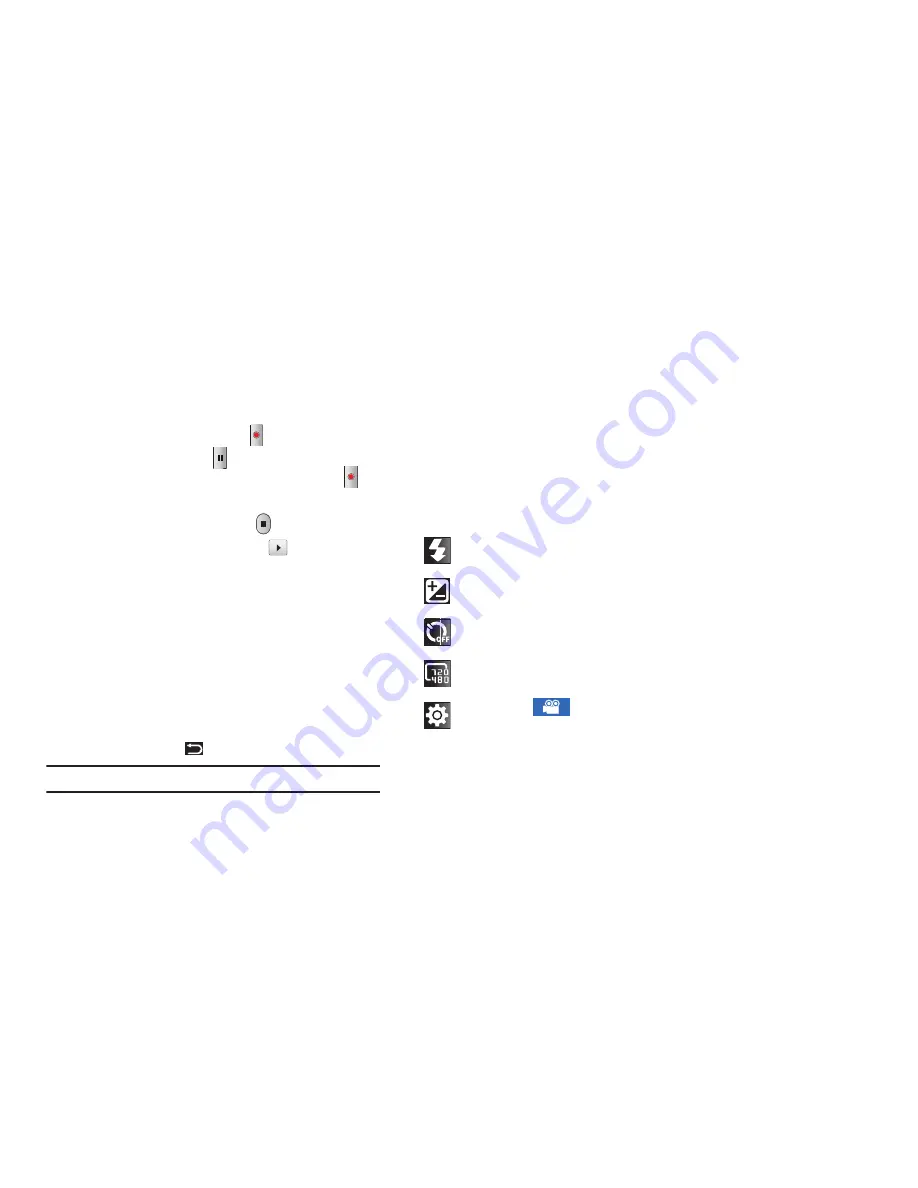
To start recording, touch
Record
. During recording, the
button changes to
Pause
.
Touch
Pause
to temporarily
stop recording. To resume recording, touch
Record
again.
5.
To stop recording, touch the
Stop
button.
6.
After recording, touch
Image Viewer
to to review your
videos. The first frame of each video is displayed.
7.
Sweep across the screen to review all videos. While
reviewing the videos:
•
Double-tap on the video to zoom all the way in or out.
•
Touch the screen to display the following options:
–
Share
: Send the video by using AllShare, Bluetooth, Email, Gmail, or
YouTube.
–
Play
: Play video being displayed.
–
Delete
: Erase the video being displayed.
•
Press the
Back Key
to return to the Camcorder.
Tip:
Touch the video to show or hide Image Viewer options.
Camcorder Options
Configure the camcorder.
Camcorder options are represented by icons on the left side of
the screen. While in Camcorder mode, touch the following icons
to configure the camcorder:
Flash
: Choose a flash mode from Off or On.
Exposure value
: Set the brightness of the video.
Timer
: Set a timer for how long to wait before recording a
video. Options are: Off, 2 sec, 5 sec, and 10 sec.
Resolution
: Set the video size to either: 720x480,
640x480, or 320x240.
Settings
: Tap
for the following options:
•
Outdoor visibility
: allows you to take better videos
when outdoors.
•
White balance
: Set the light source. Options are:
Auto, Daylight, Cloudy, Incandescent, or Fluorescent.
•
Effects
: Apply an effect to videos. Options are:
Normal, Negative, Black and white, or Sepia.
DRAFT


