62
6
62
6
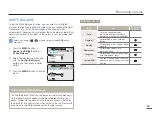
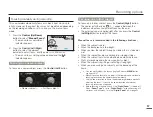
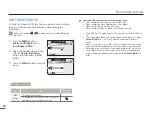
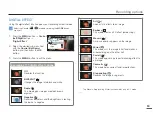
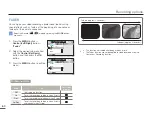
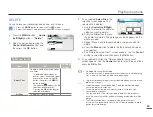
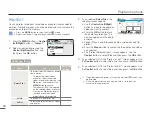
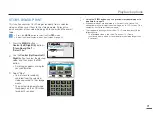
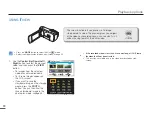
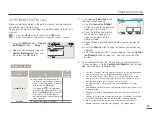
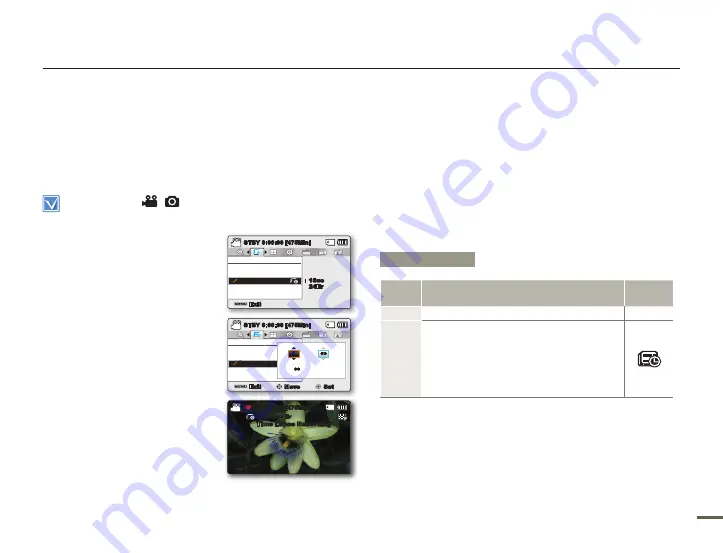
TIME LAPSE REC
Using the time lapse feature, your camcorder can be programmed
to automatically record a number of frames over a period of time,
with a certain time interval between each frame. For instance, a
camcorder on a tripod (not supplied) in time lapse mode could be
set up to shoot frames of a flower opening or a bird building a nest.
The results is a time lapse video.
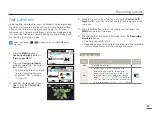
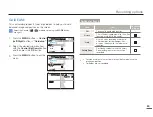
Select the Record (
/
) mode by pressing the
MODE
button.
page 24
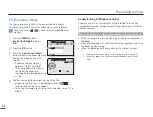
1.
Press the
MENU
button
Control (Left/Right)
button
“Time Lapse REC
.
”
2.
Press the
Control (Up/Down)
button to select "On," then press
the OK button.
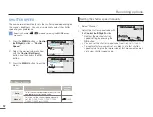
The recording interval and total
time for recording items are
displayed. (“Sec”: seconds,
“Hr”: hours)
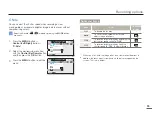
3.
Set a desired recording interval
(
“Sec”
) with the
Control (Up/
Down)
button.
•
4.
Move to the next setting, "Hr," by pressing the
Control (Left/
Right)
button, and then set a desired total recording time in the
same way.
5.
Press the
OK
button to finish the setting, and then press the
MENU
button to exit the menu.
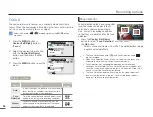
6.
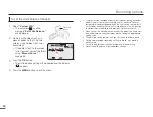
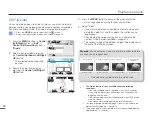
After setting the Time Lapse REC mode, press the
Recording
start/stop
button.
The Time Lapse REC starts.
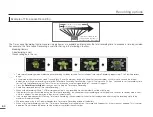
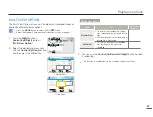
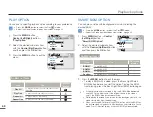
Depending on the selected total recording time and recording
interval, image frames are captured by each scene.
•
•
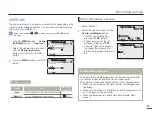
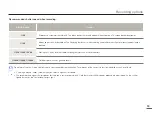
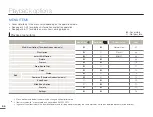
Recording options
Submenu items
Items
Use
On-screen
display
Off
To disable the function.
-
On
Interval (“Sec”): To set the time interval
between image captures. Images are
automatically shot a frame at a time at the
specified interval and stored in the storage
media: 1
3
5
10
15
30 (Seconds)
REC Limit (
“Hr”
): To set the total time from start
to finish of recording: 24
48
72
∞
(Hours)
•
•
Time Lapse REC
Off
On
Exit
STBY
0:00:00 [475Min]
:
1Sec
24Hr
SCENE
Time Lapse REC
Off
On
Exit
Move
Set
STBY
0:00:00 [475Min]
Sec
Hr
1
=
Hr
SCENE
0:00:00 [475Min]
1
Sec /
Hr
Time Lapse Recording

