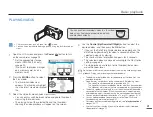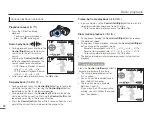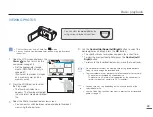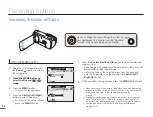
Basic recording
8
9
8
9
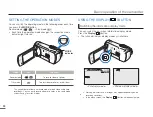
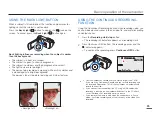
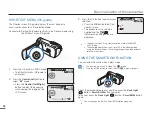
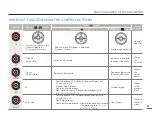
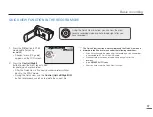
User-friendly SMART AUTO optimizes your camcorder
to the recording conditions automatically, providing
beginners with the best performance.
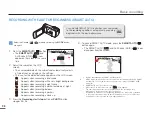
RECORDING WITH EASE FOR BEGINNERS (SMART AUTO)
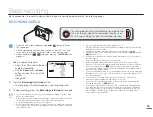
Select the Record (
/
) mode by pressing the
MODE
button.
page 24
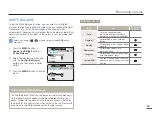
1.
Press the
SMART AUTO
(
SMART
AUTO
) button.
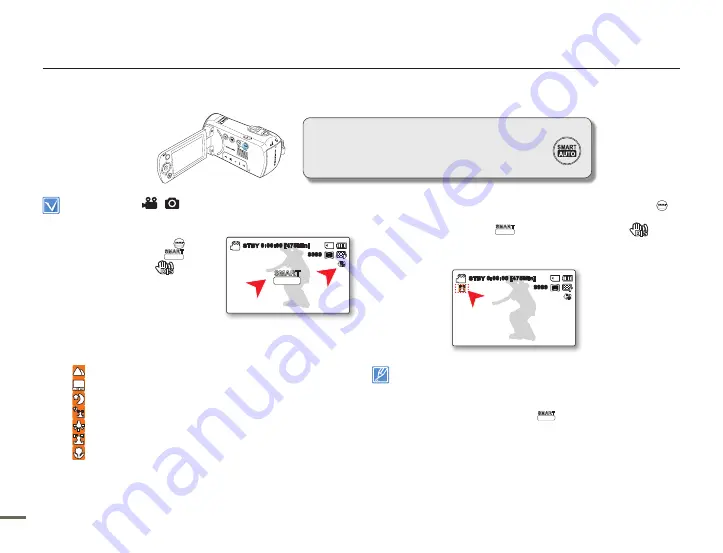
The
SMART AUTO
(
SMART
AUTO
)
and
Anti-Shake (HDIS) (
) icons
appear on the screen at the same
time.
2.
Adjust the subject on the LCD
screen.
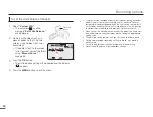
The camcorder detects the subject and automatically selects
a type of scene and adjusts the settings.
The icon for the detected scene appears on the LCD screen.
: Appears when recording a landscape.
: Appears when recording with a very bright background.
: Appears when recording a night scene.
: Appears when recording a portrait outdoors at night.
: Appears when recording indoors.
: Appears when recording a portrait.
: Appears when recording a close-up.
3.
Press the
Recording start/stop
button or
PHOTO
button.
pages 35~36
•
•
•
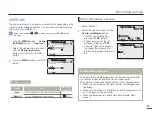
4.
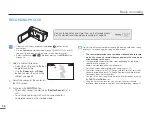
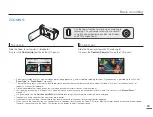
To cancel SMART AUTO mode, press the
SMART AUTO
(
SMART
AUTO
)
button again.
The SMART AUTO (
SMART
AUTO
) and Anti-Shake (HDIS) (
) icons
disappear from the screen.
Buttons unavailable during SMART AUTO operation:
MENU button / OK button/ etc. Most settings are automatically adjusted in SMART
AUTO mode. To set or adjust functions on your own, release the SMART AUTO
mode first.
SMART AUTO must be set before recording.
When there is no detected scene, the (
SMART
AUTO
) icon appears.
The camcorder may not detect the Portrait mode when recording a face,
depending on the position of the face or brightness.
Depending on conditions such as lighting, shaking of the camcorder, or distance
to the subject, the camcorder may detect the image you see on the LCD screen
as a different scene type each time you apply Smart Auto.
•
•
•
•
•
•
0:00:00 [475Min]
STBY
1.6M
9999
SMART
AUTO
0:00:00 [475Min]
STBY
1.6M
9999

