User’s Manual
64
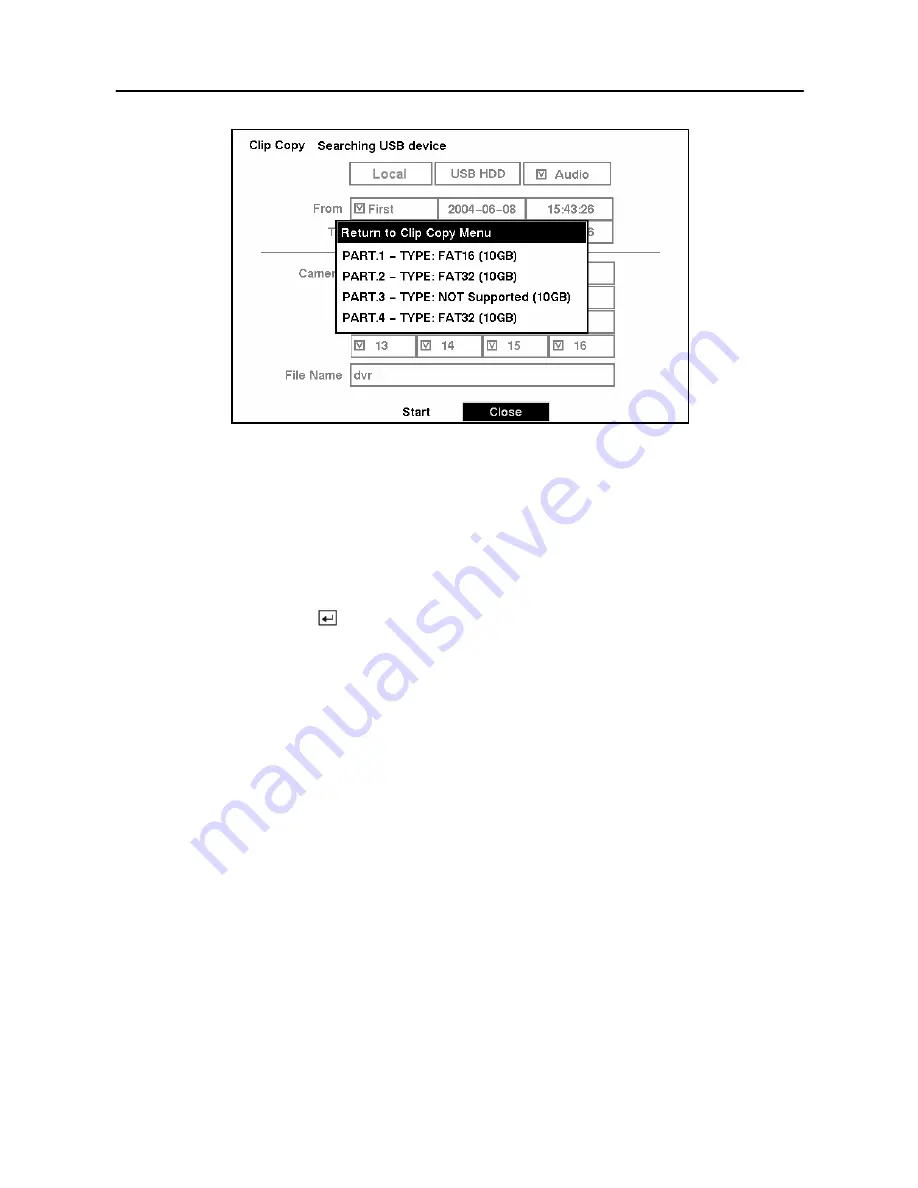
Figure 72 — Disk Partition Selection screen.
Once you select the drive and partition to use for clip copy, the DVR will display the drive
capacity, the clip size and ask if you want to continue.
NOTE: Do not copy clips larger than 2GB.
You can use other functions on the DVR while video is being copied. To do this, highlight the
Close
button and press the
button. You can return to the
Clip Copy
screen at any time to
check the progress.
NOTE: You can not end the archiving process during CD burning.
Refer to
Appendix B — Reviewing Video Clips
for instructions on how to review the images you
have copied.
NOTE: During clip copy, you can neither change the system date and time, shut the
system down, switch to the Quick Setup mode, clear all data, nor change the system
setup from a remote site.
CAUTION: Do NOT disconnect the USB cable or the power from the external
drive while copying clips. If the external drive is shut down or the USB cable is
disconnected while copying clips, THE DVR SYSTEM MAY NOT WORK
NORMALLY OR THE EXTERNAL DRIVE COULD BE DAMAGED, and you will get
an error message the next time you try to copy clips. You will need to power
down the DVR and restart it to get rid of the error message. Once the file system
of the USB-IDE hard disk drive has been corrupted, this error message cannot
be dismissed. Even after restarting the DVR it may automatically restart while
preparing clip copy. You must recover the file system using the recovery
program, or you must reformat the hard disk drive.
Summary of Contents for SHR-3091
Page 1: ......
Page 2: ...User s Manual ii ...
Page 76: ...User s Manual 66 ...
Page 86: ...User s Manual 76 ...
Page 95: ...Digital Video Recorder 85 Appendix F Map of Screens ...
Page 98: ......


